I’ve been a FIRST LEGO League volunteer since 2000, a robot game referee since 2007, and a head referee since 2017. I’ve had a growing interest in expanding the number of teams in our region, and needed a way to bring robot game demonstrations to potential teams. Since a standard robot game table is 48”x96” and I have both limited space in my vehicles and no trailer, a more portable robot game table was required.
Literature Review
One useful list of more portable robot game tables is found at FLL Tutorials’ “Building an FLL Table”. As of 2020-03-15, their publicly available set of designs includes:
- a trifold 48”x32” table originally designed by the Landroids team, curently hosted by Livingston Robotics. Thit looks like a solid and lightweight design, but requires more tools than I had on hand (joiner, planer, router).
- a walls-only table from Kuriosity Robotics. This is very compact, since it packs down to the size of 6 48” 2x4s, but doesn’t include a game table surface
- a foam table by The Inventioneers. They claim it’s quite sturdy, but I can’t easily fit a 48”x48” into my vehicles, and wouldn’t want to strap it to a luggage rack.
- a trifold 48”x32” table originally designed by Lance Salyers. Lance’s original Google Drive link is now dead, so I’ve linked to my copy of his PDF.
I went with Lance’s design, since it only required a circular saw and screws, all the parts were available at my local Lowe’s, and it fits in the back of my Honda Fit.
The only place I deviated from Lance’s plans was that I didn’t use the steel hasps to keep the sections of the table rigid when flattened out. So far, I’ve only placed the game table on other tables, and not sawhorses, so it hasn’t been an issue.
Solid Model Screenshots
Rolling configuration:
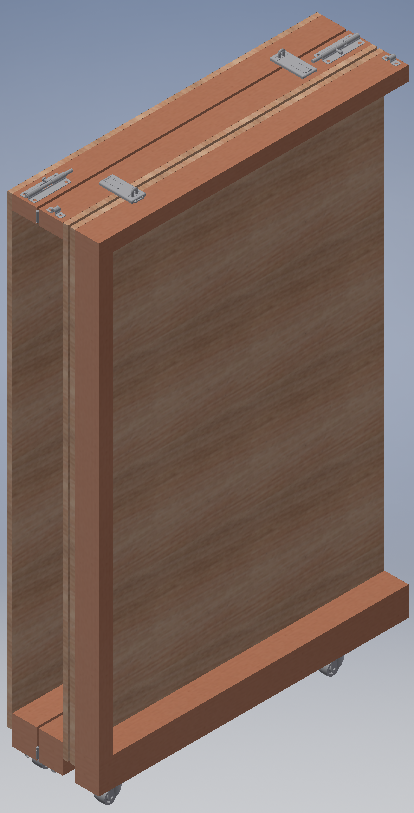
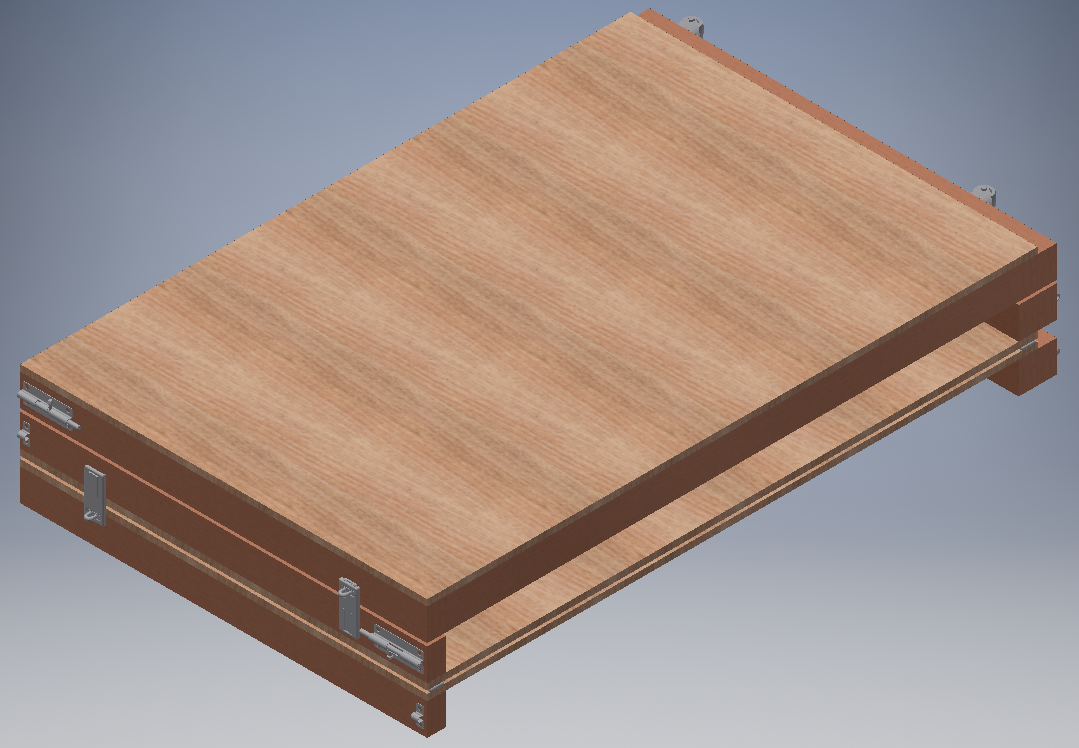
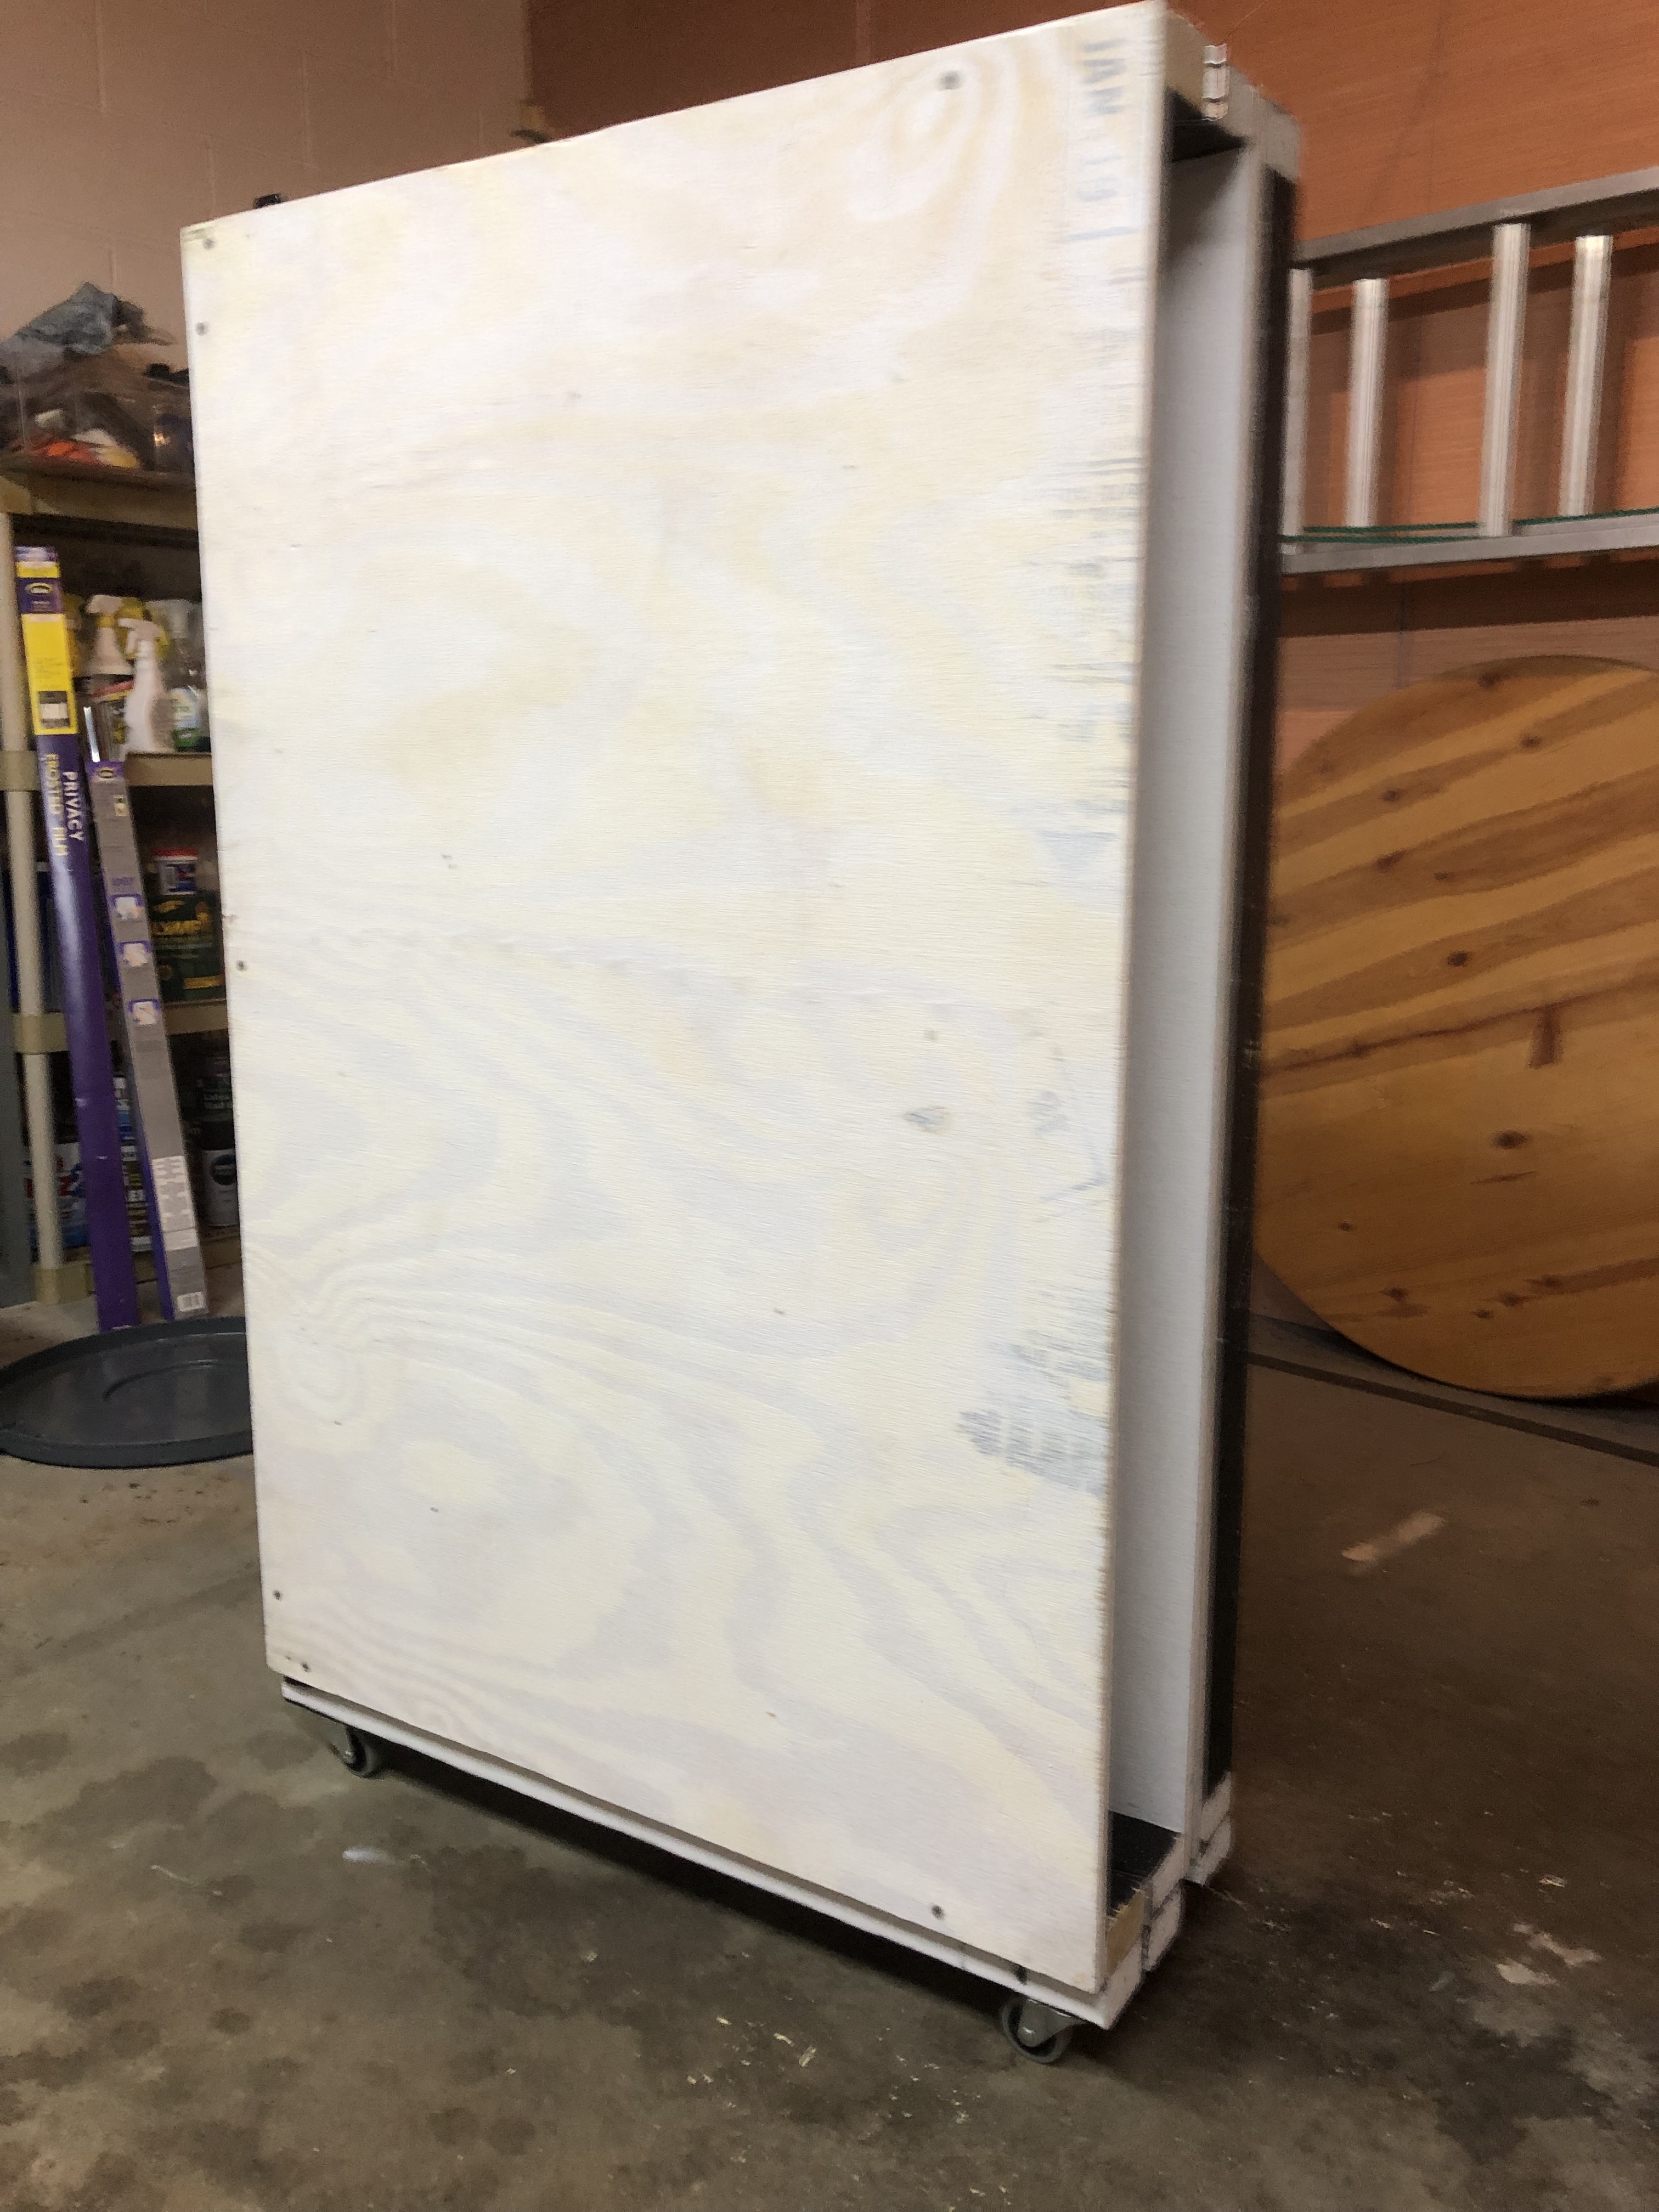
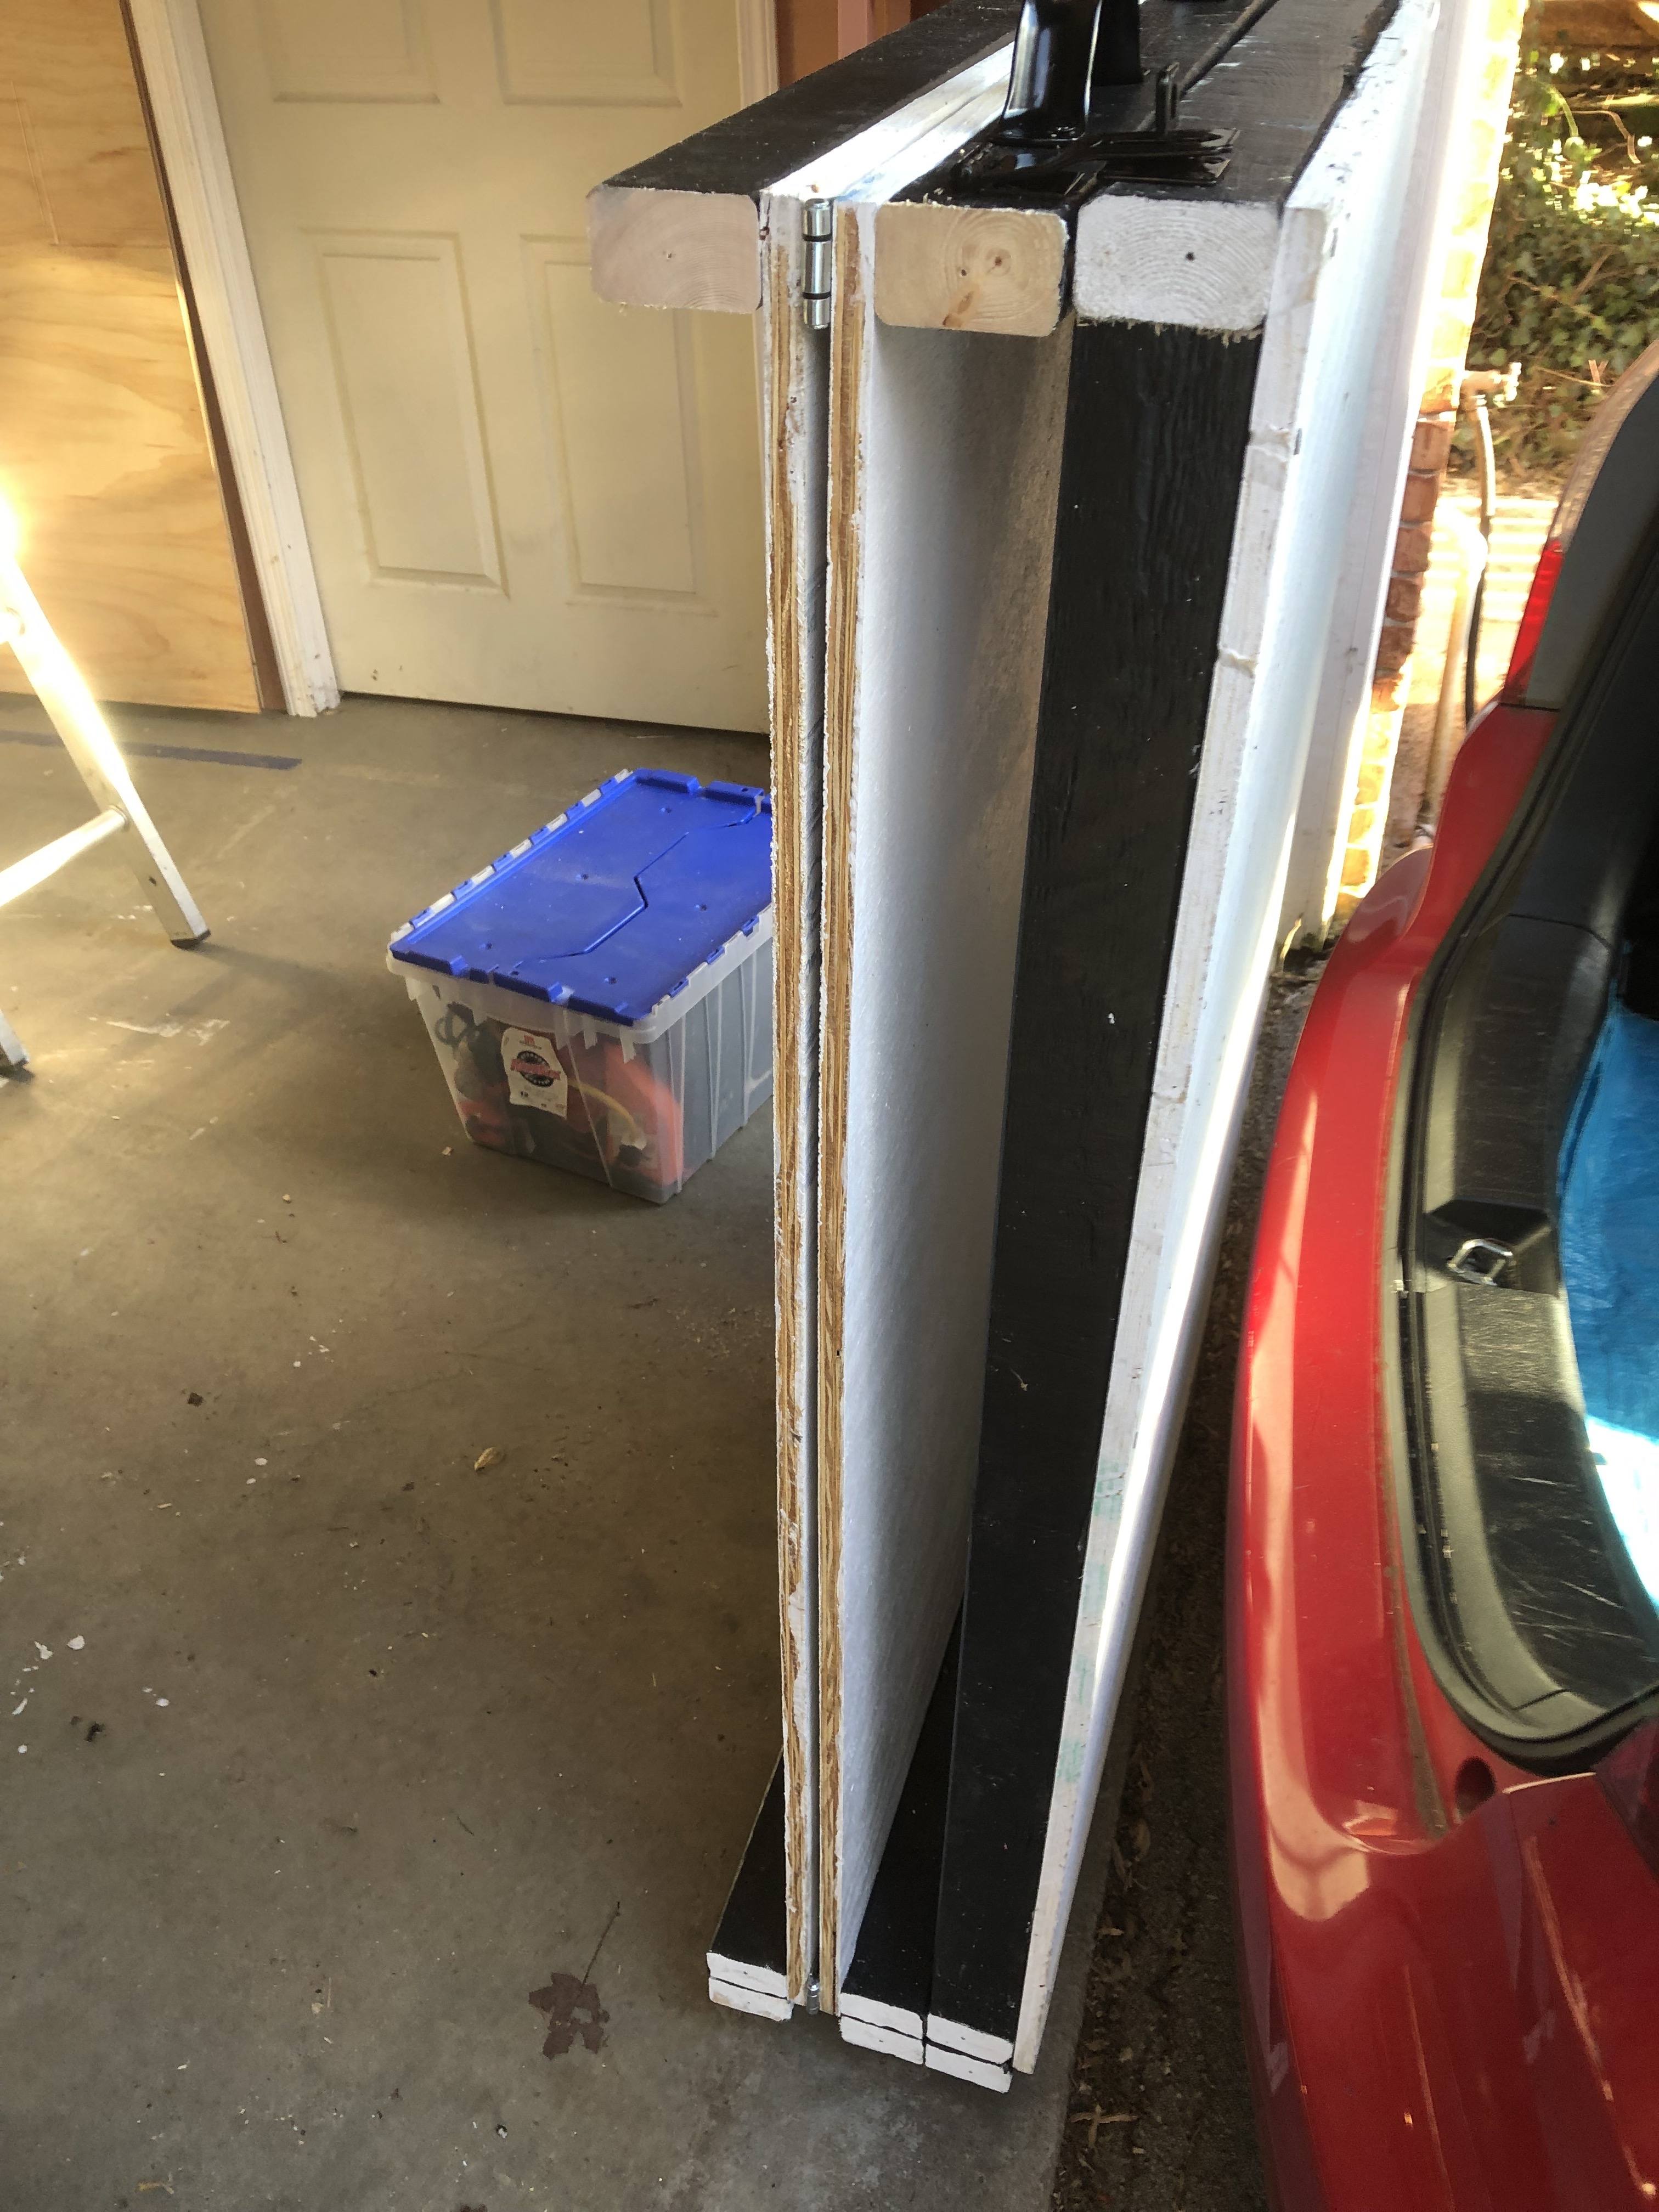
Flat, folded configuration:
Unfolding:
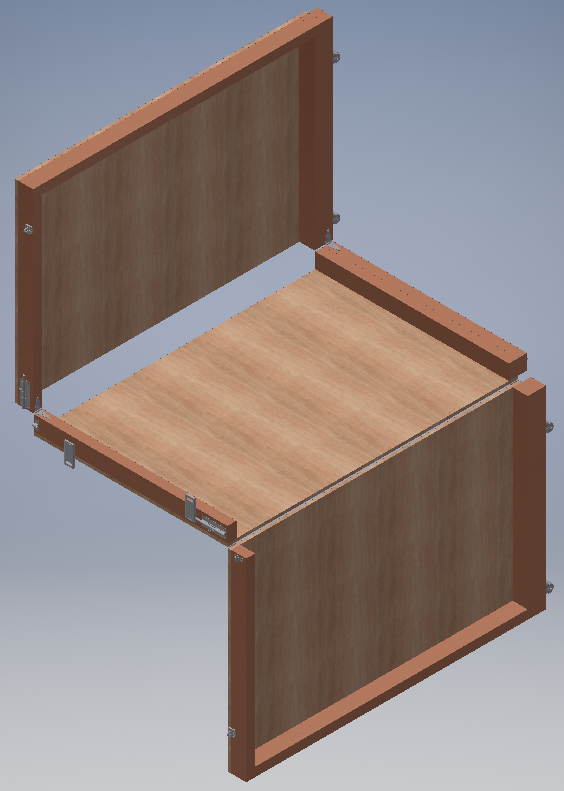
Unfolded:

Build Photos
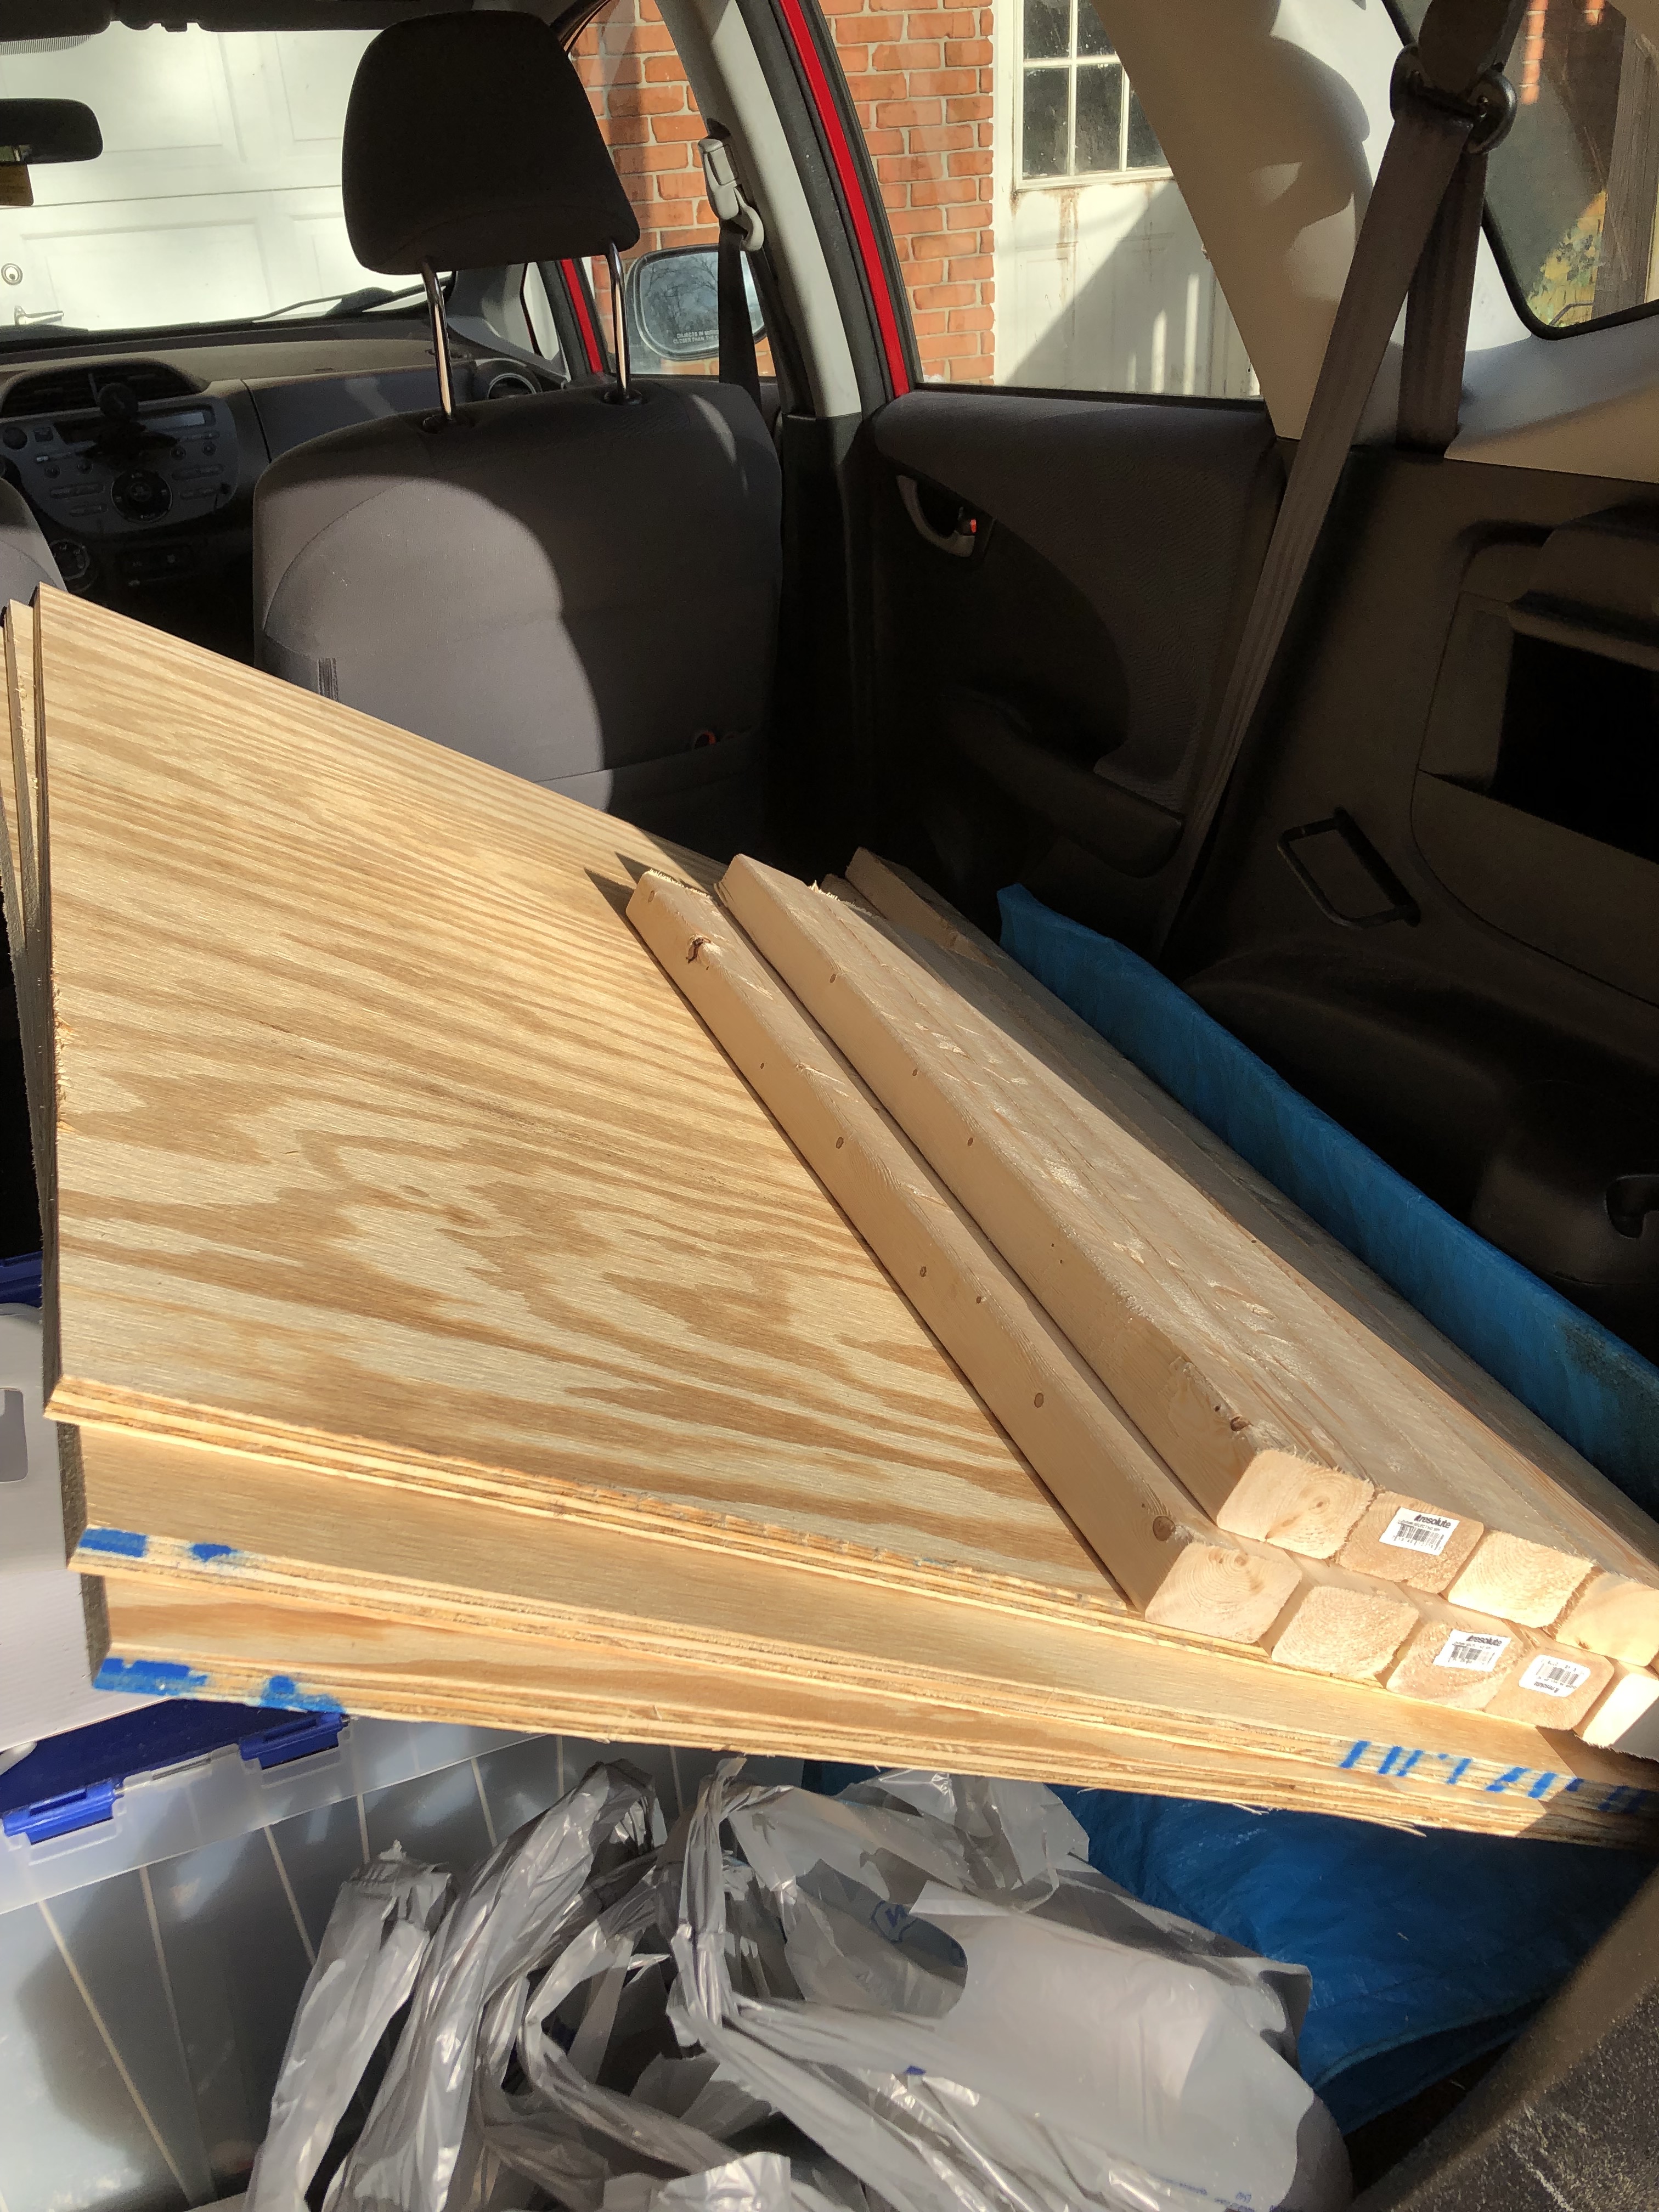
The return trip from Lowe’s—I had them cut the 48”x96” plywood and three of the 96” 2x4s into three equal pieces, and cut the last 96” 2x4 in half:
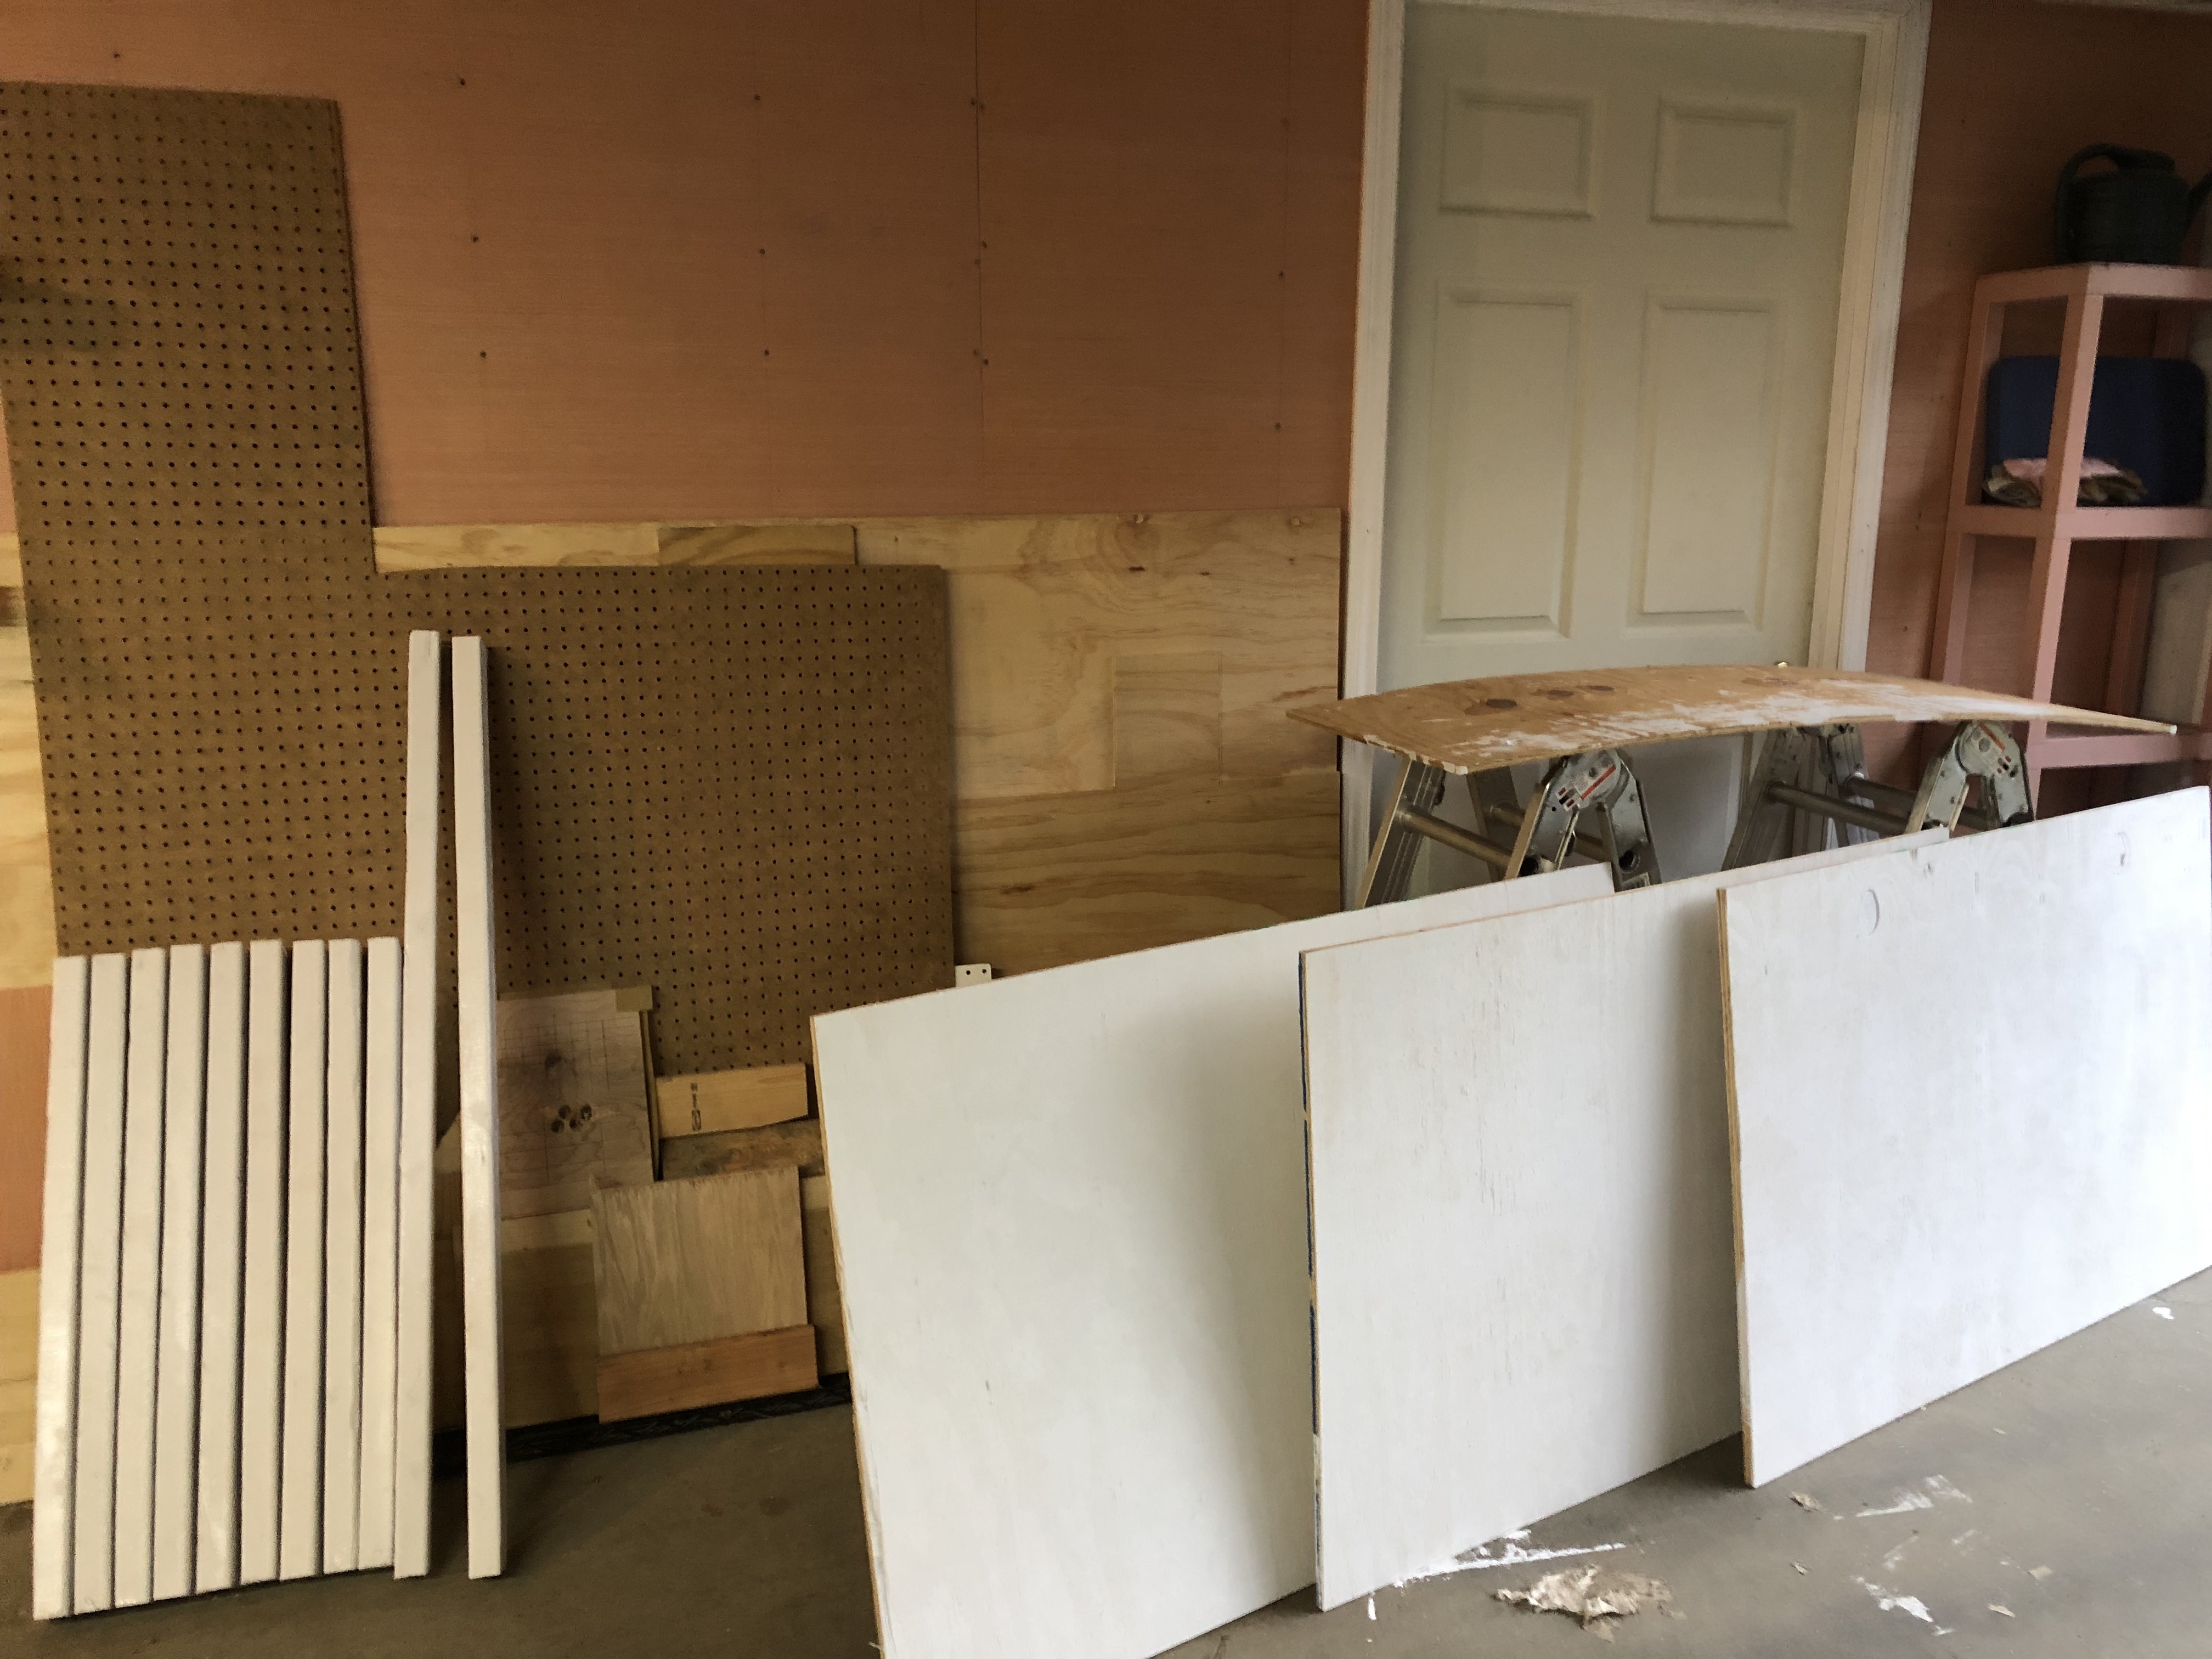
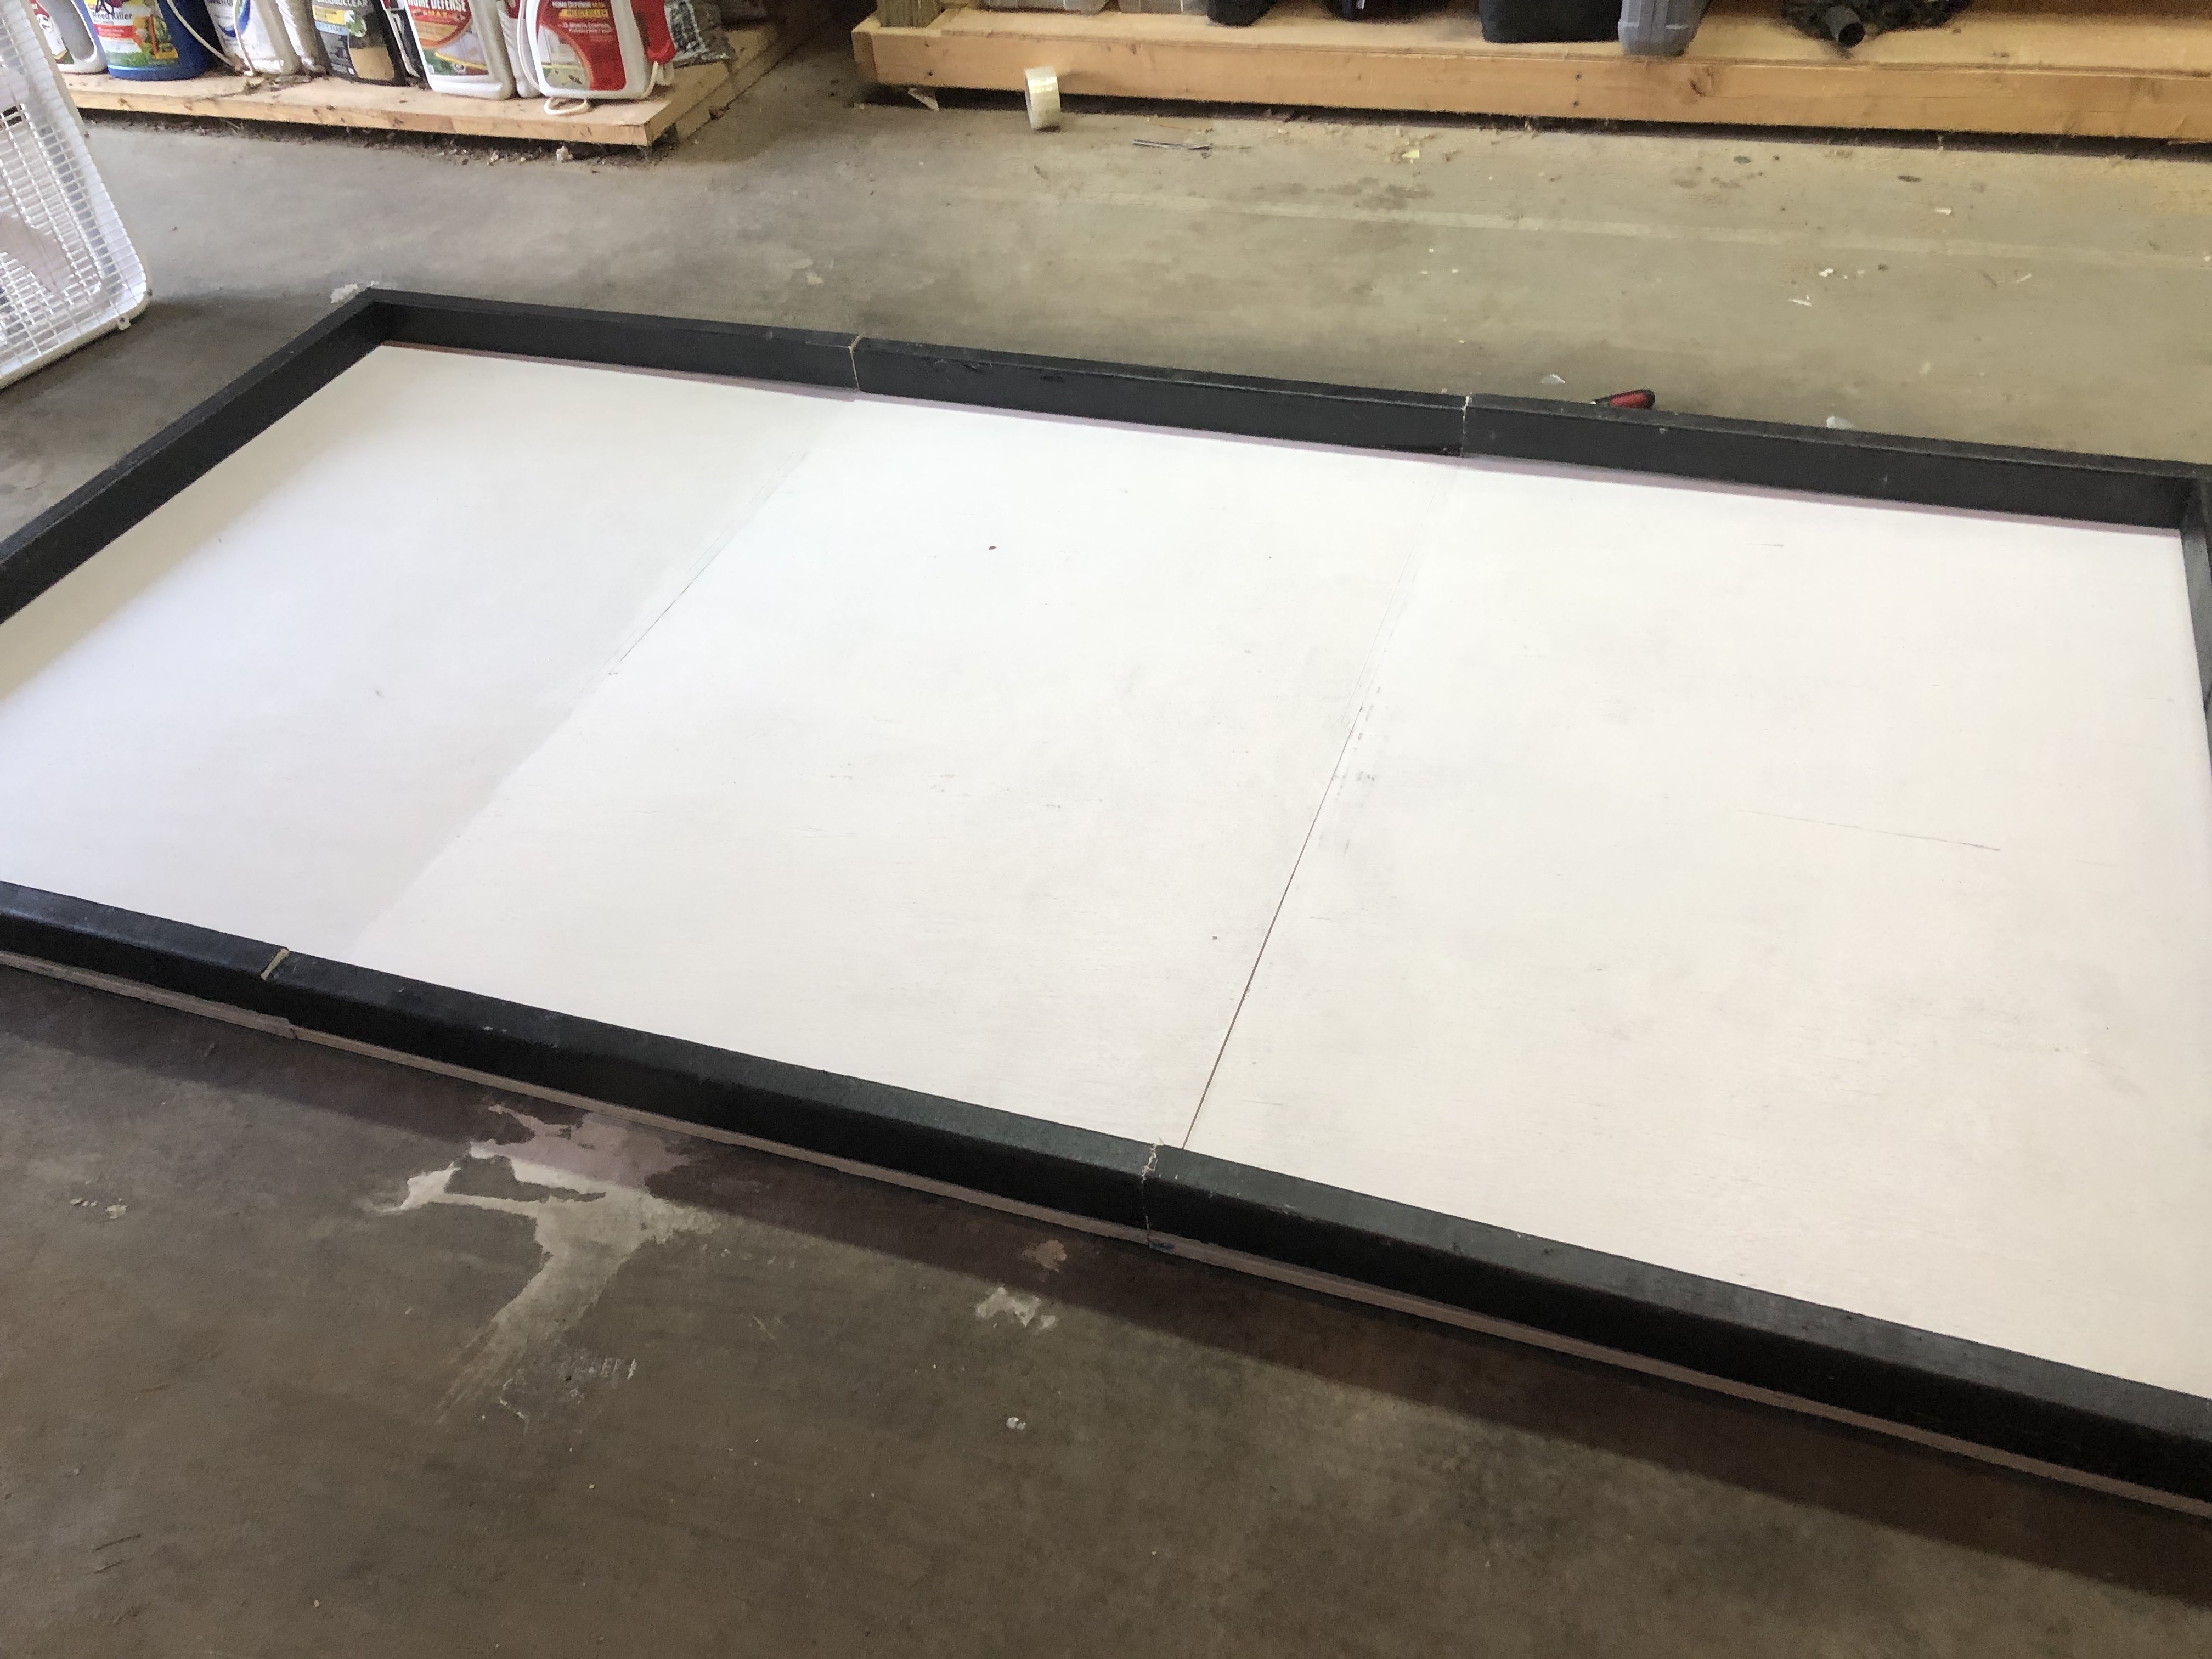
After priming:
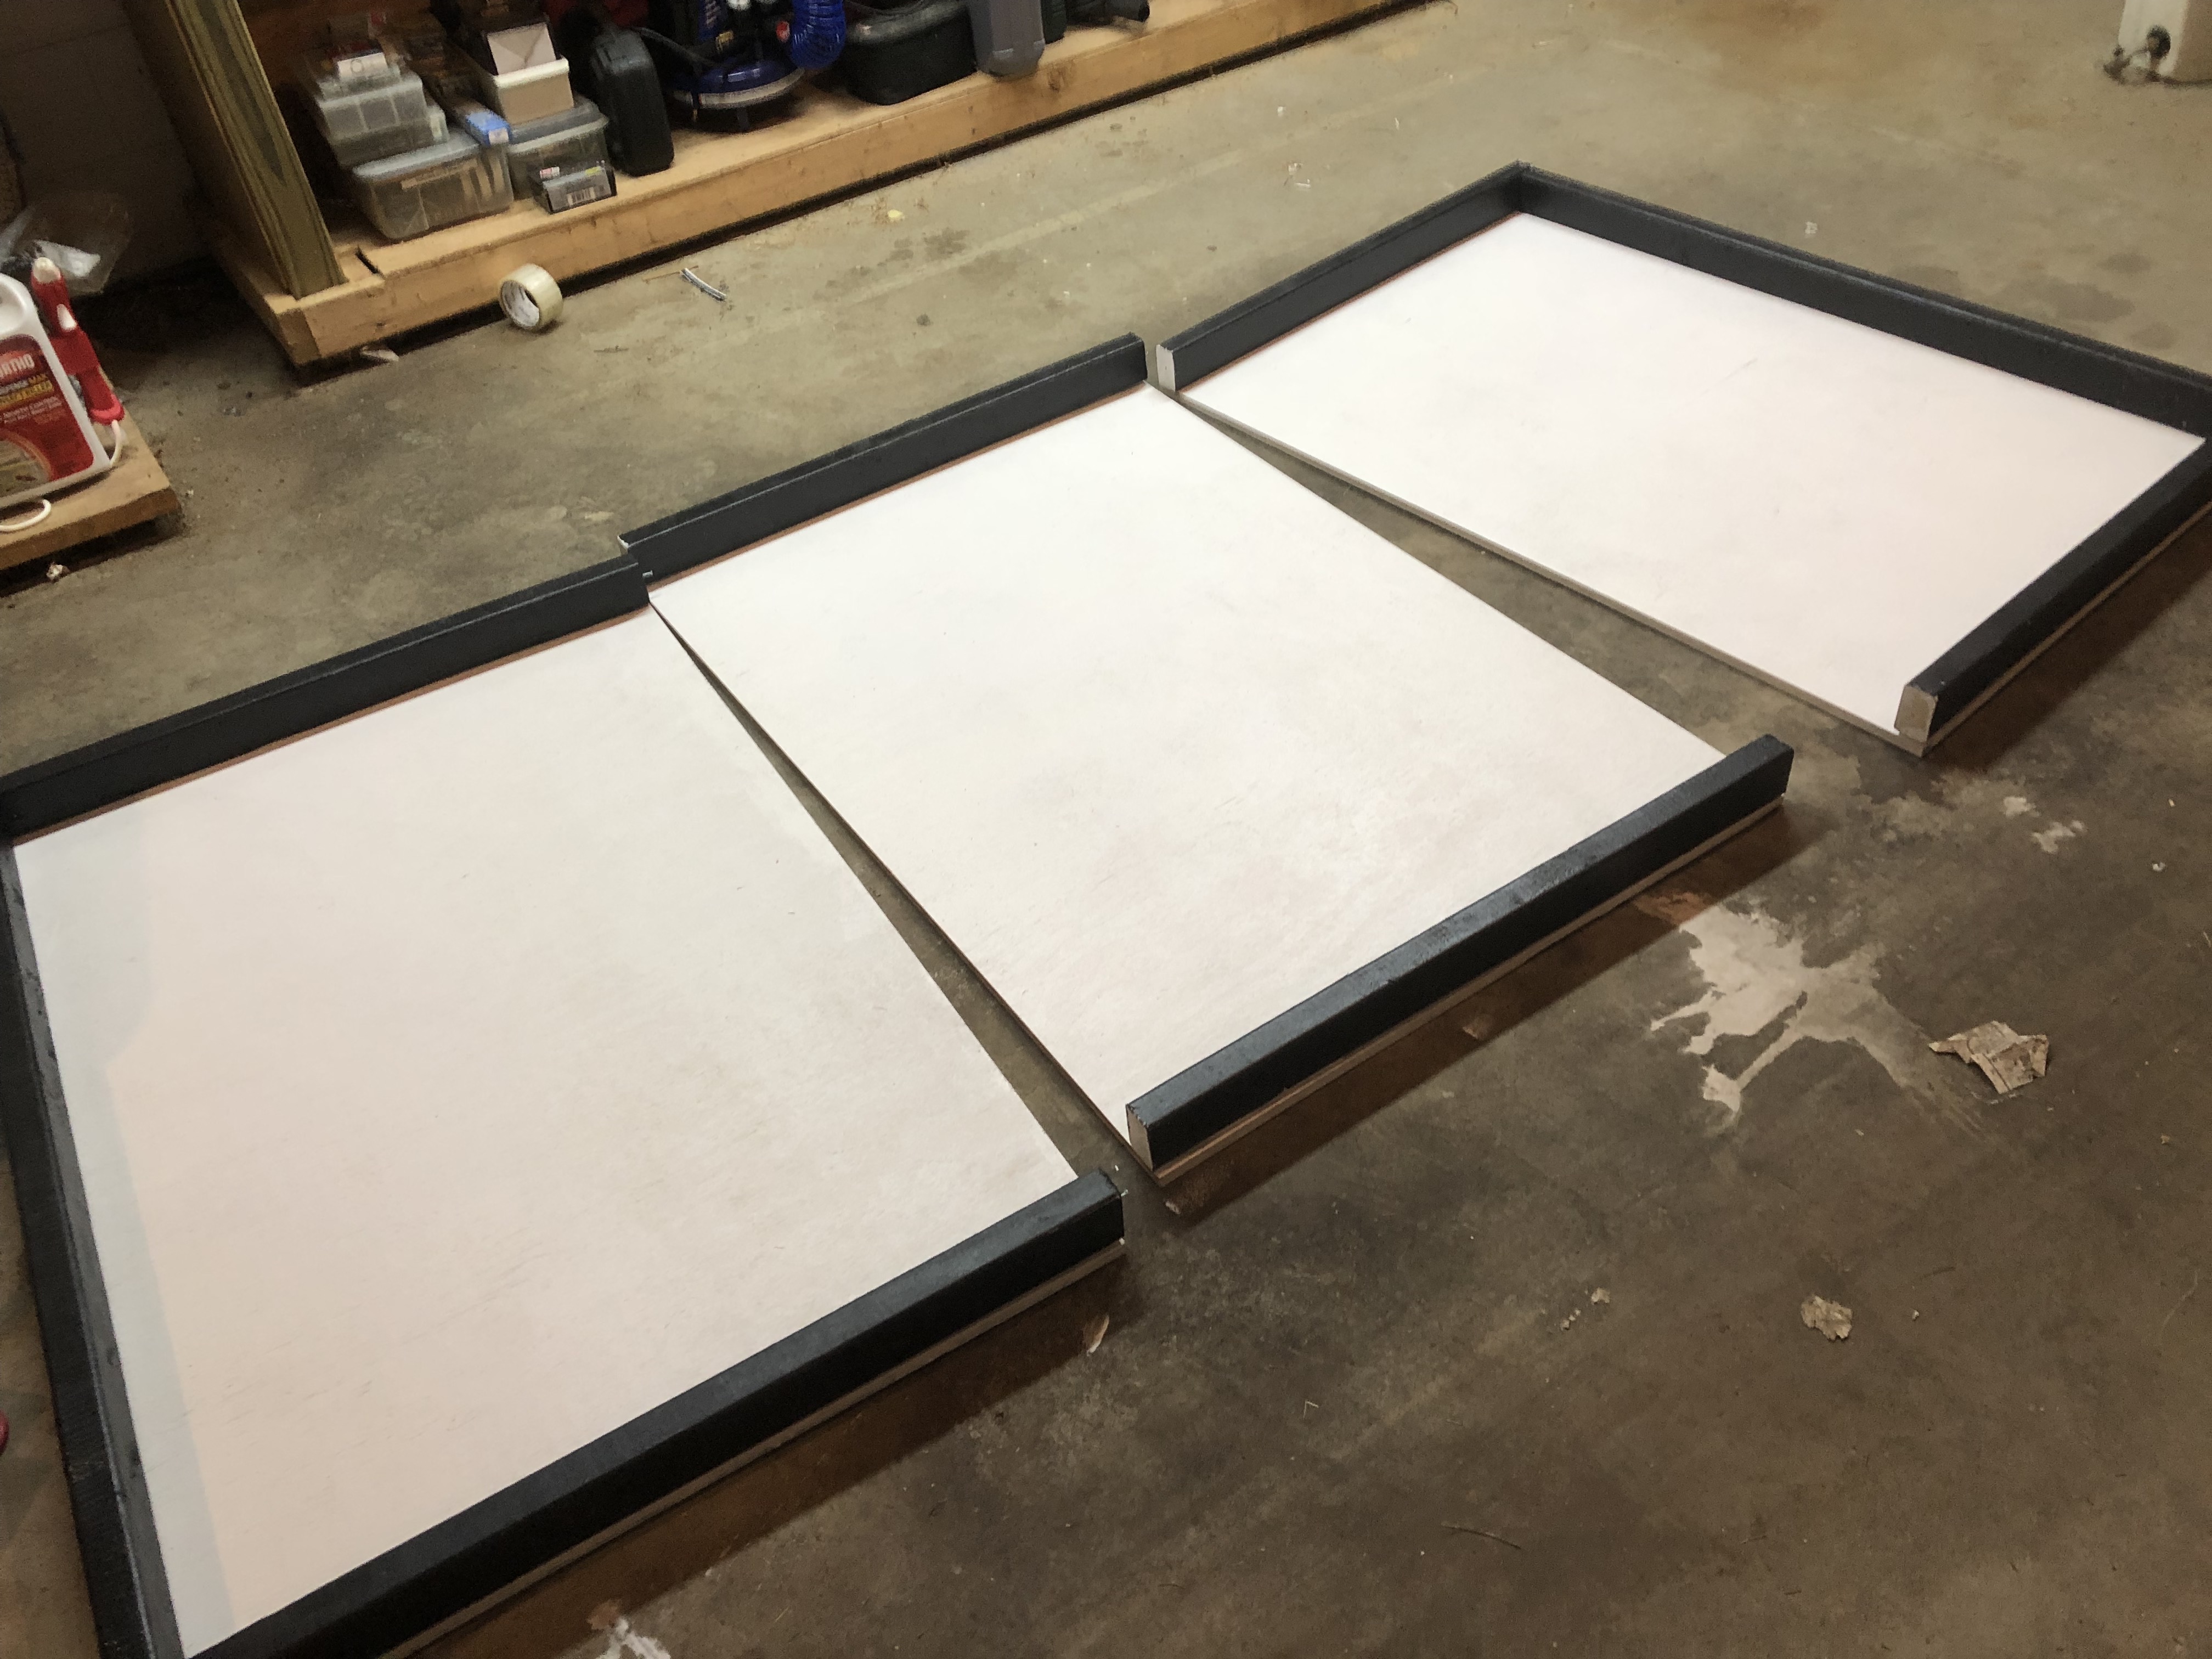
Test assembly without fasteners to find the arrangement that has the tightest fit between sections:
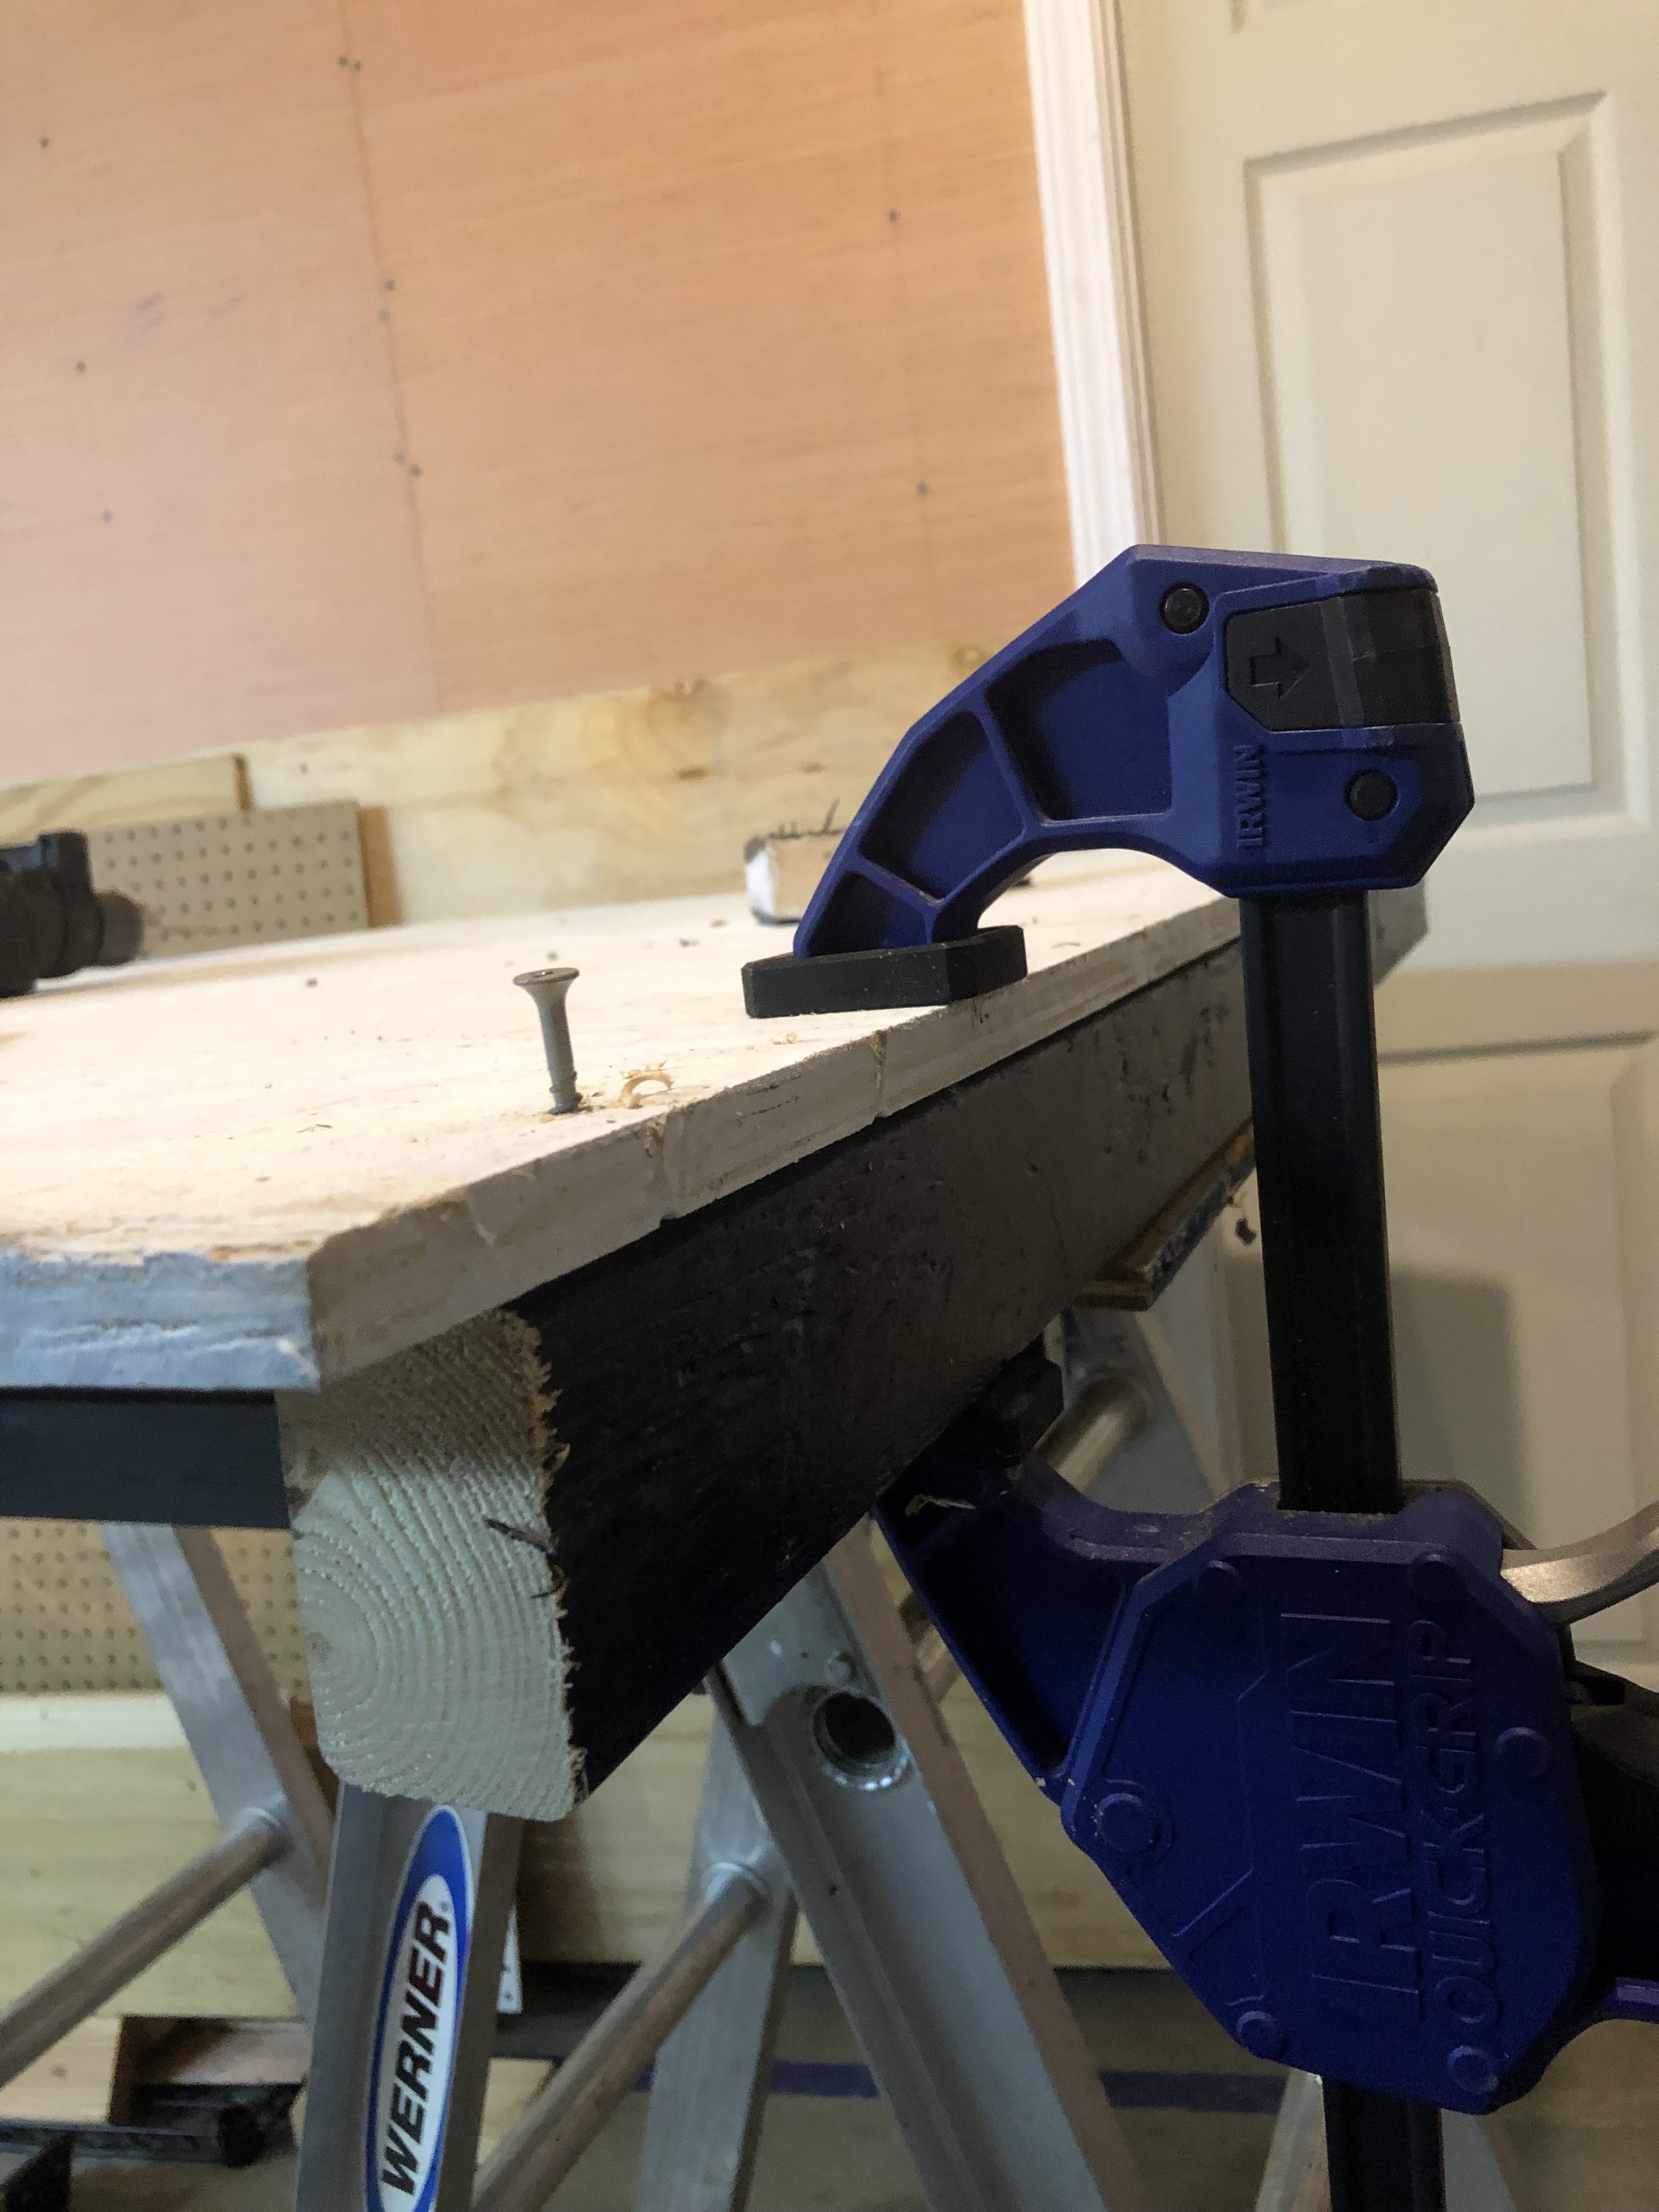
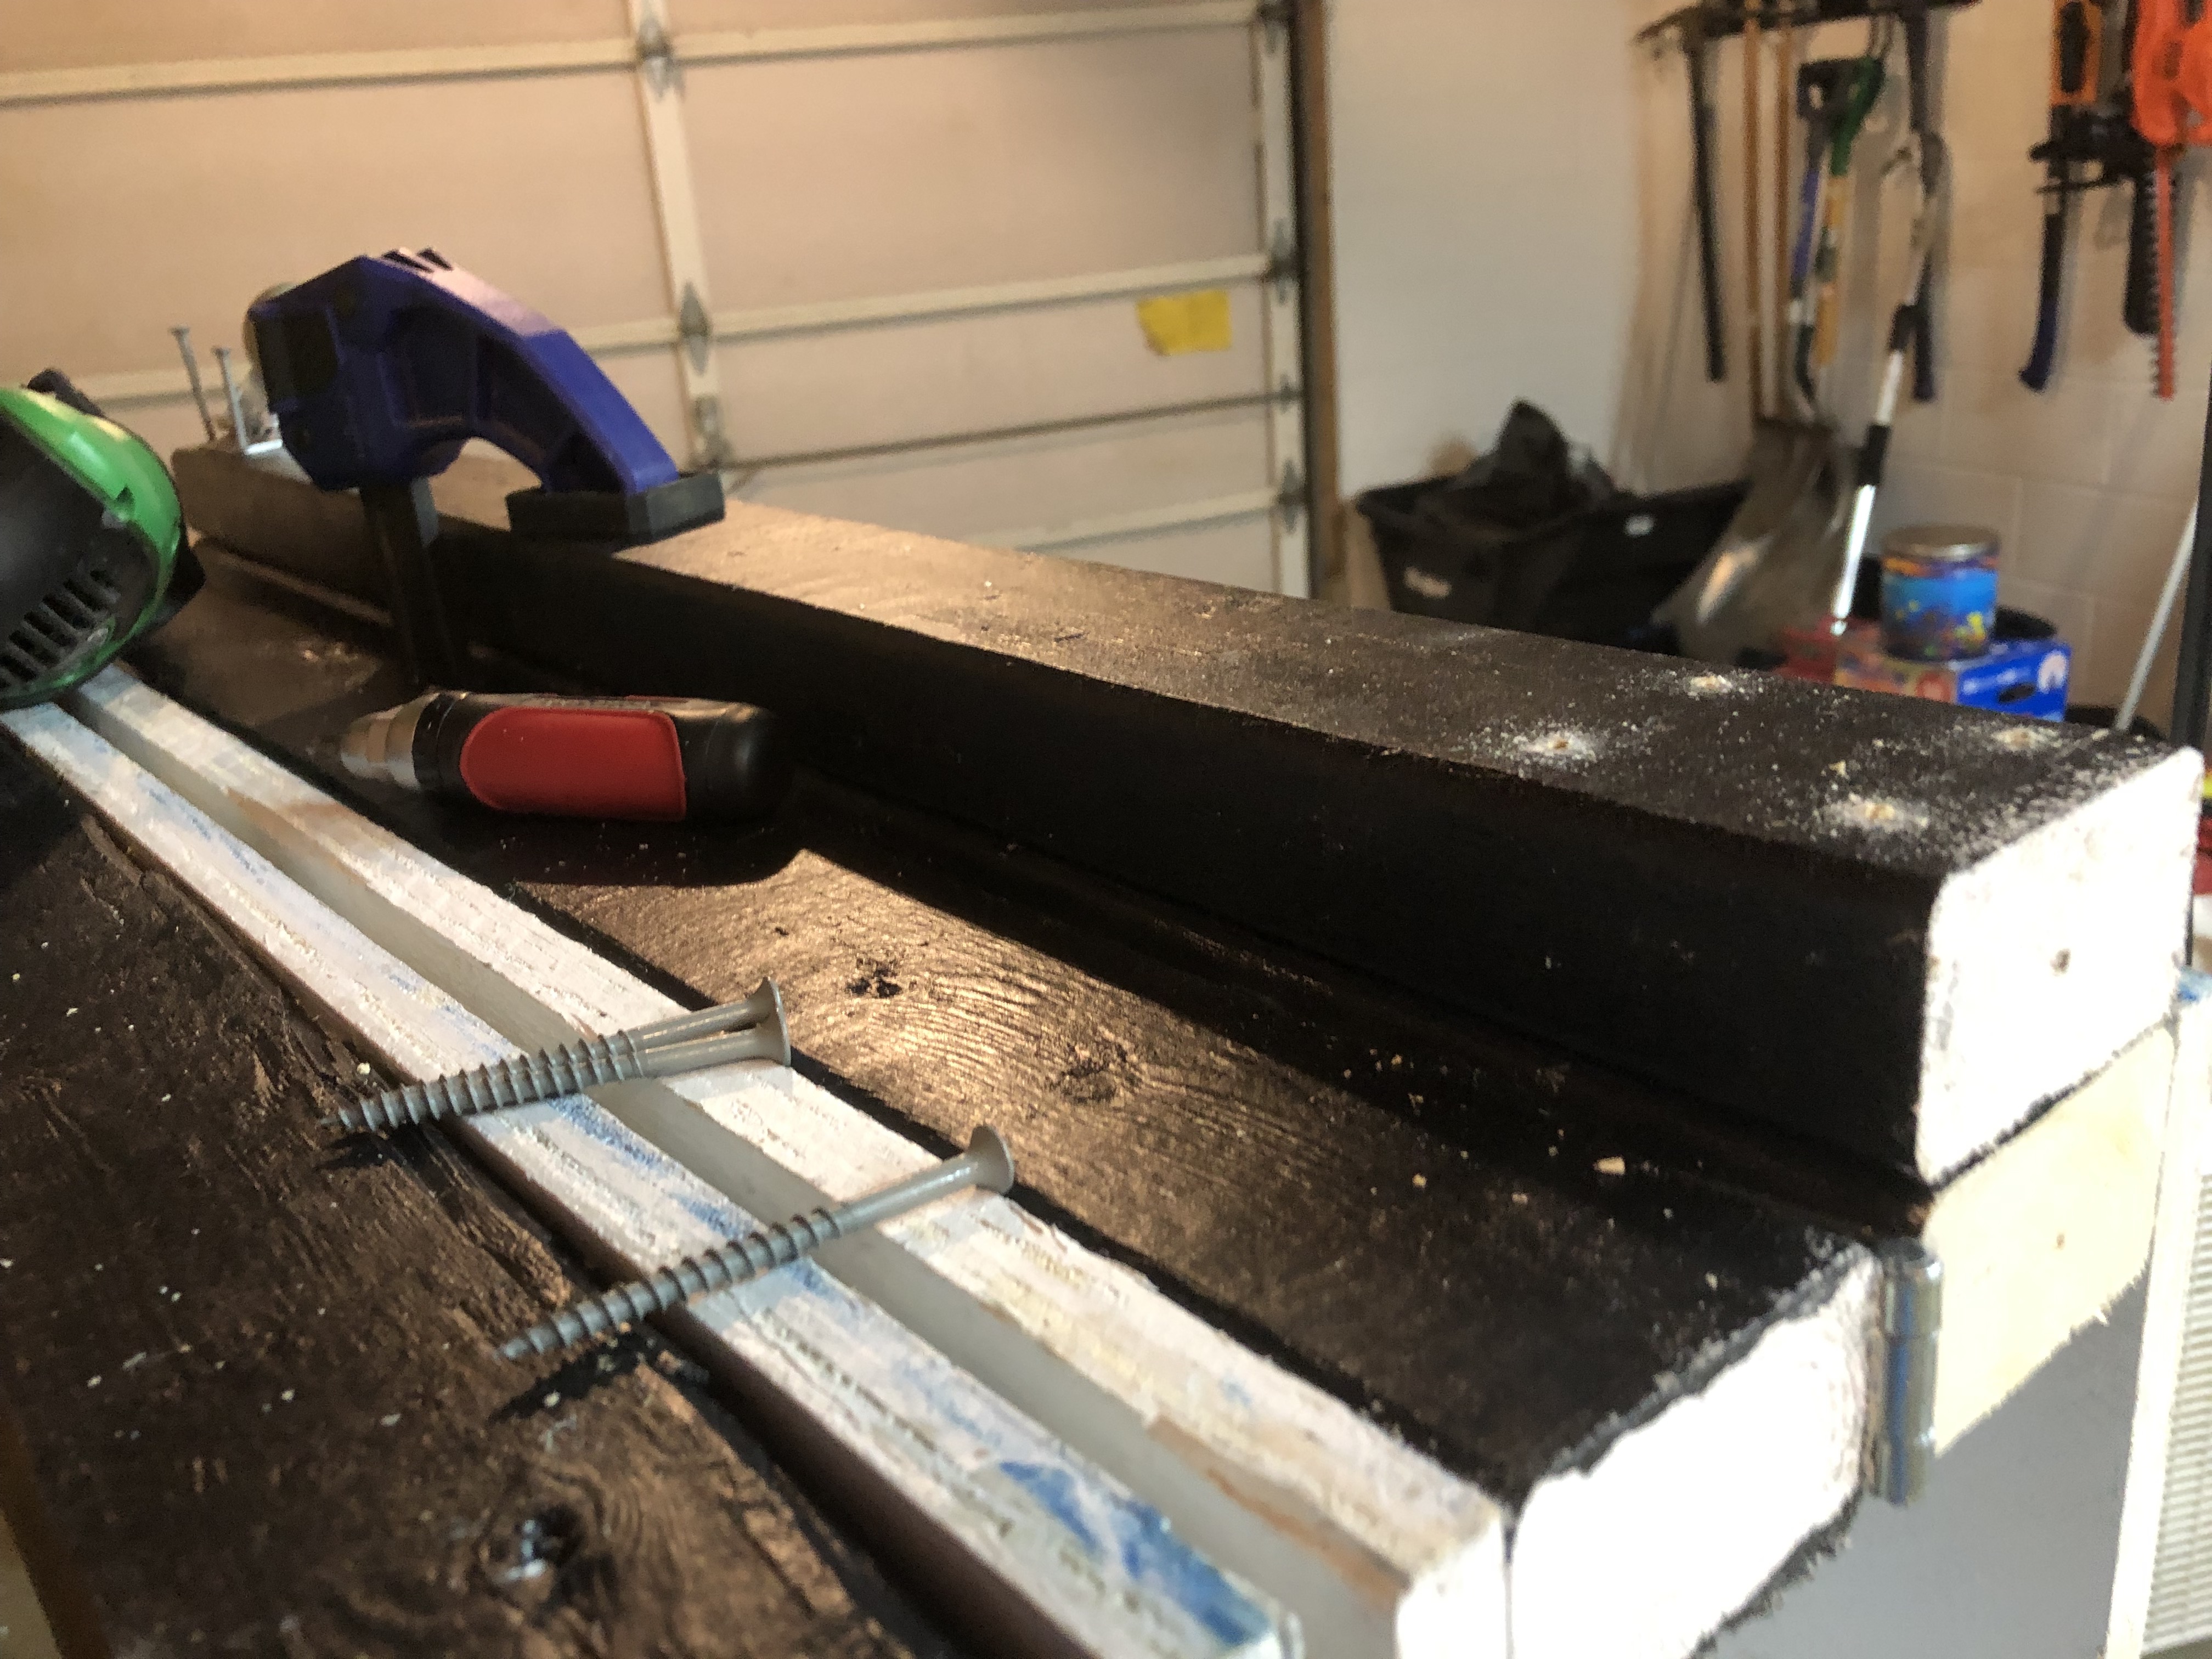
Clamping and attaching sides to table surface with drywall screws:
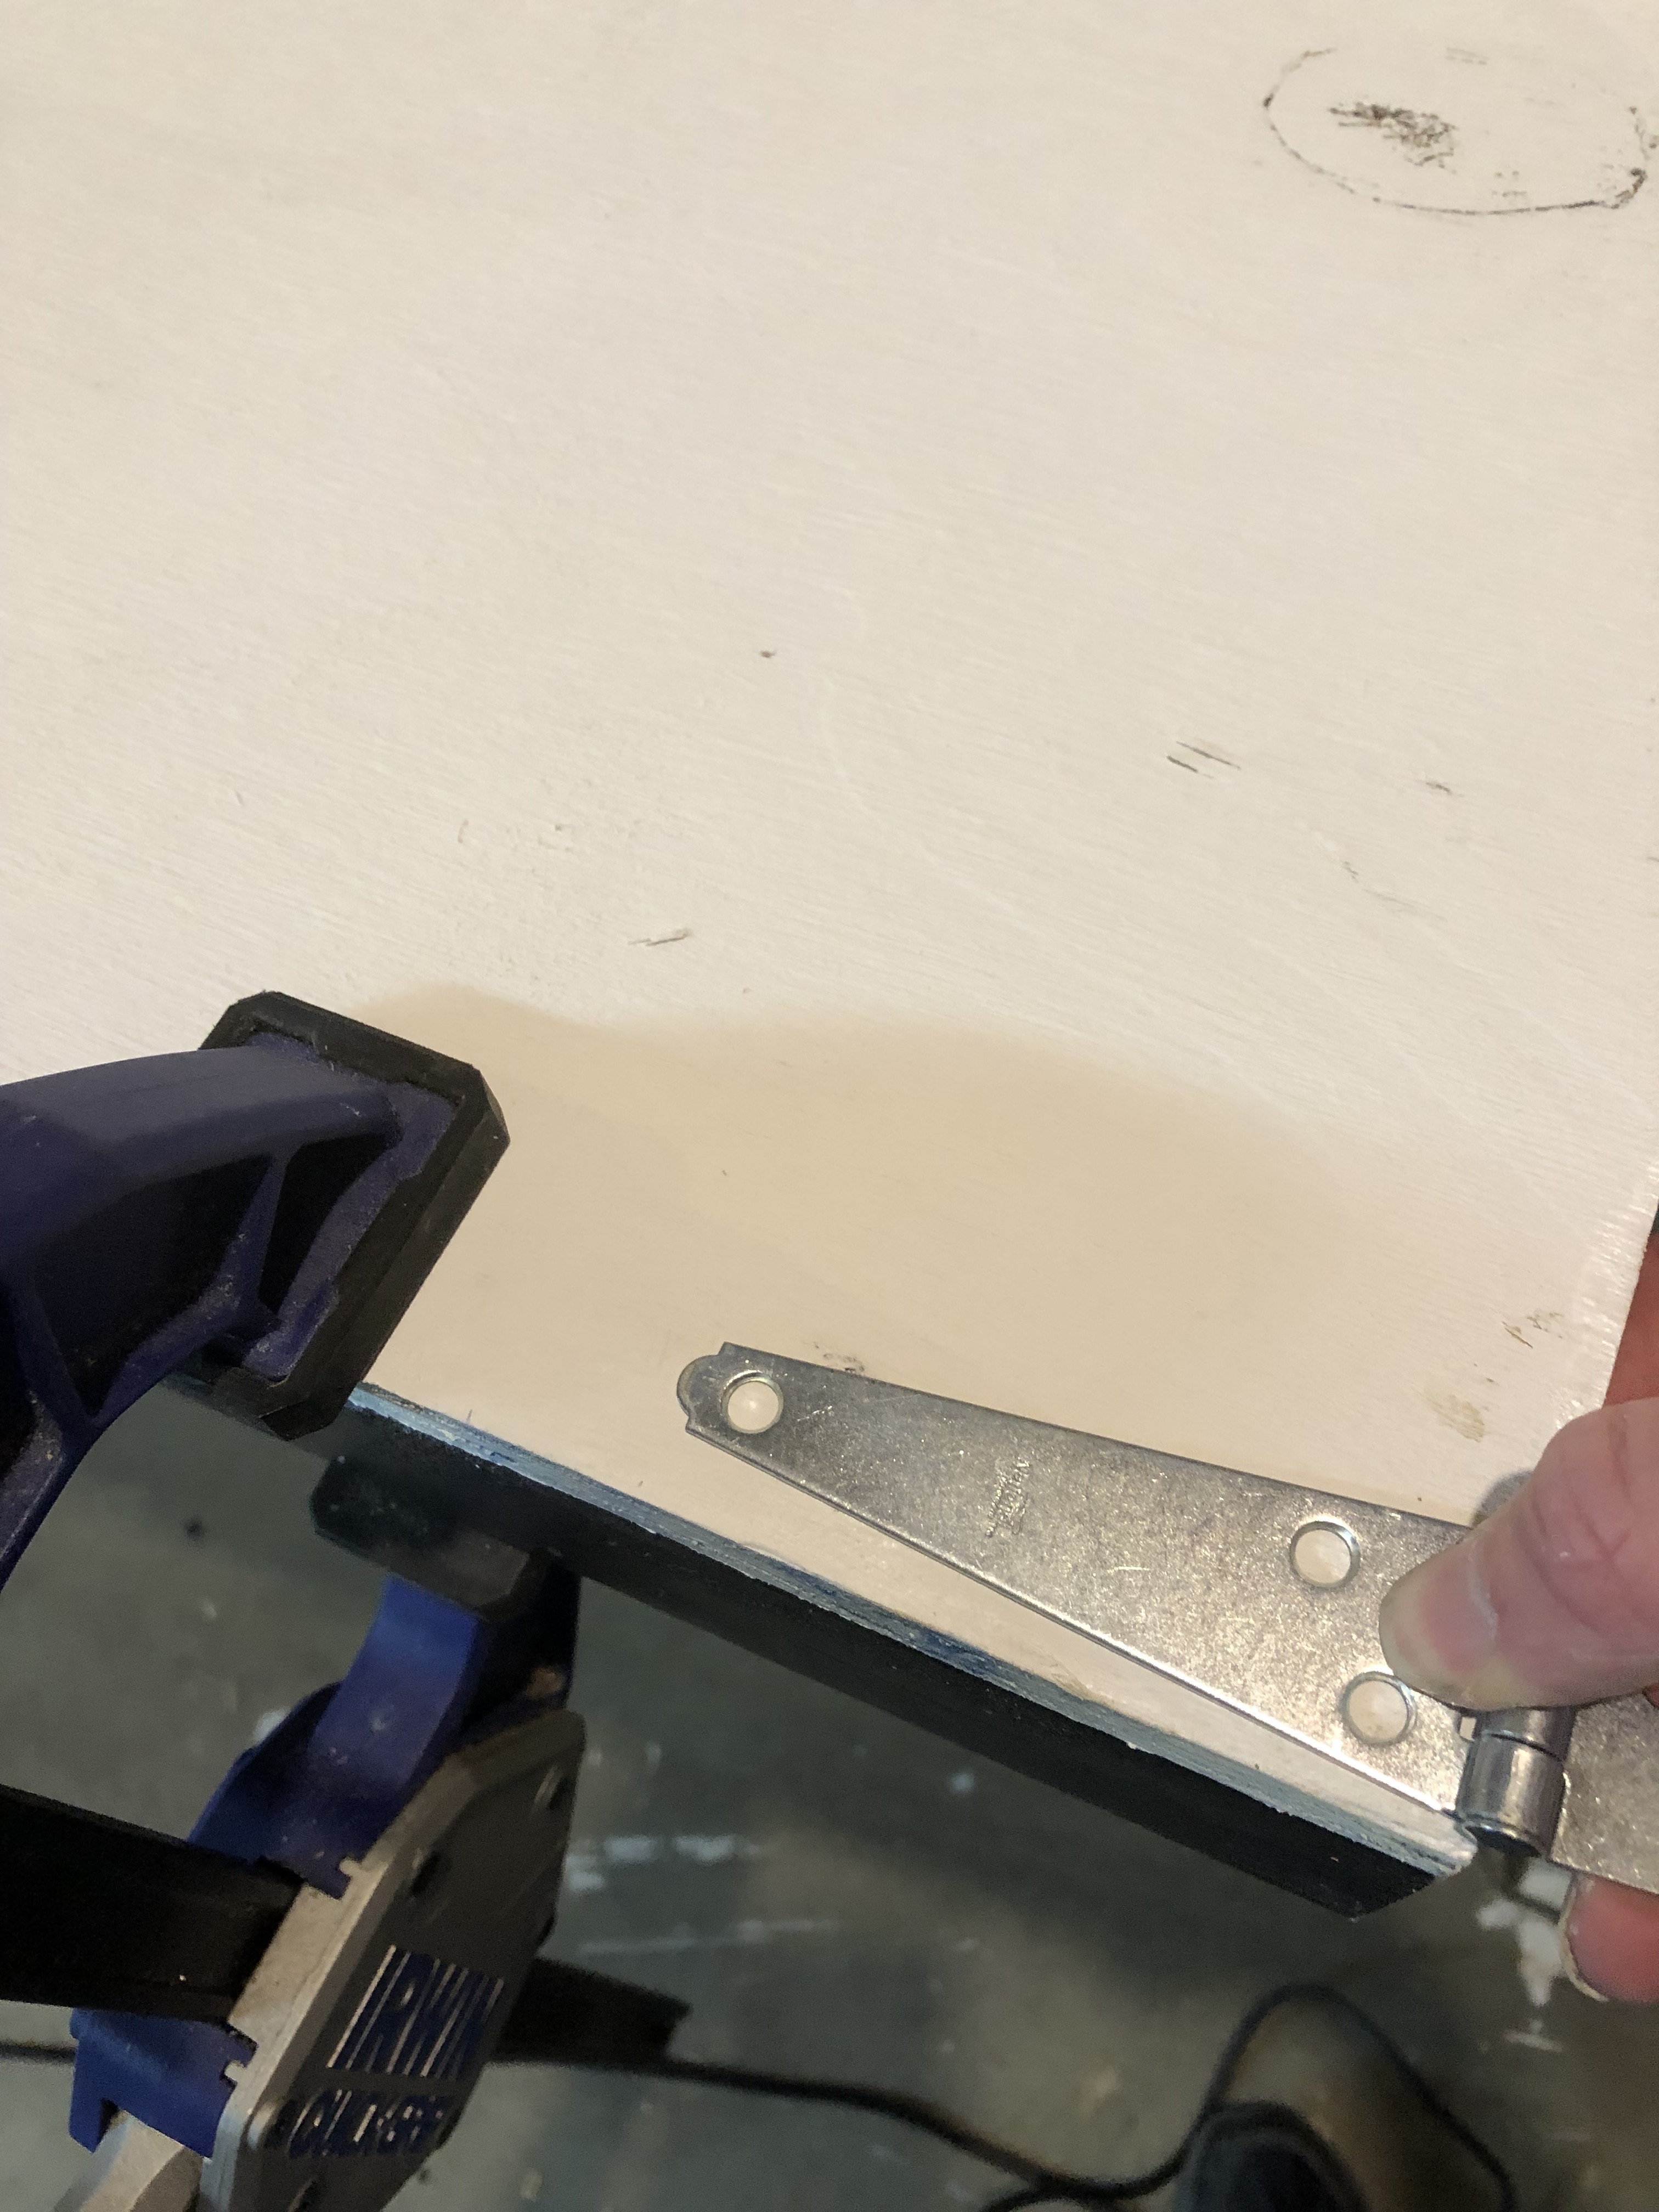
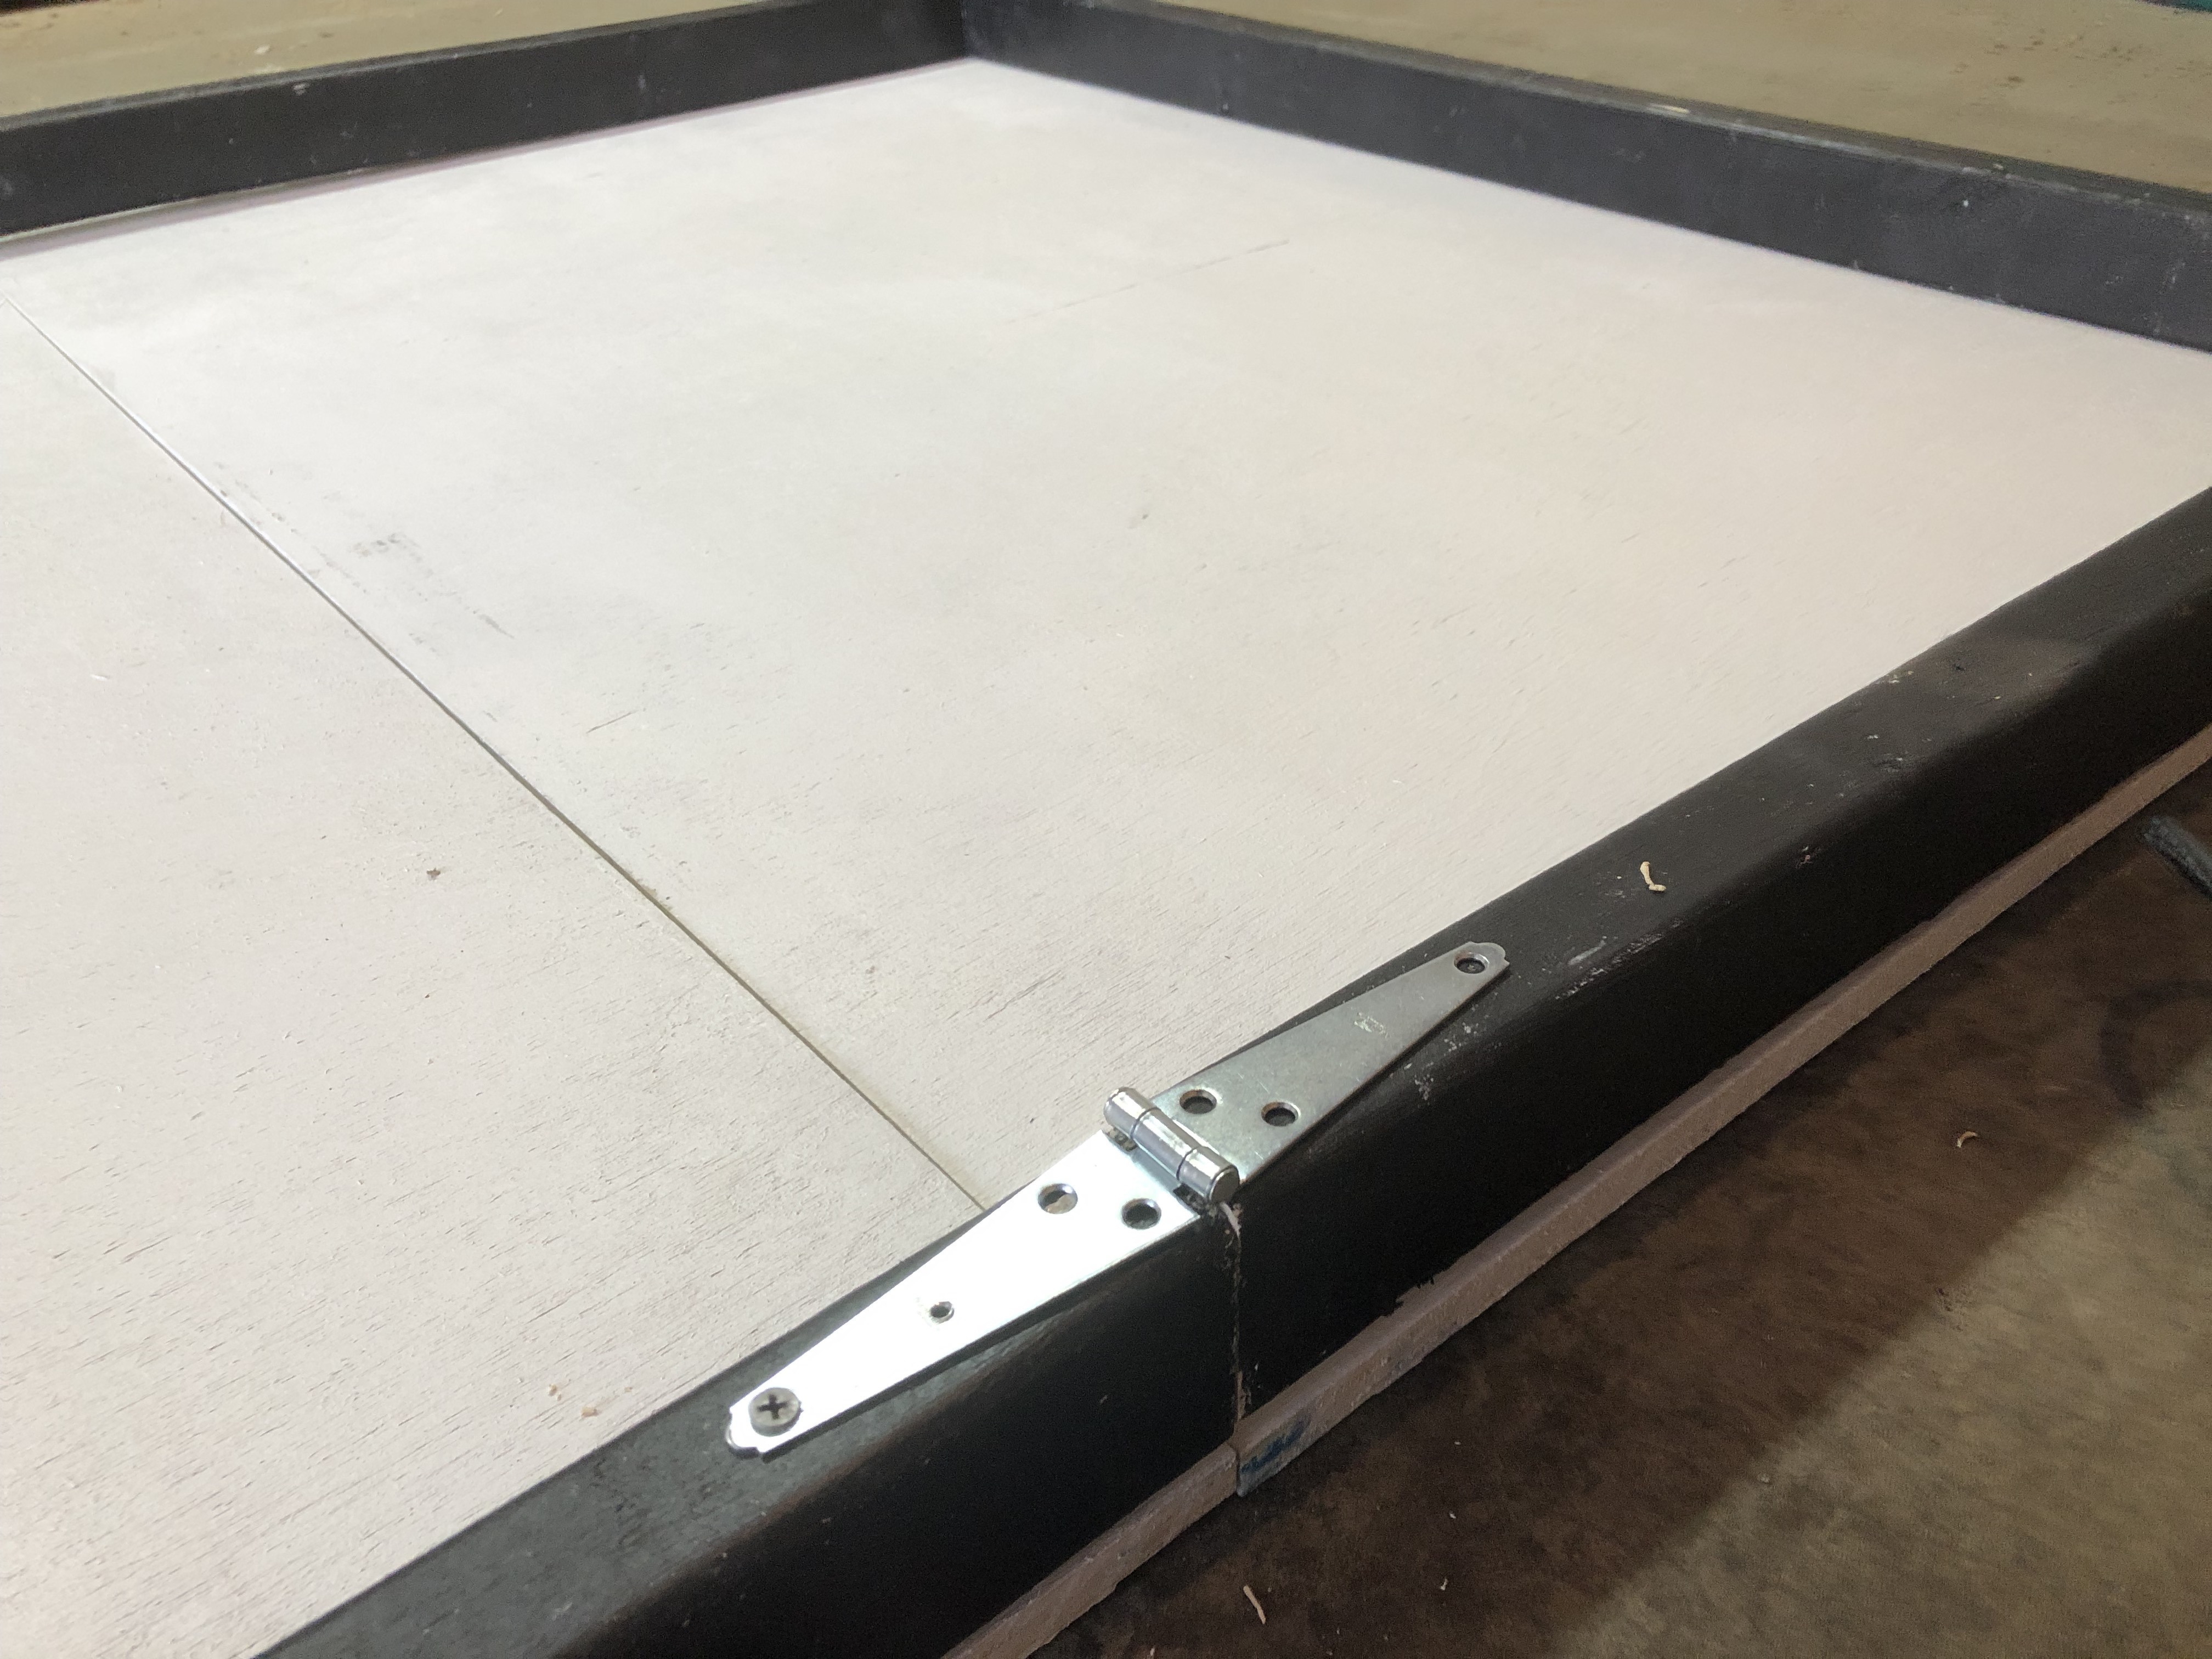
Checking the top hinge assembly:
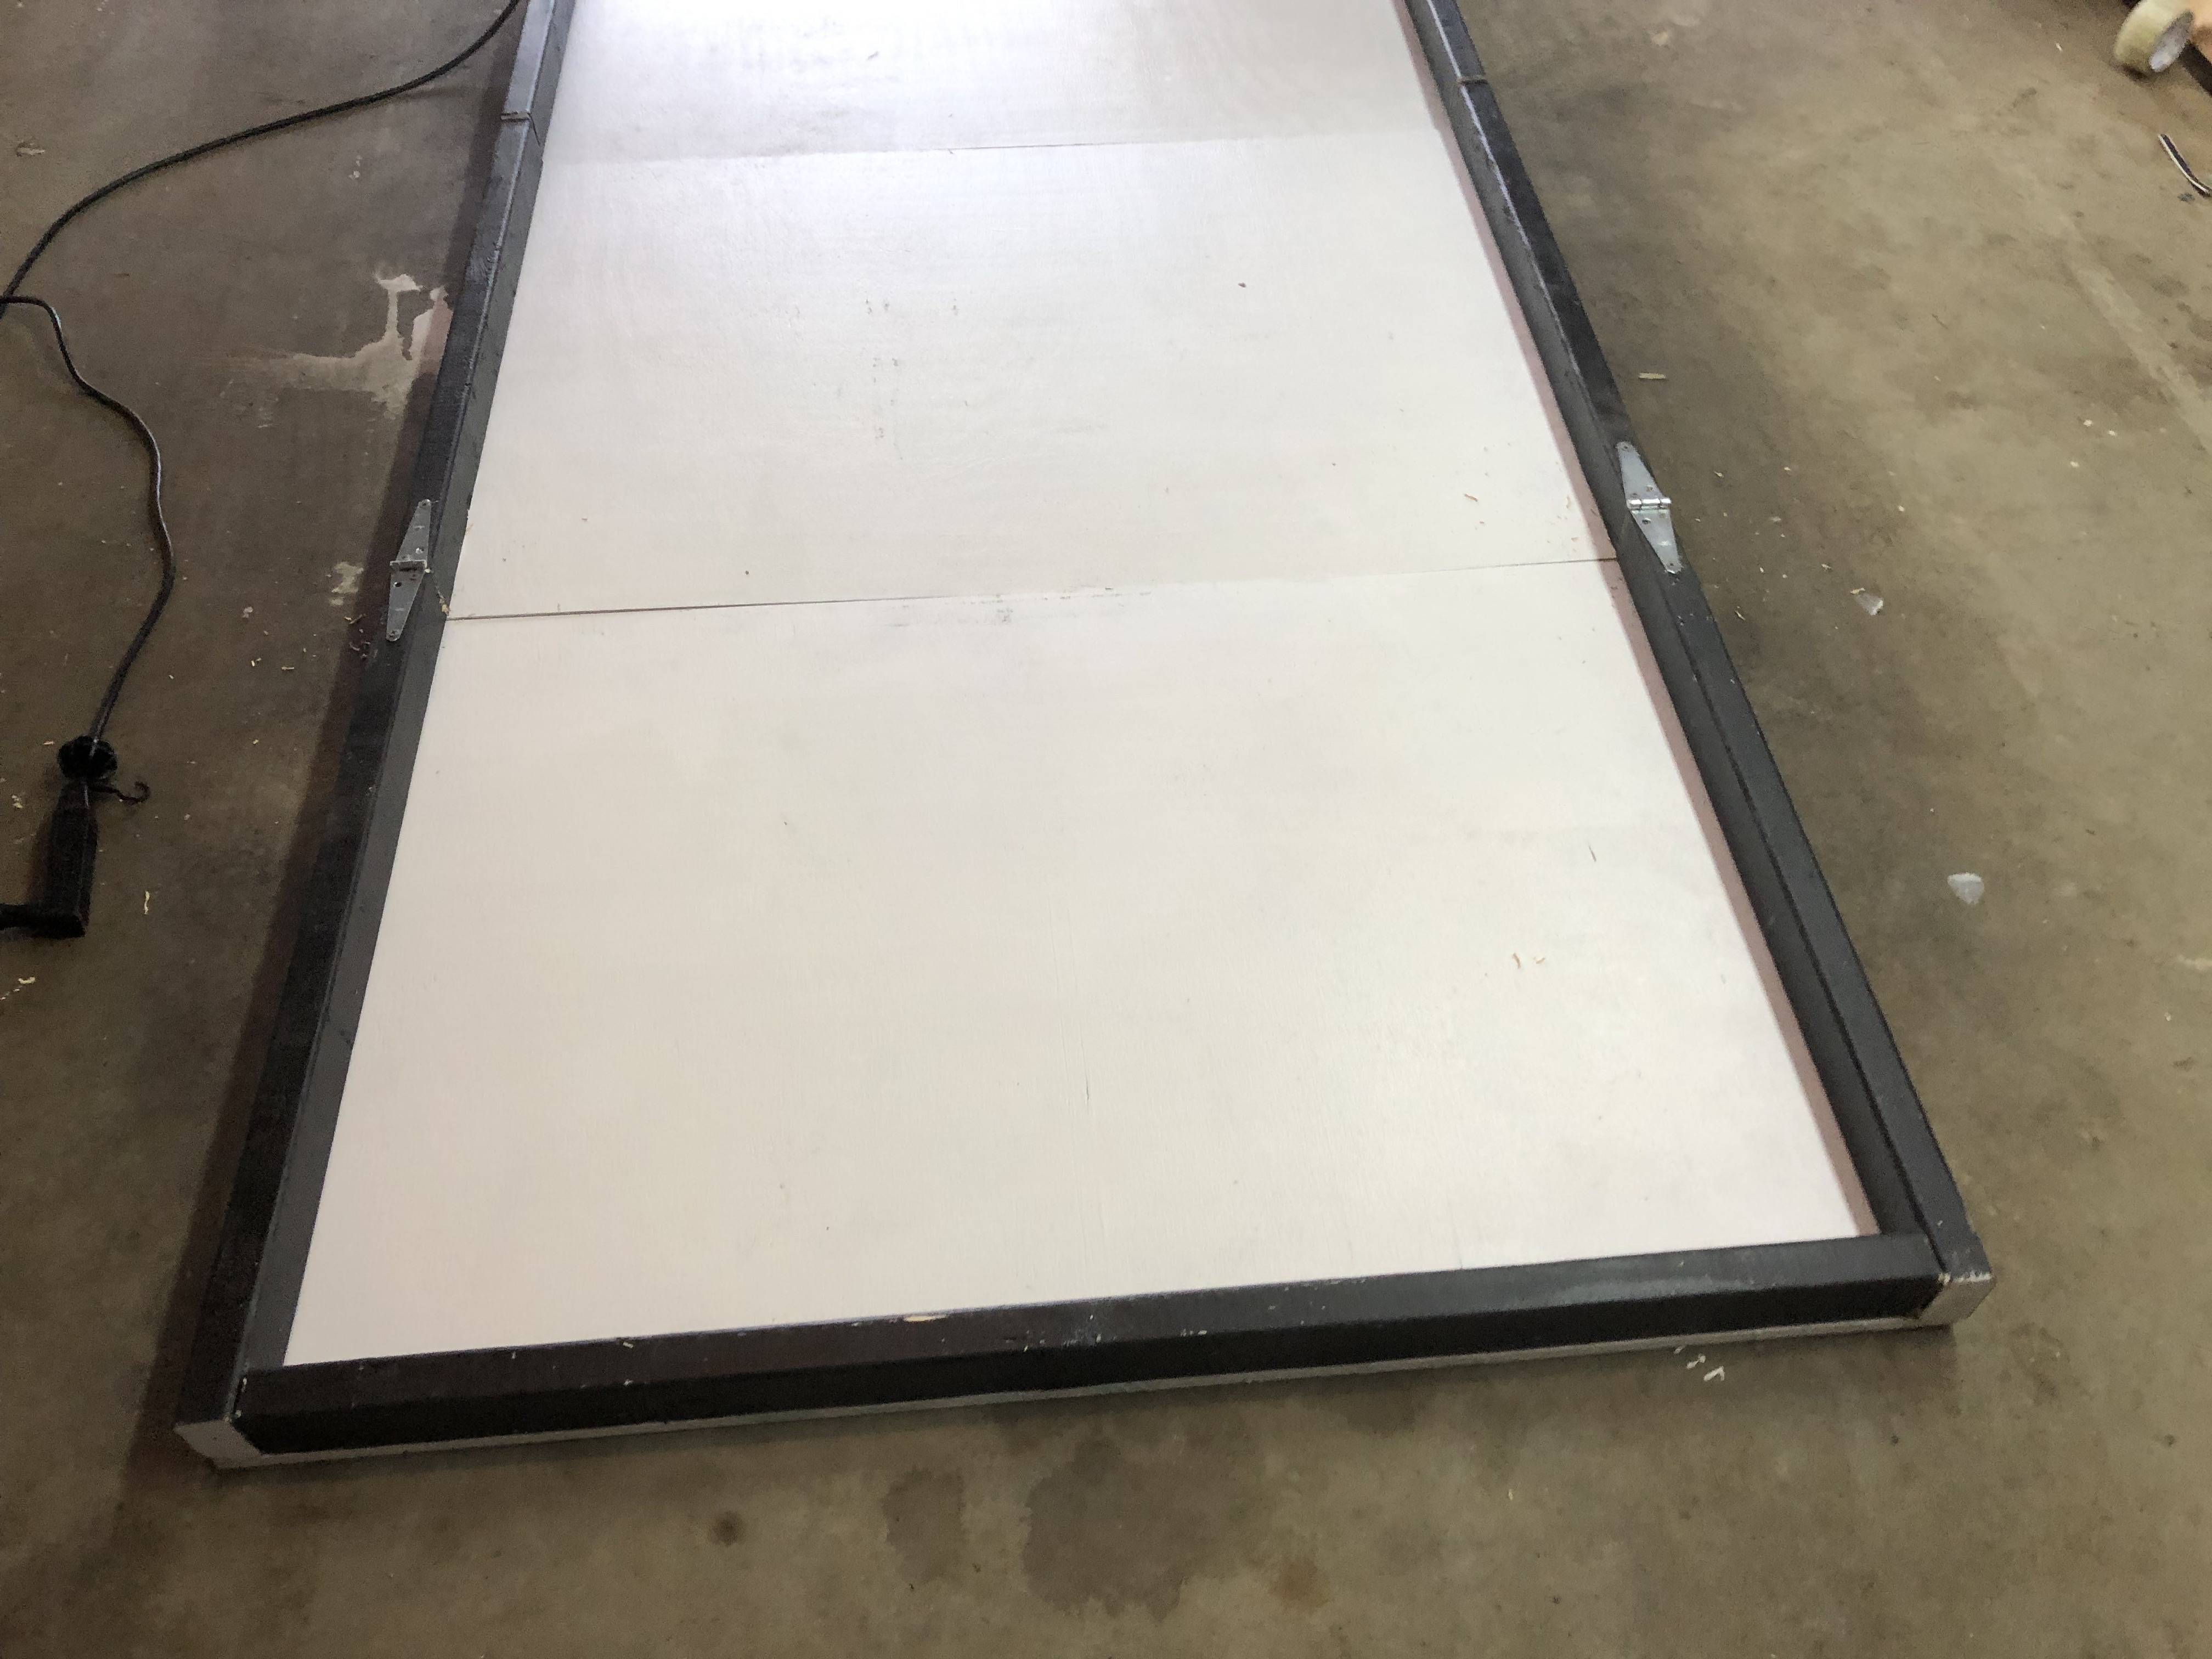
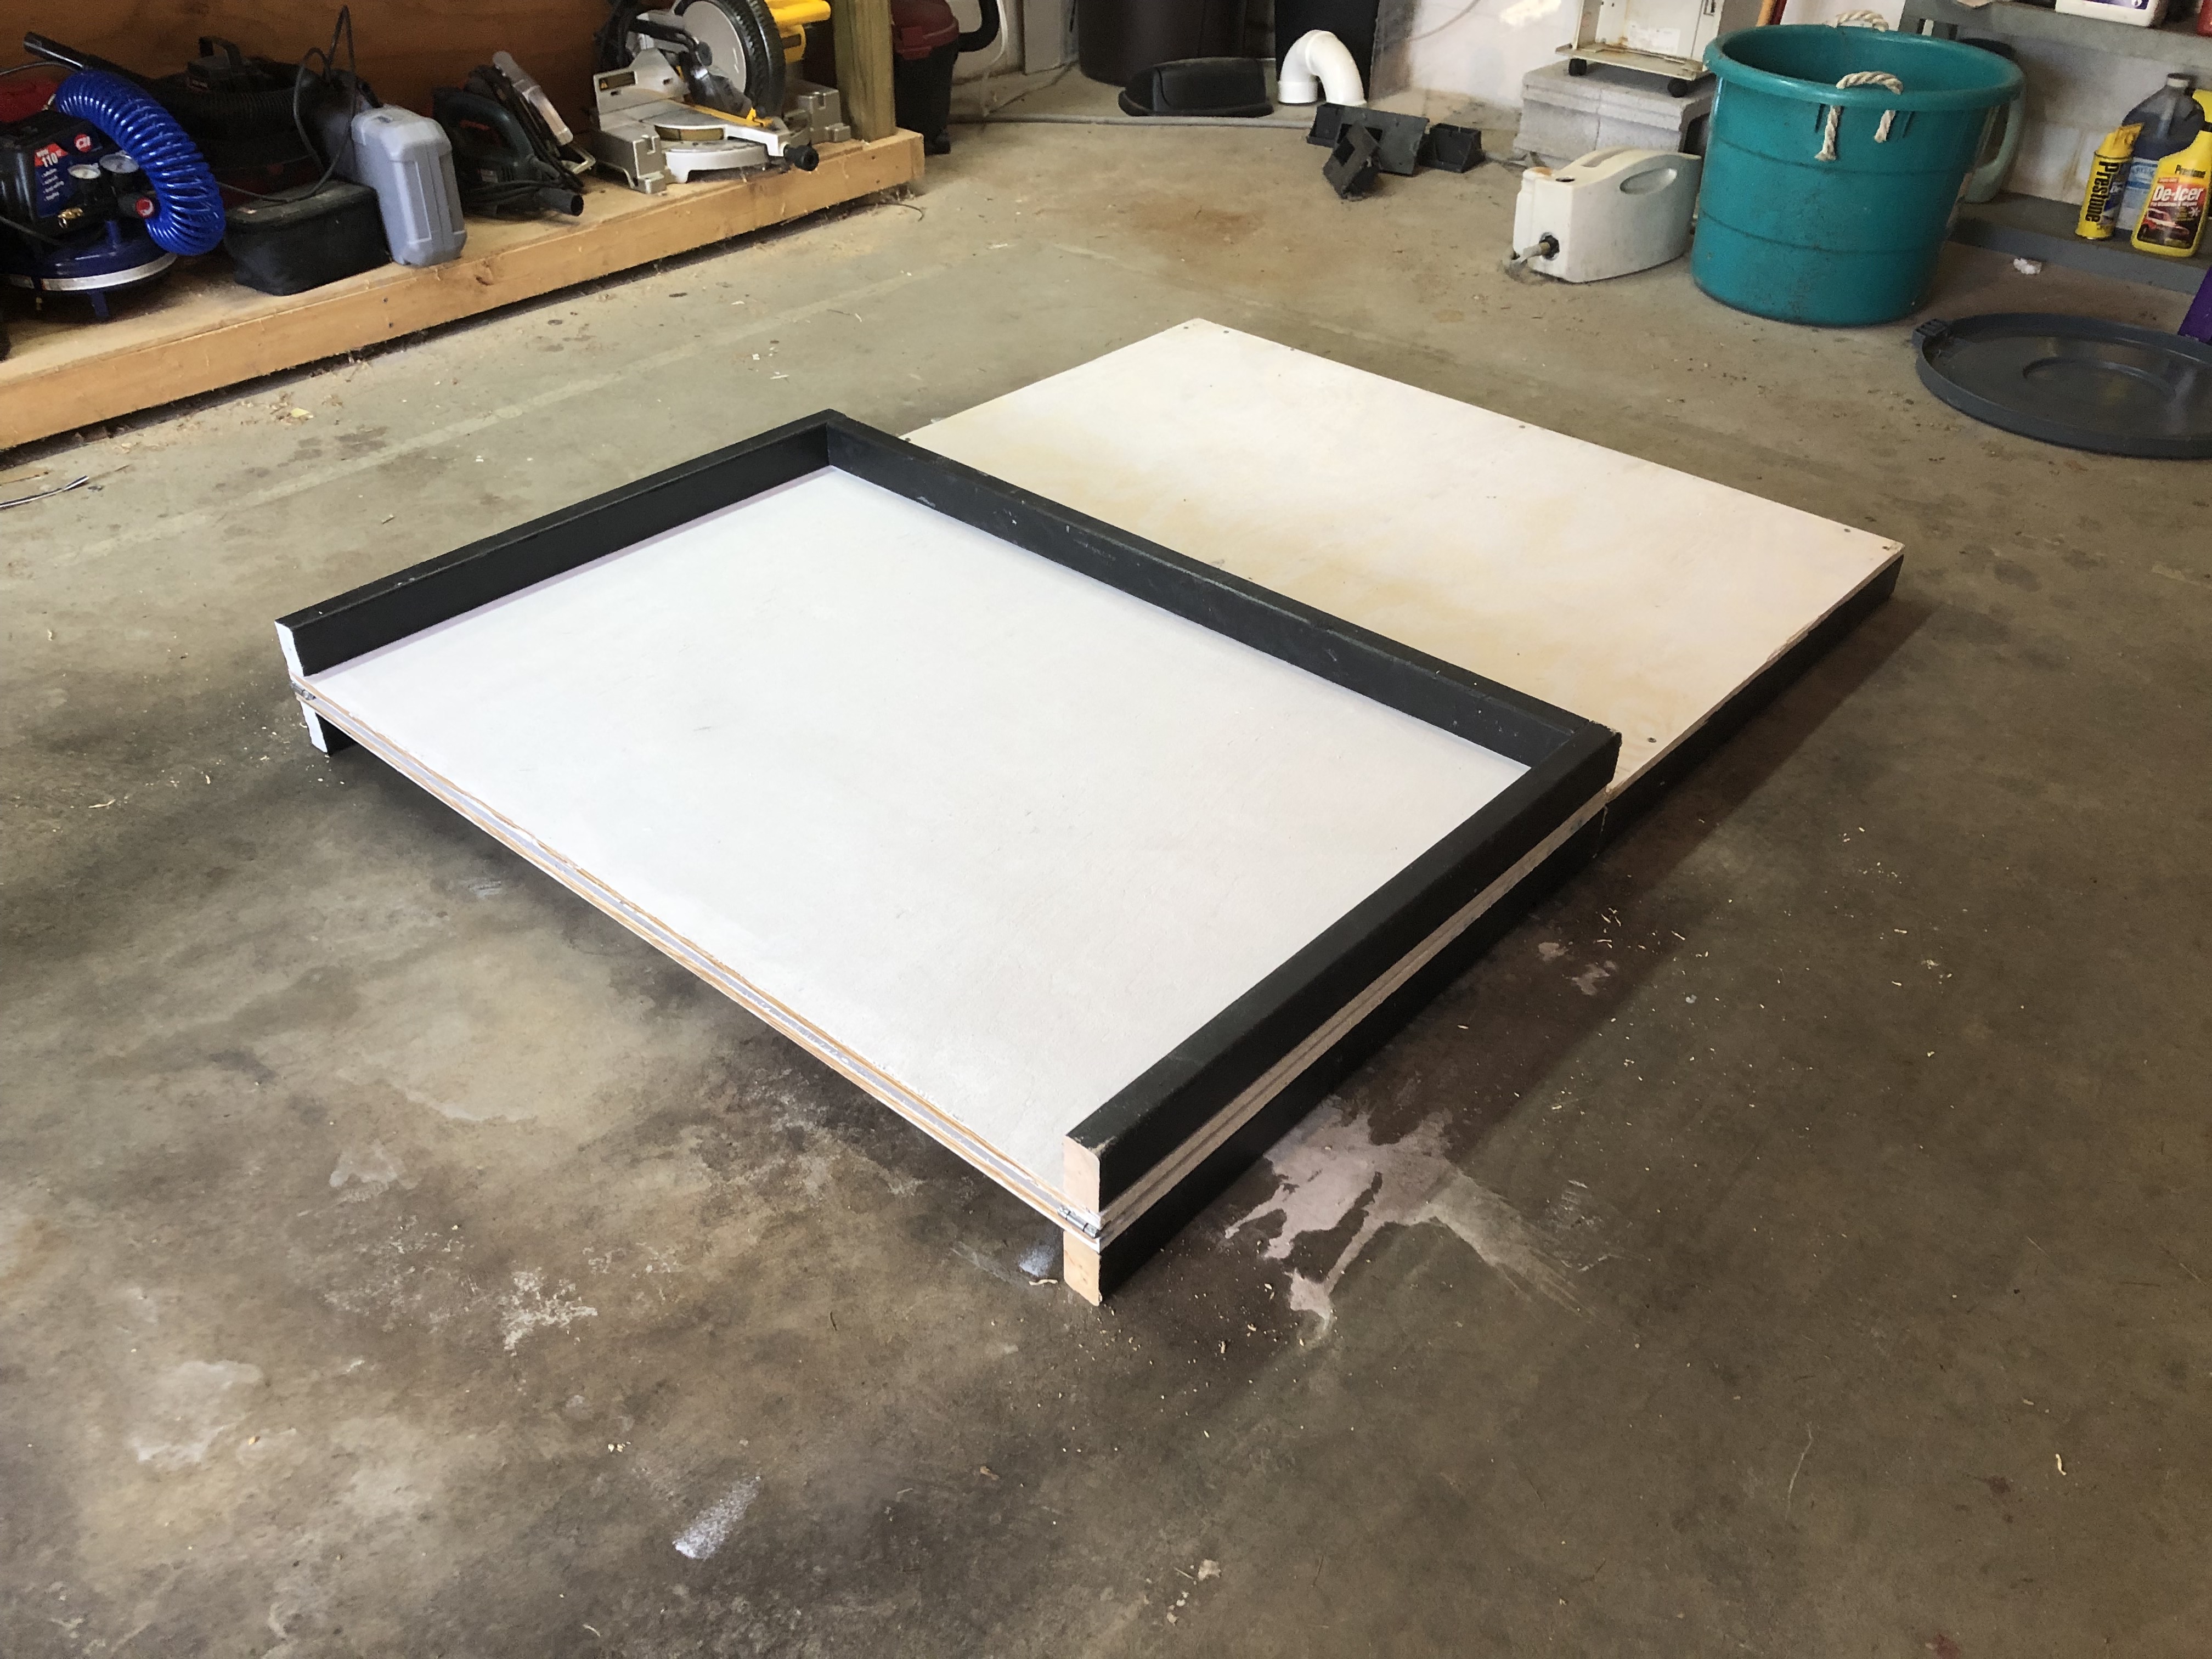
Testing for fit:
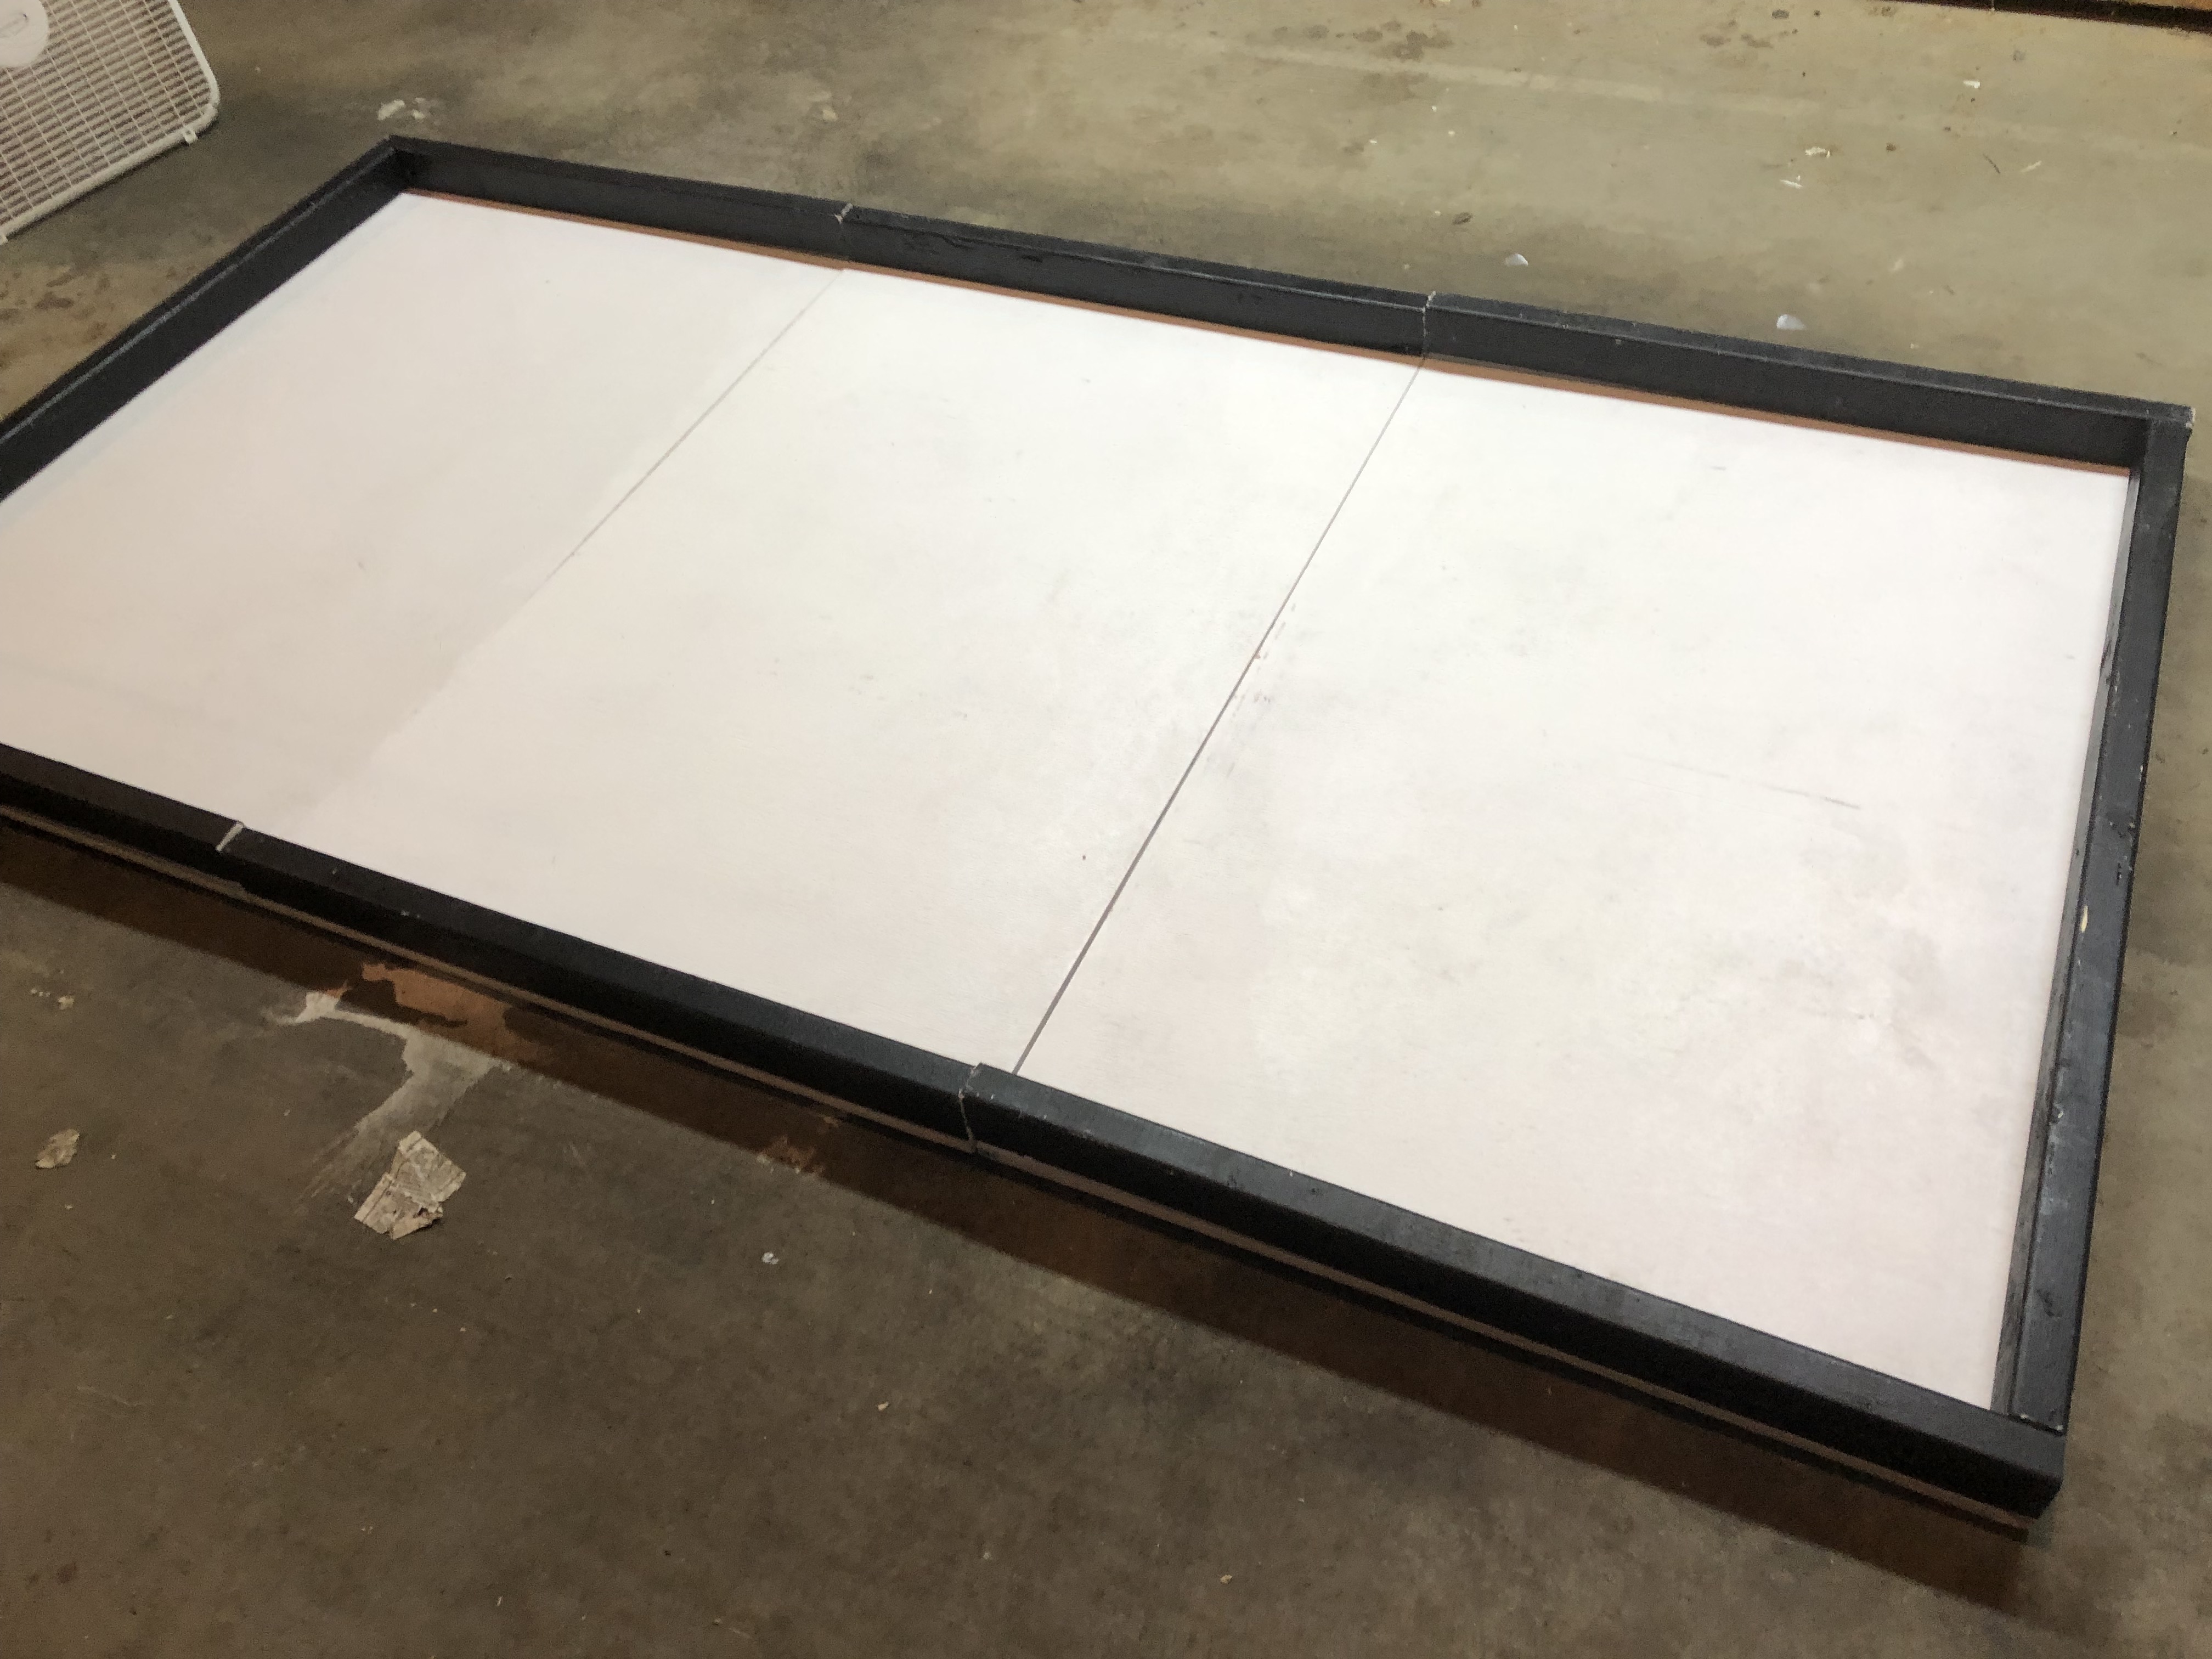
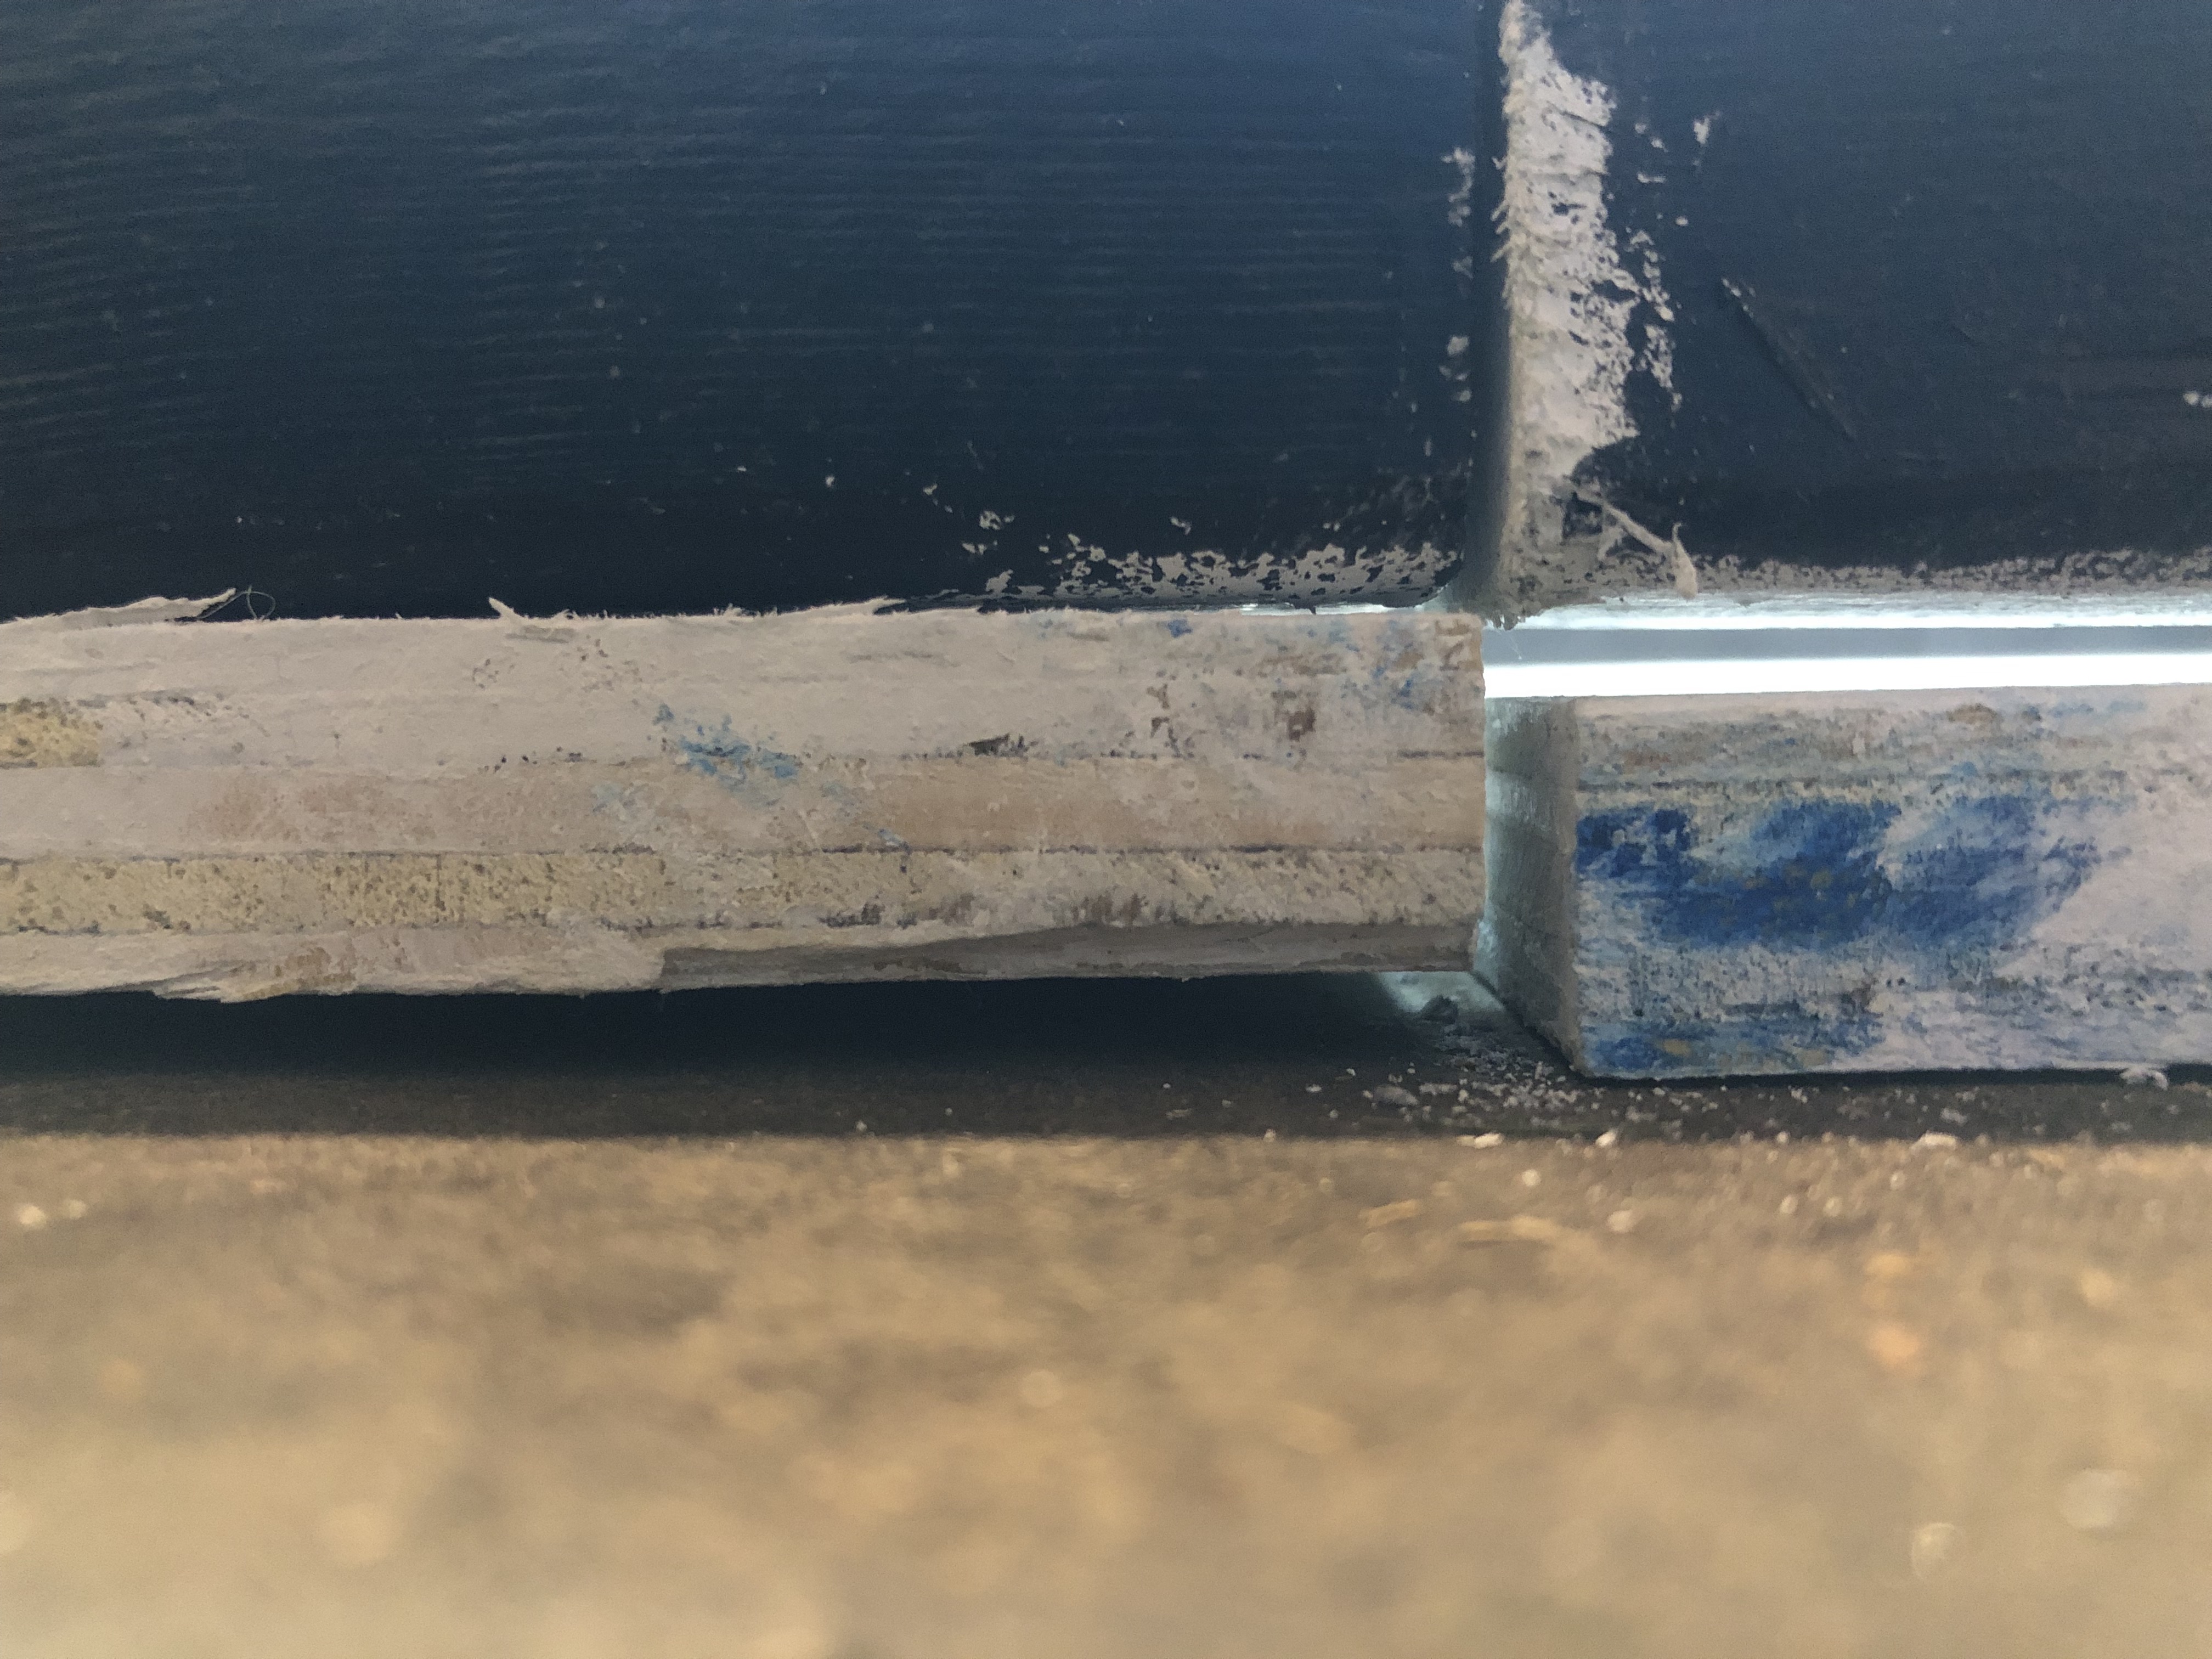
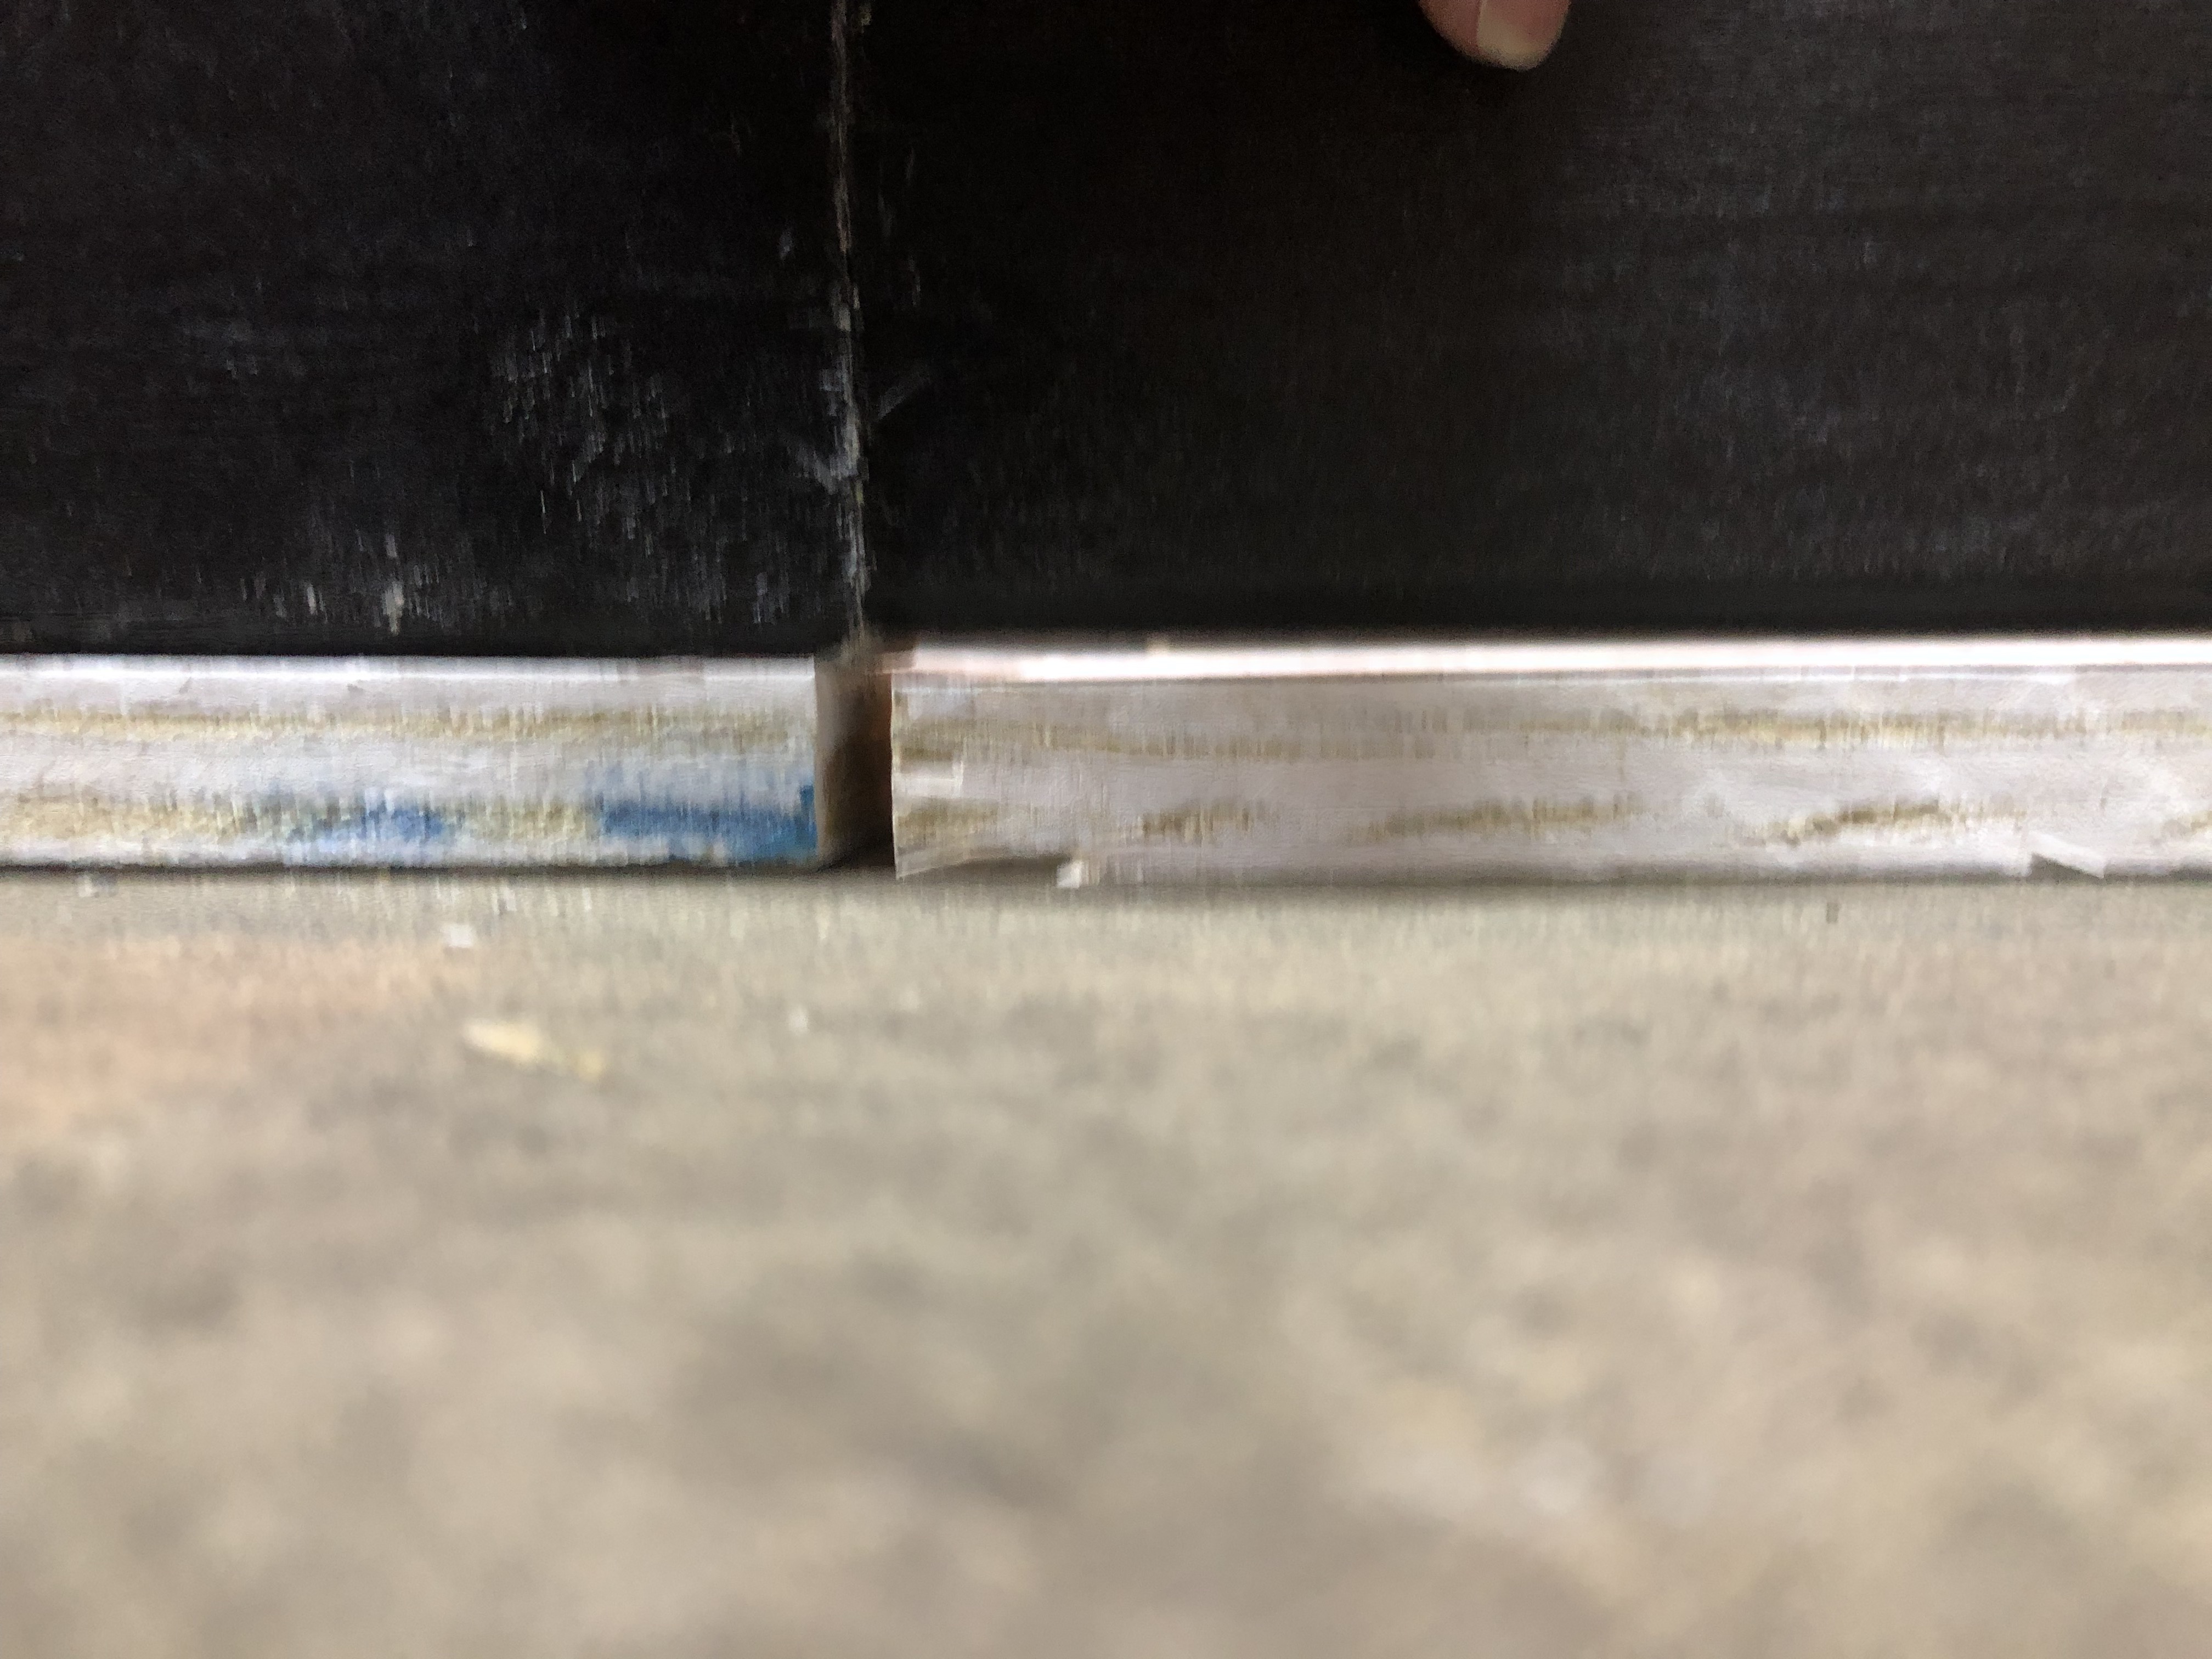
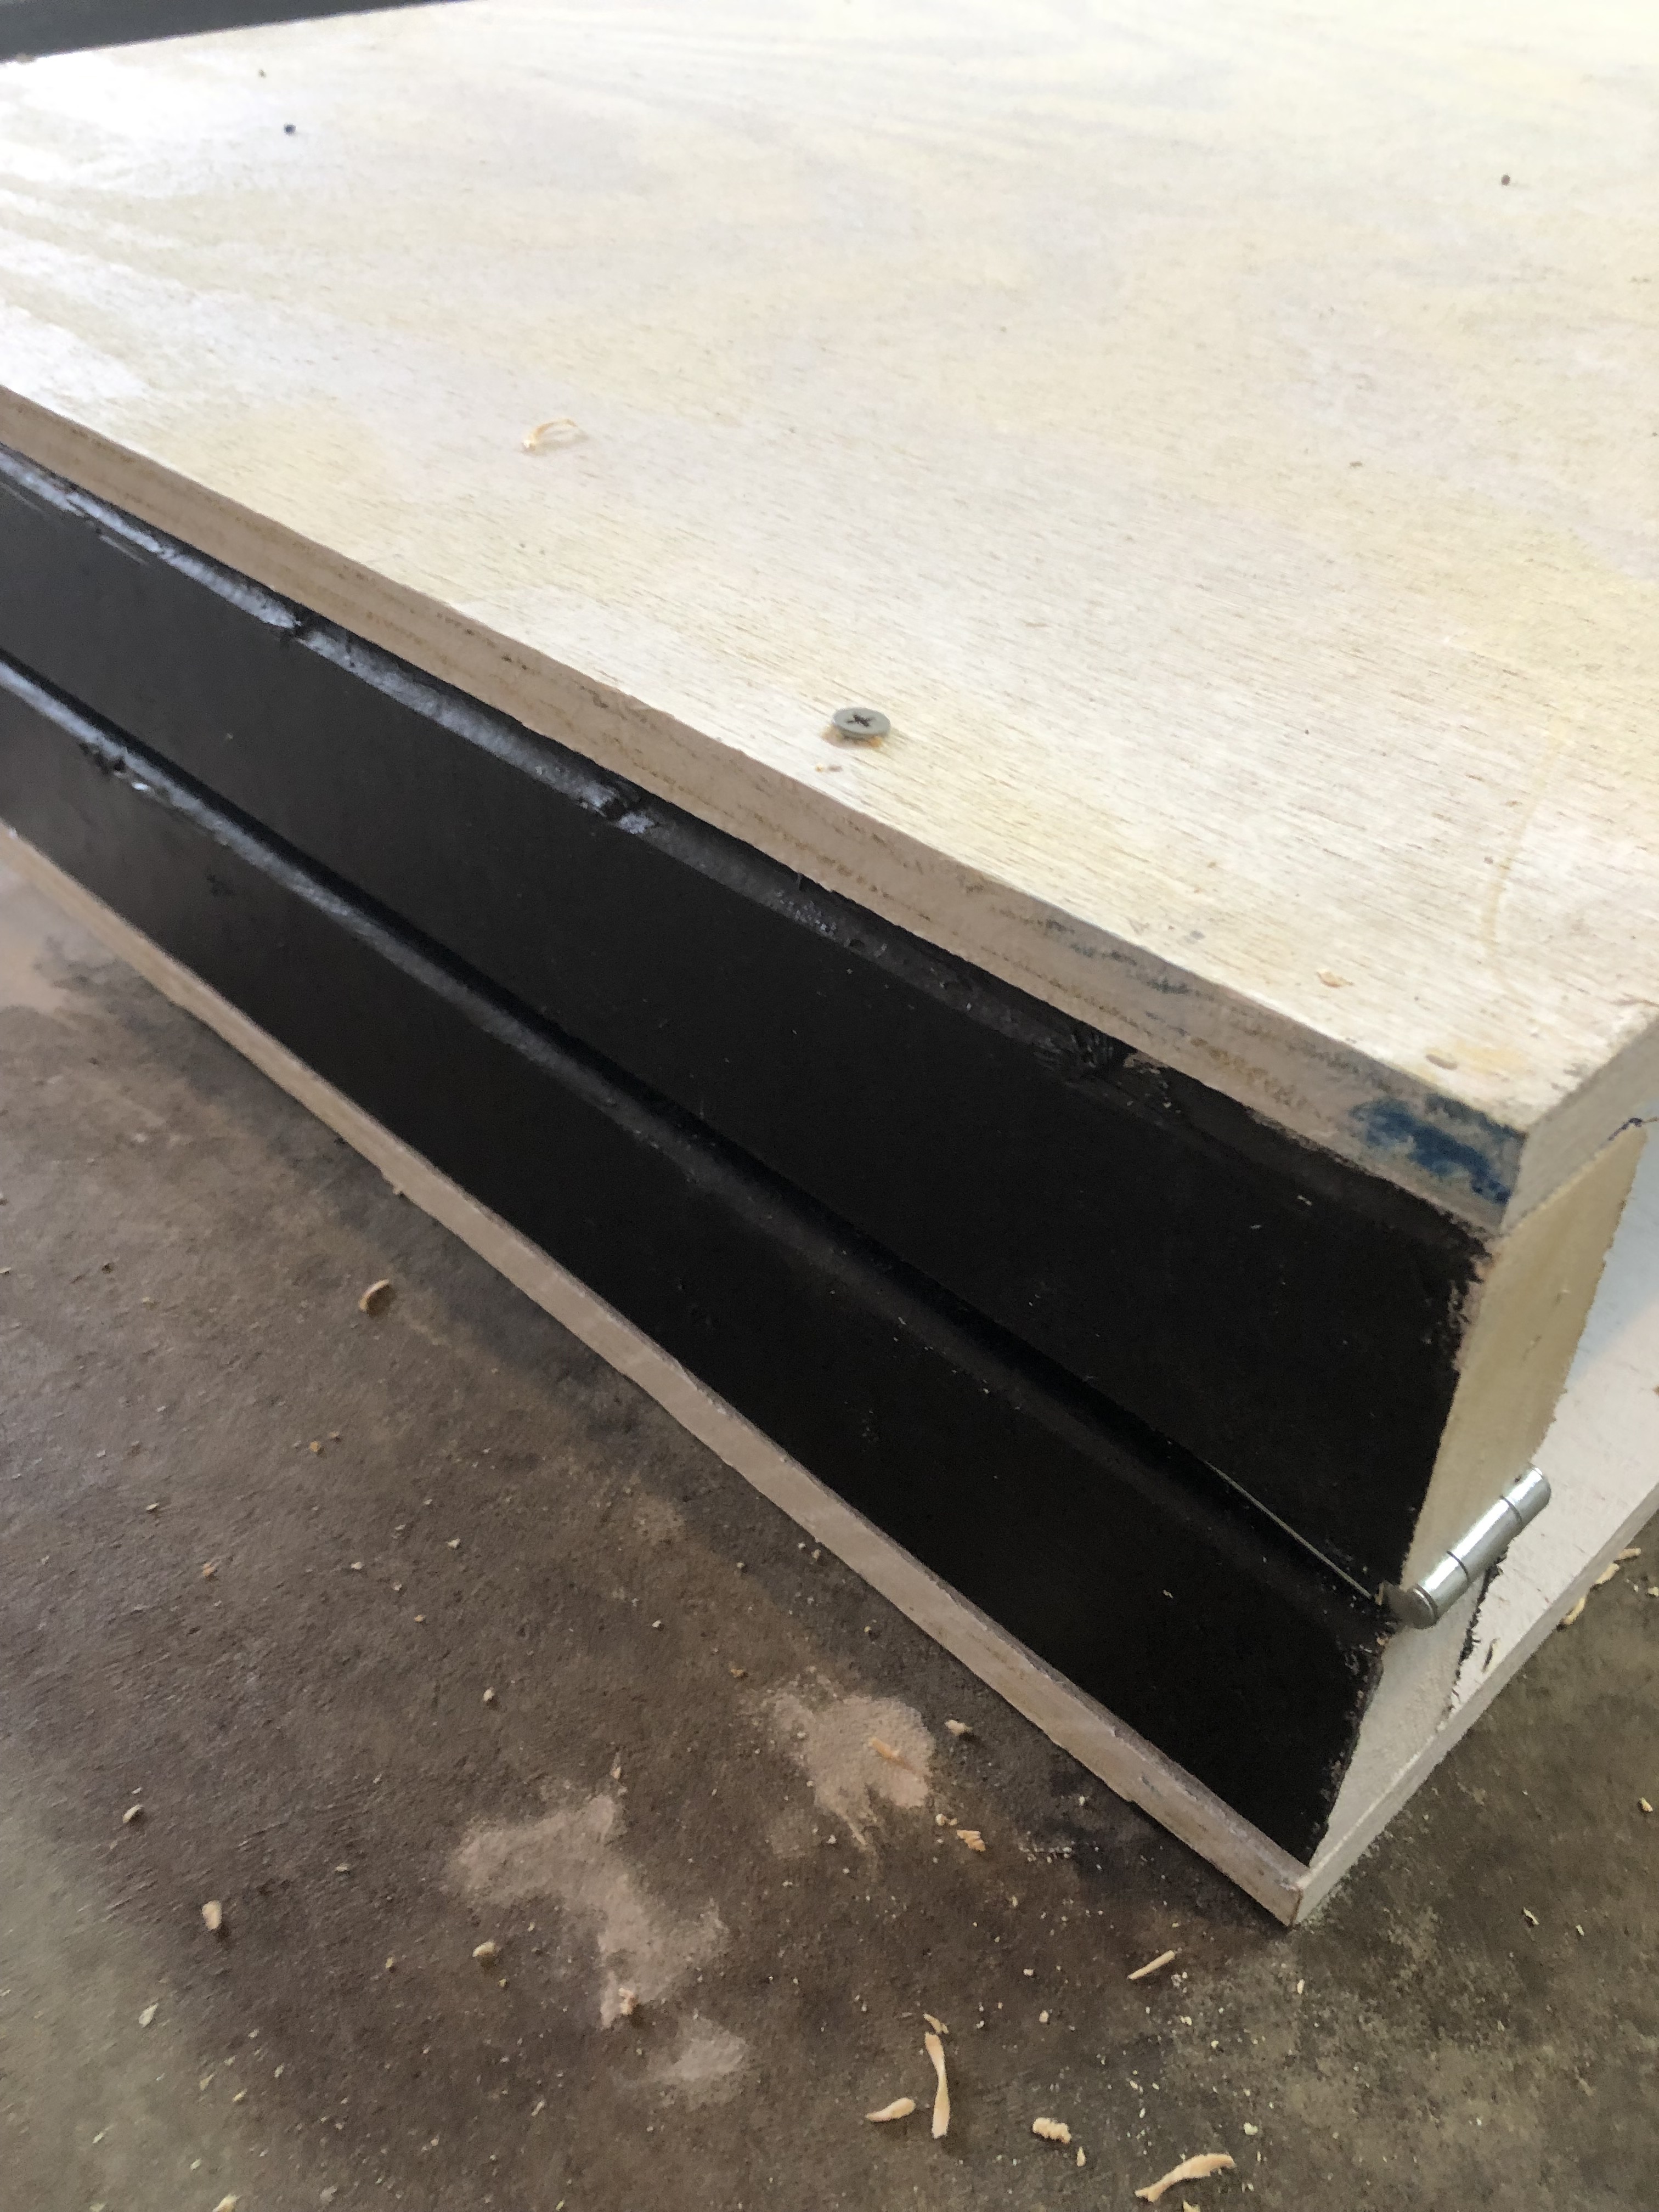
Not great results. Would like to close up these gaps as much as possible:
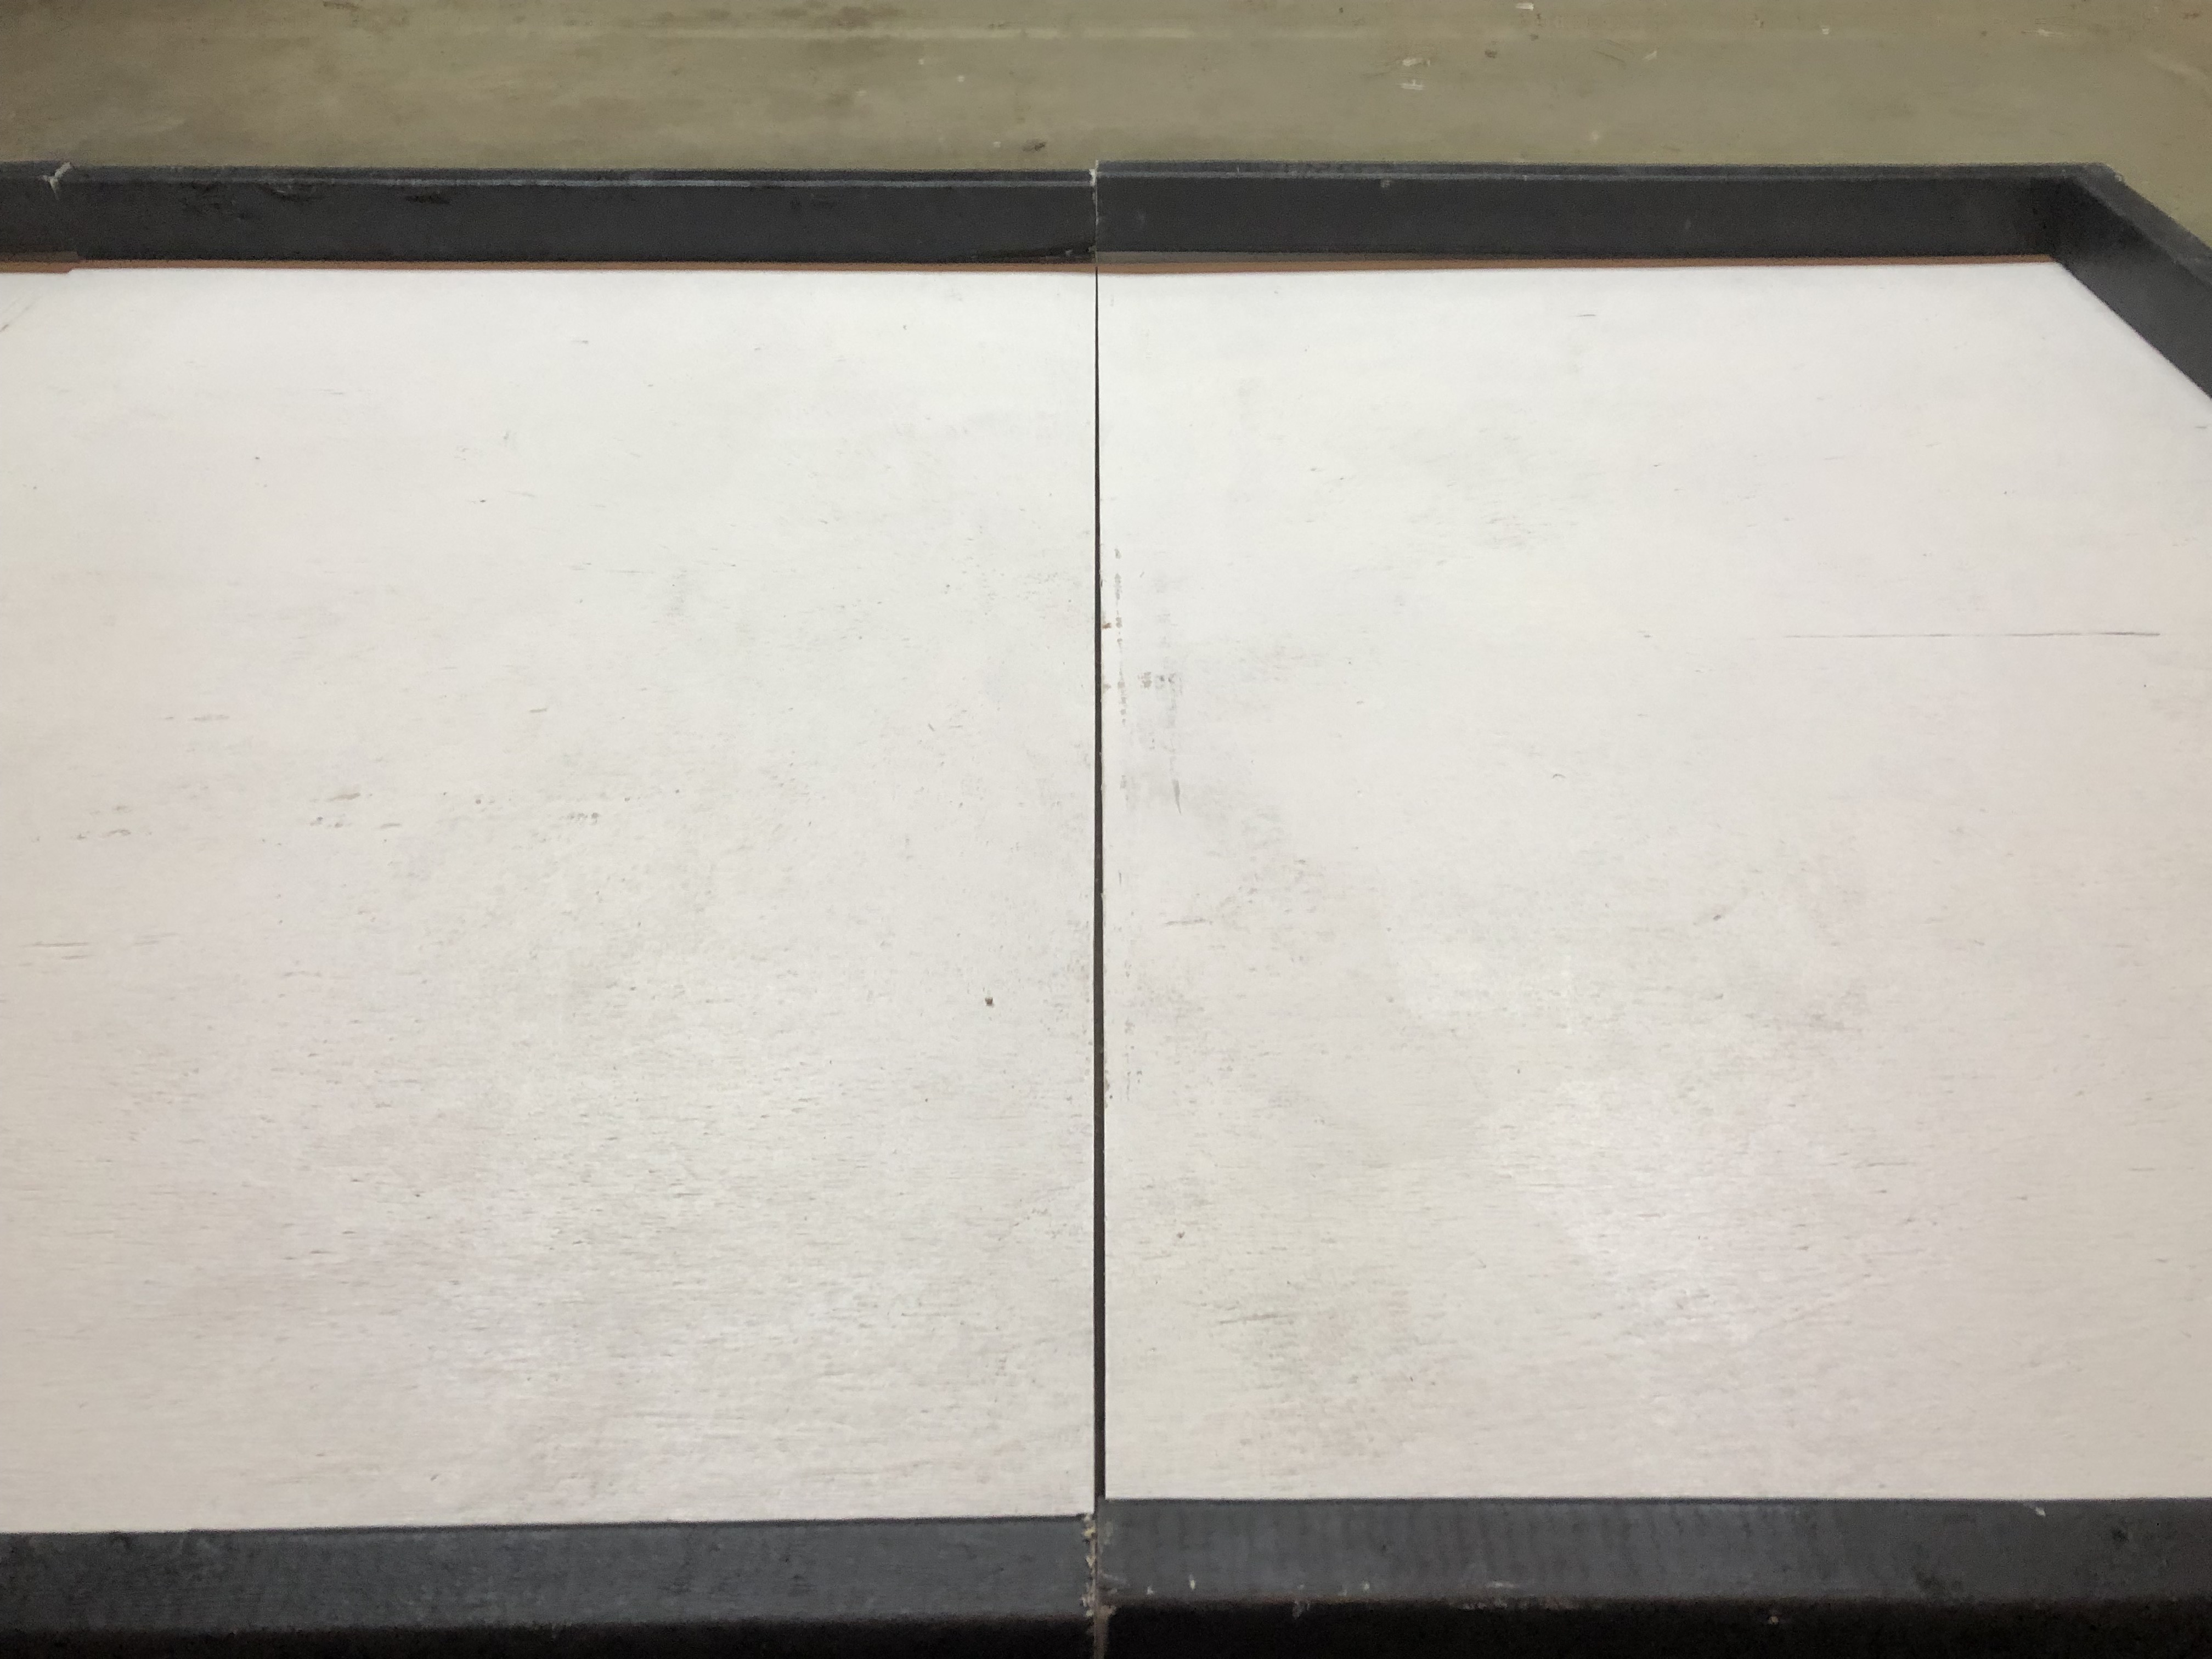
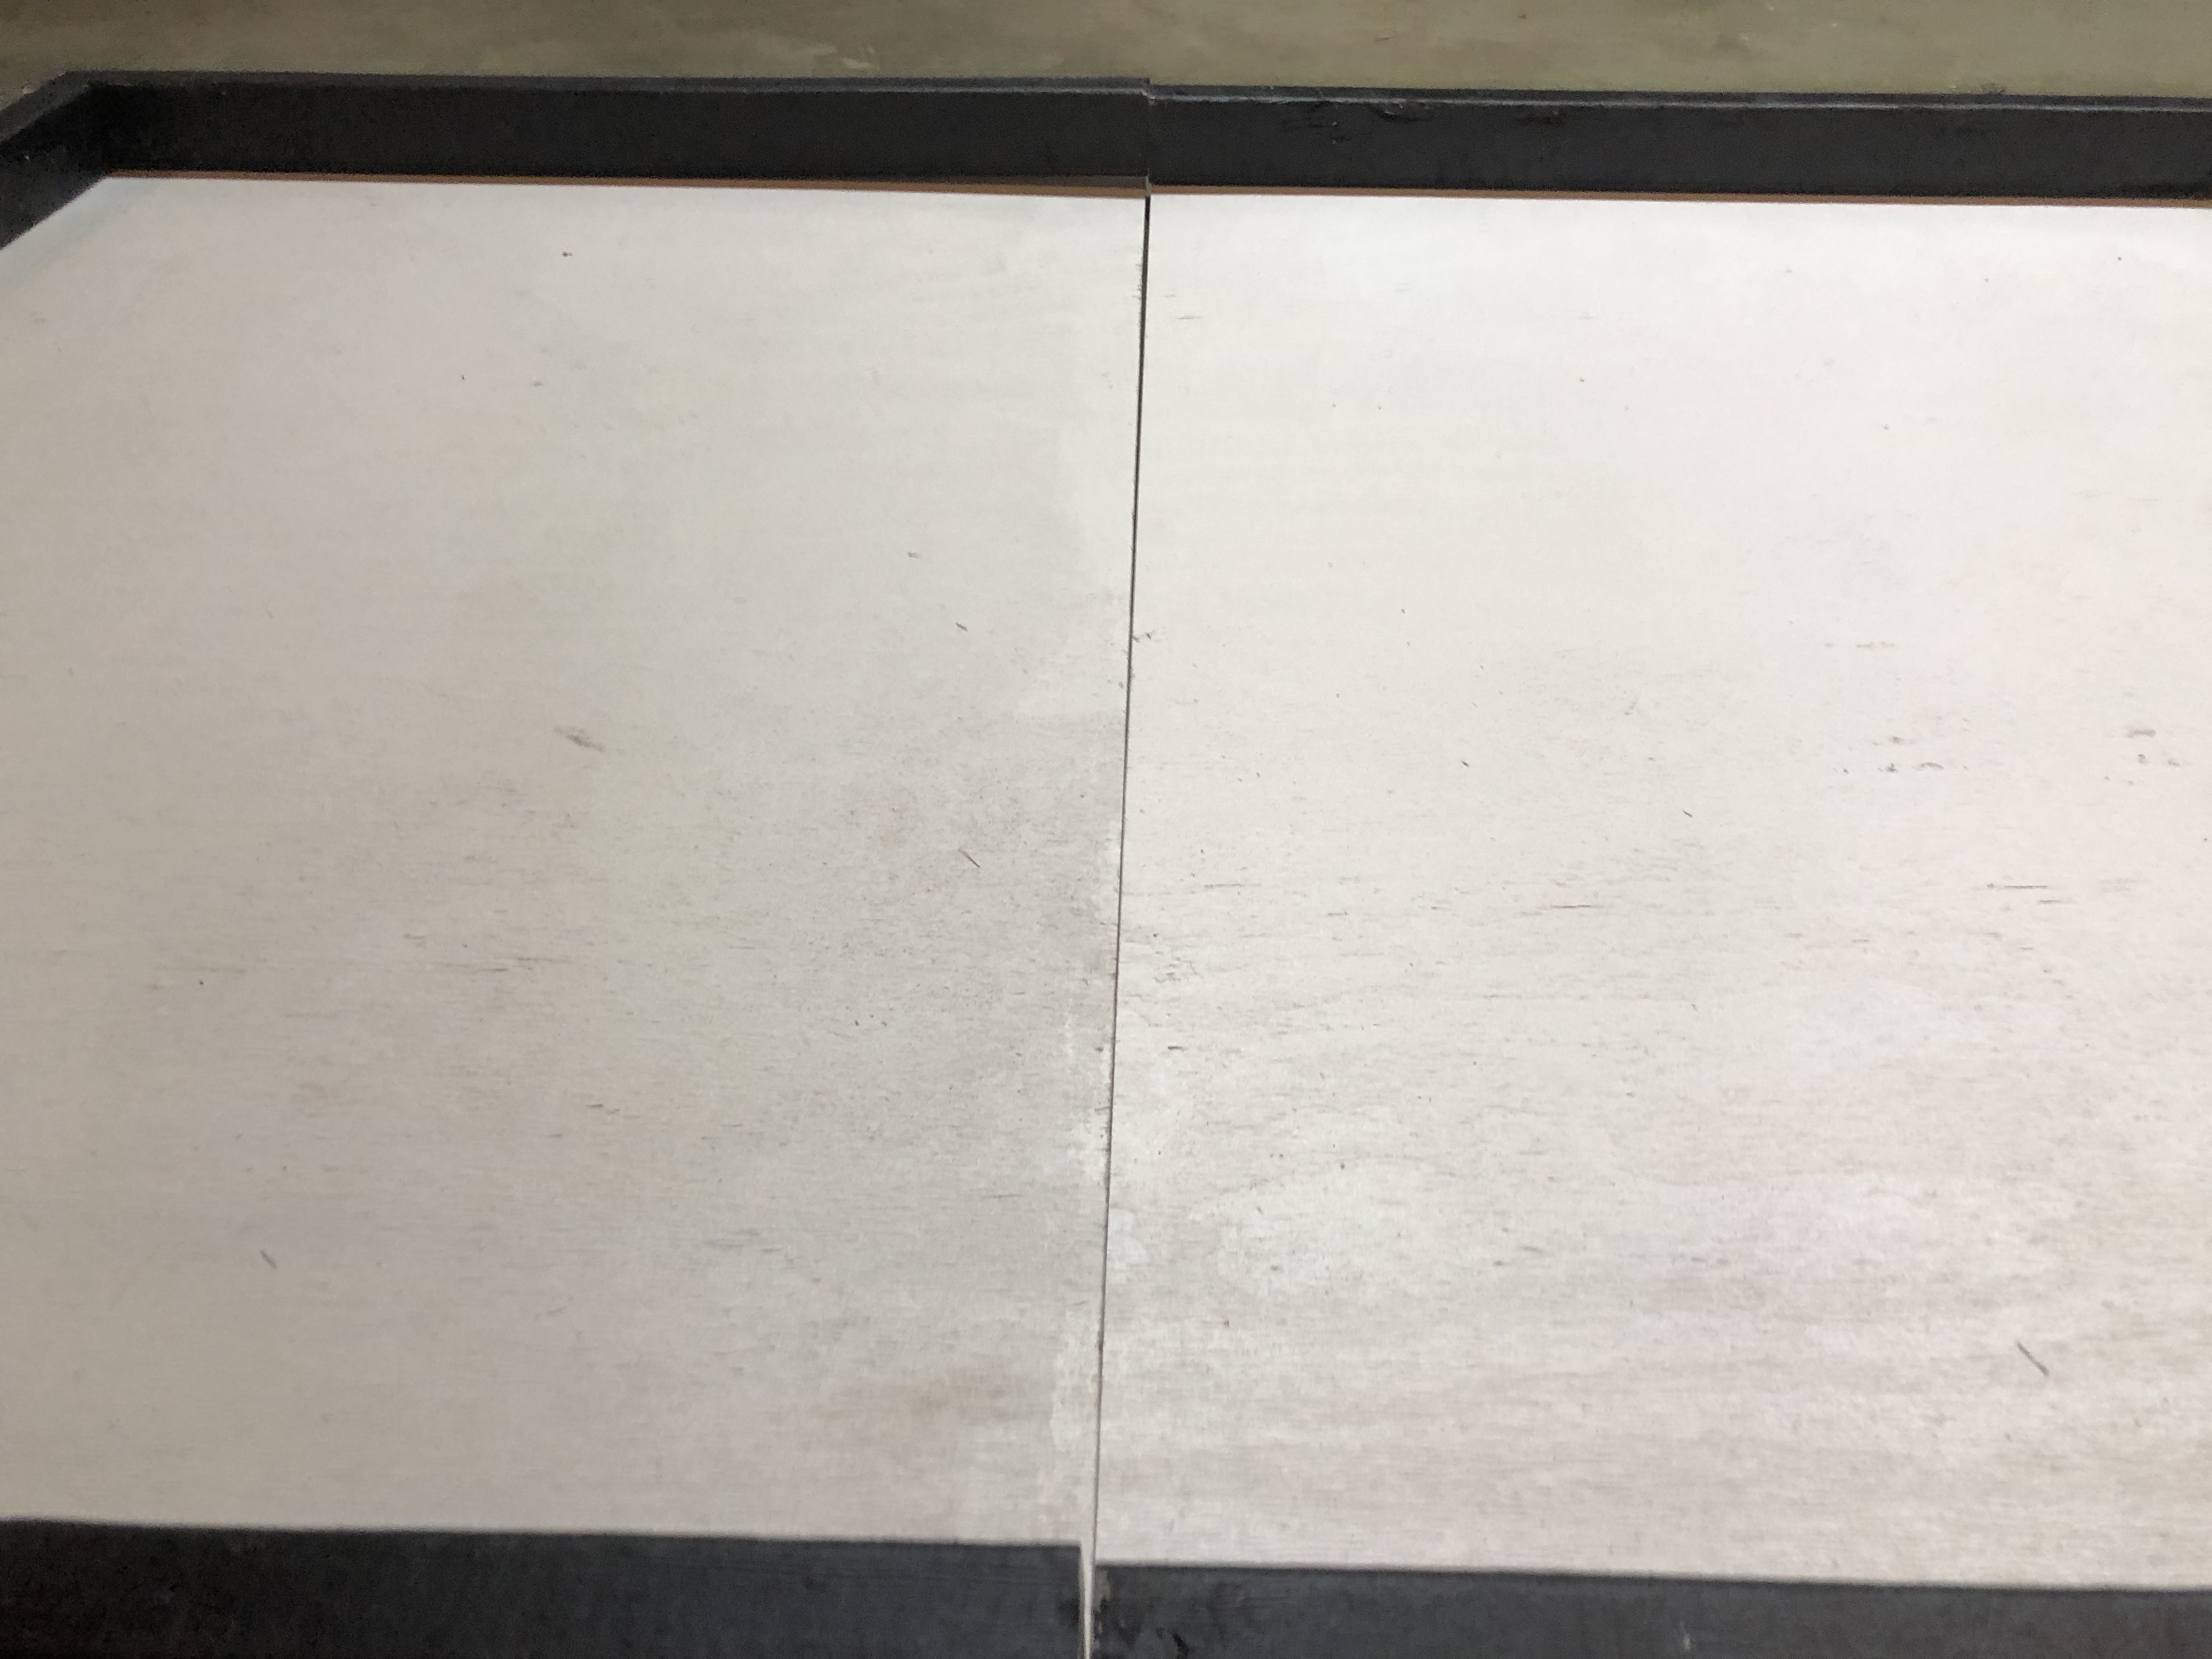
On both joints, the side walls stick out just slightly beyond the plywood base:
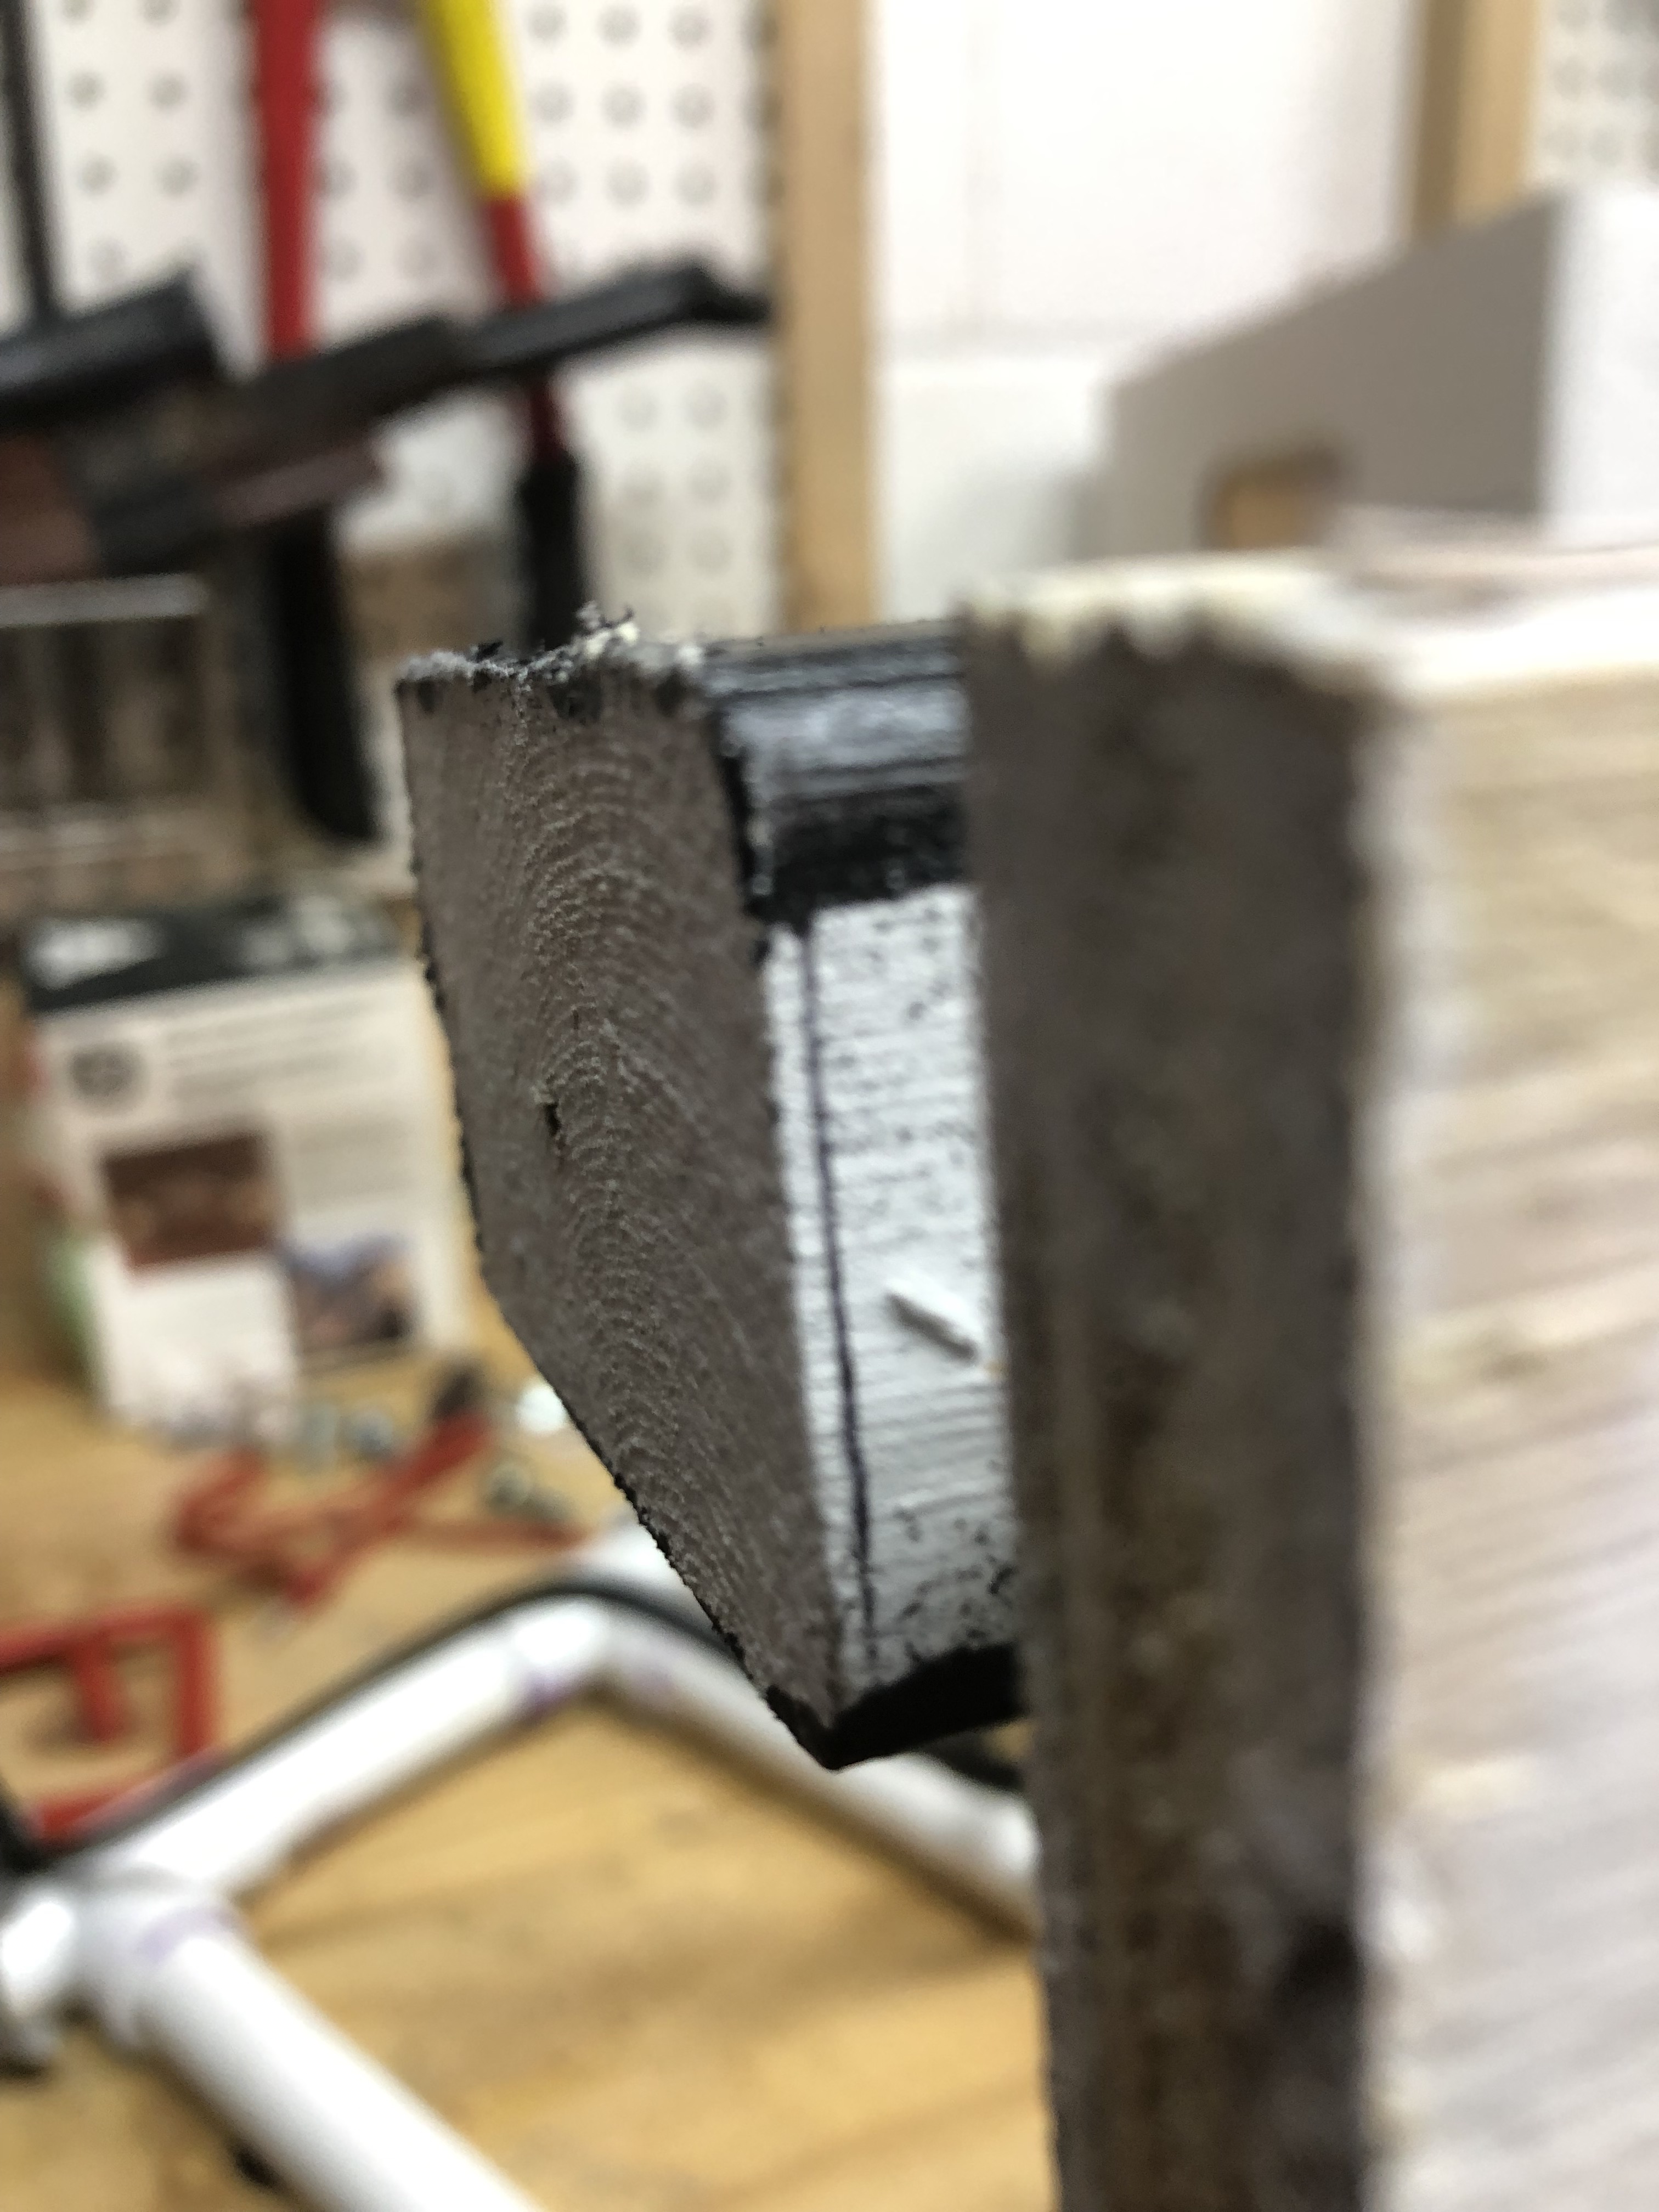
Marking and removing the excess on the side walls:
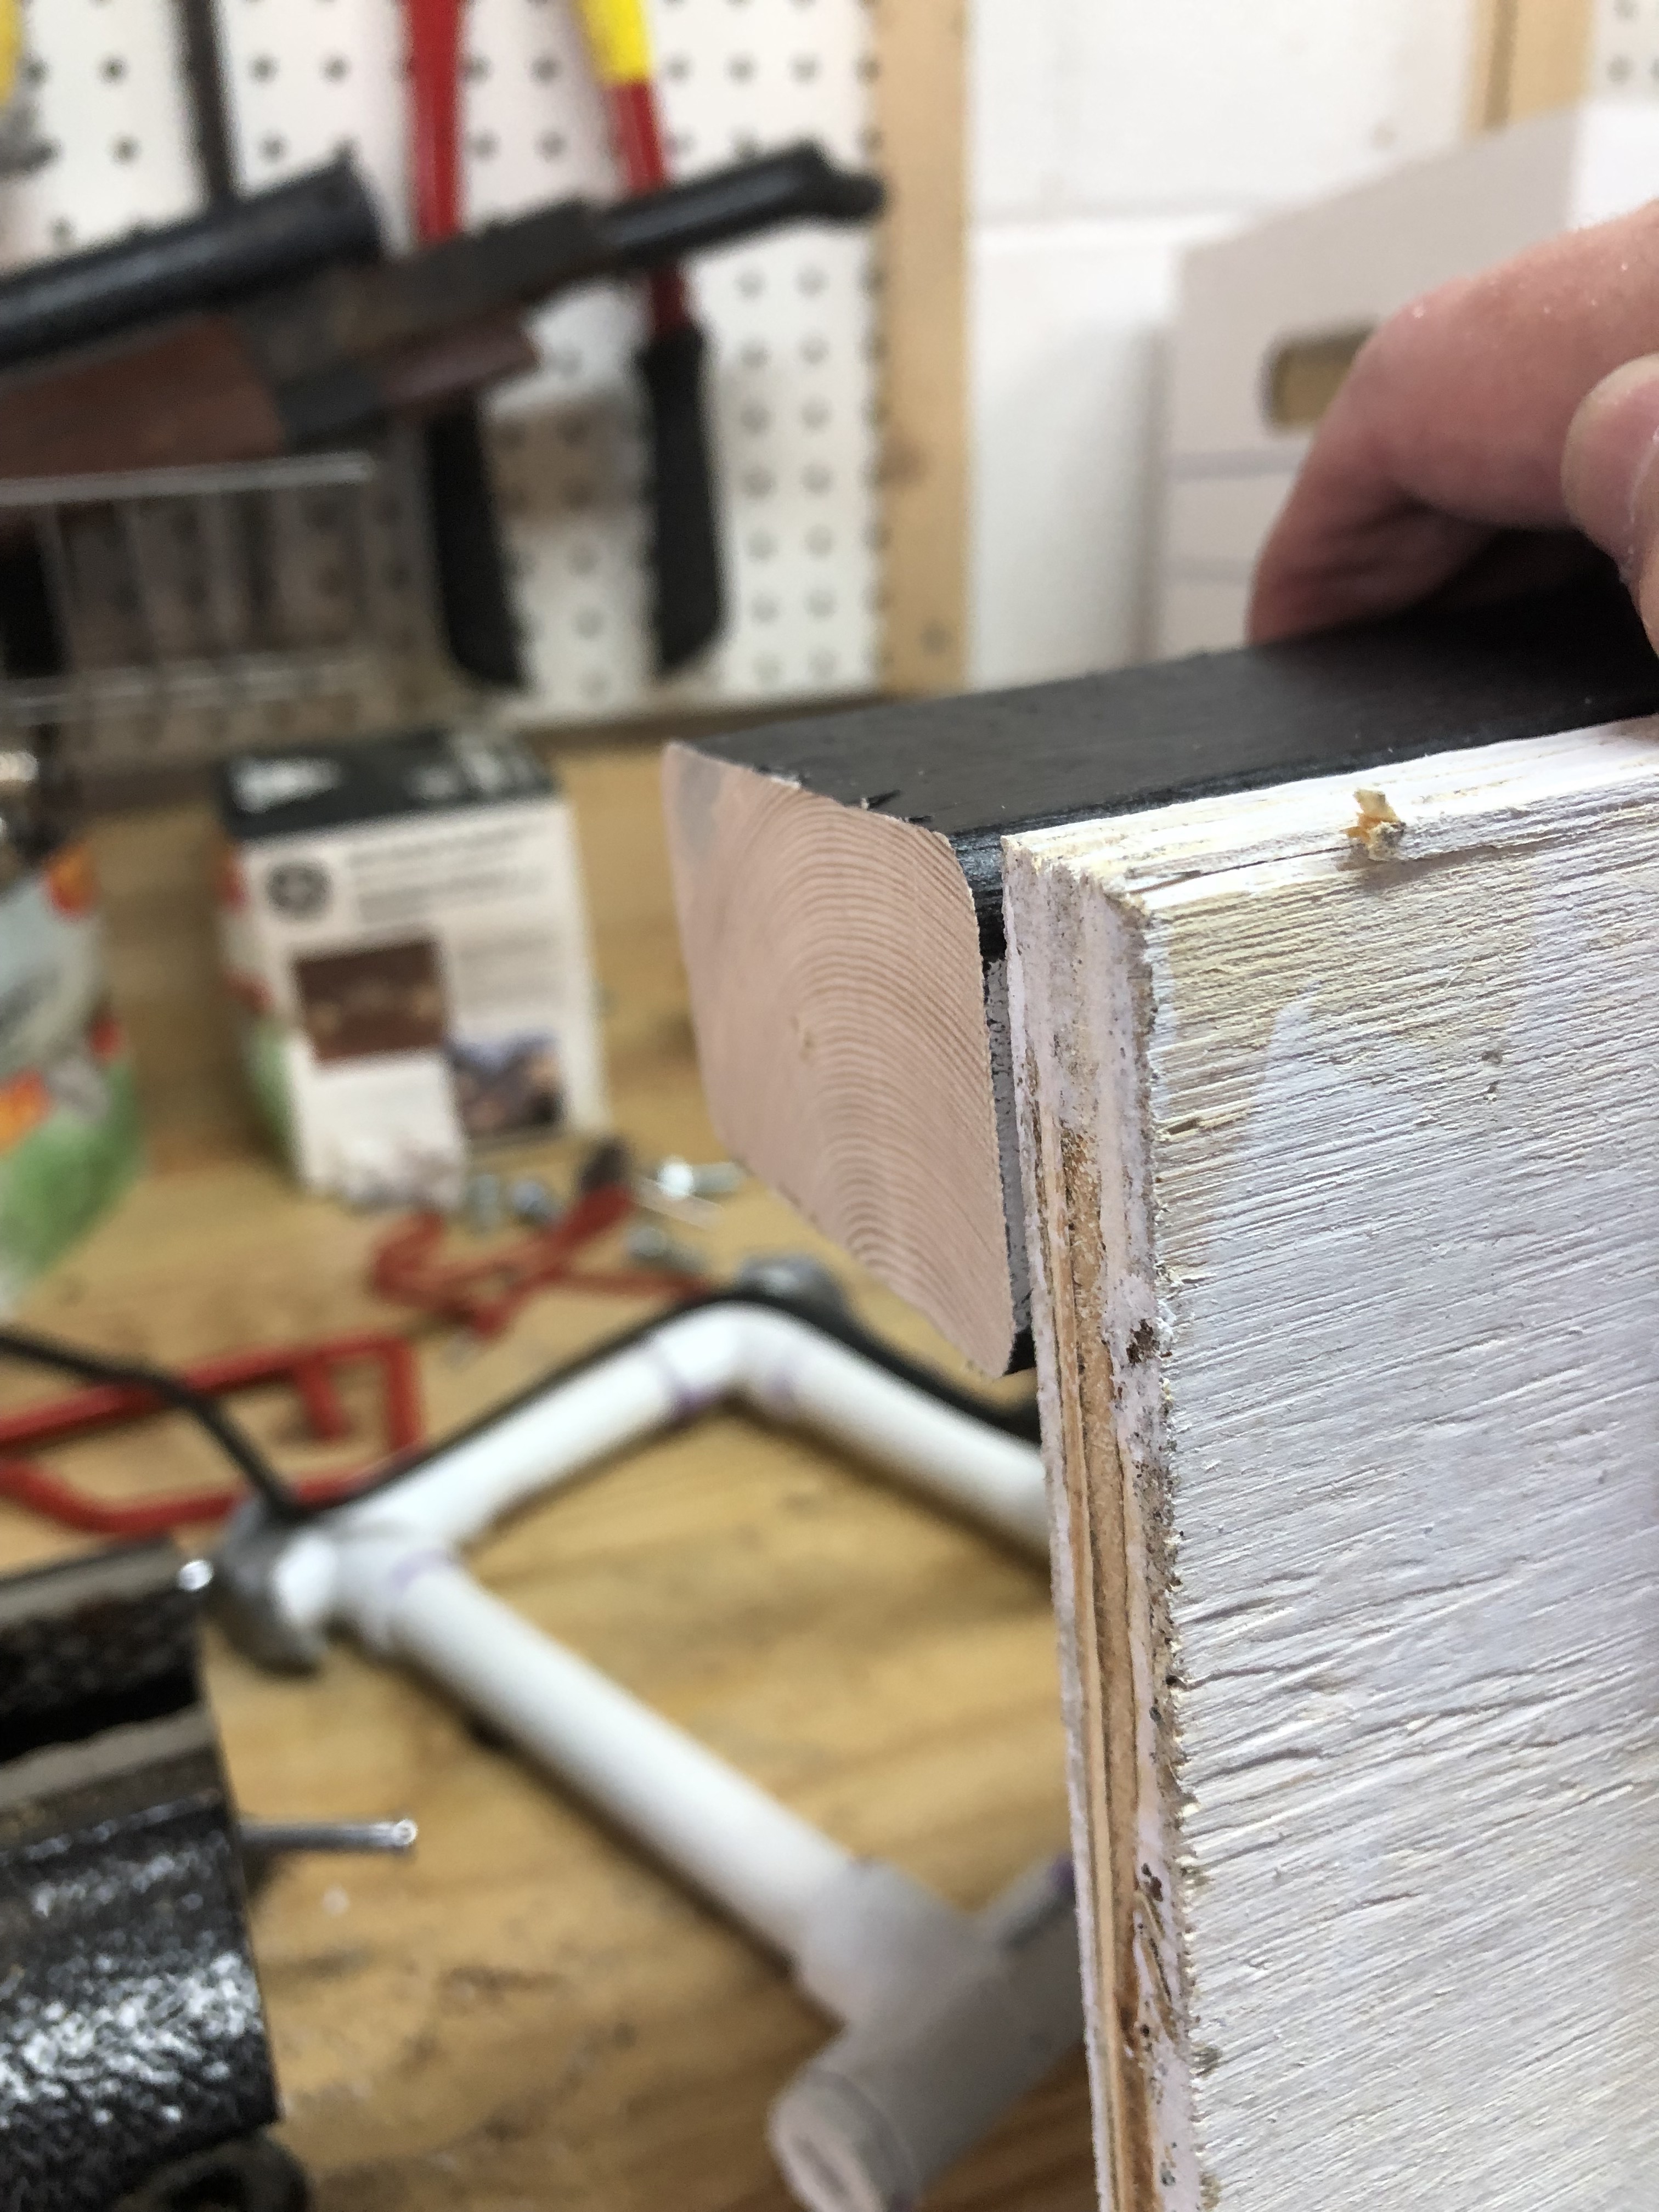
Testing for fit again, much better this time:
Finishing the top hinge assembly:
Testing the first fold:
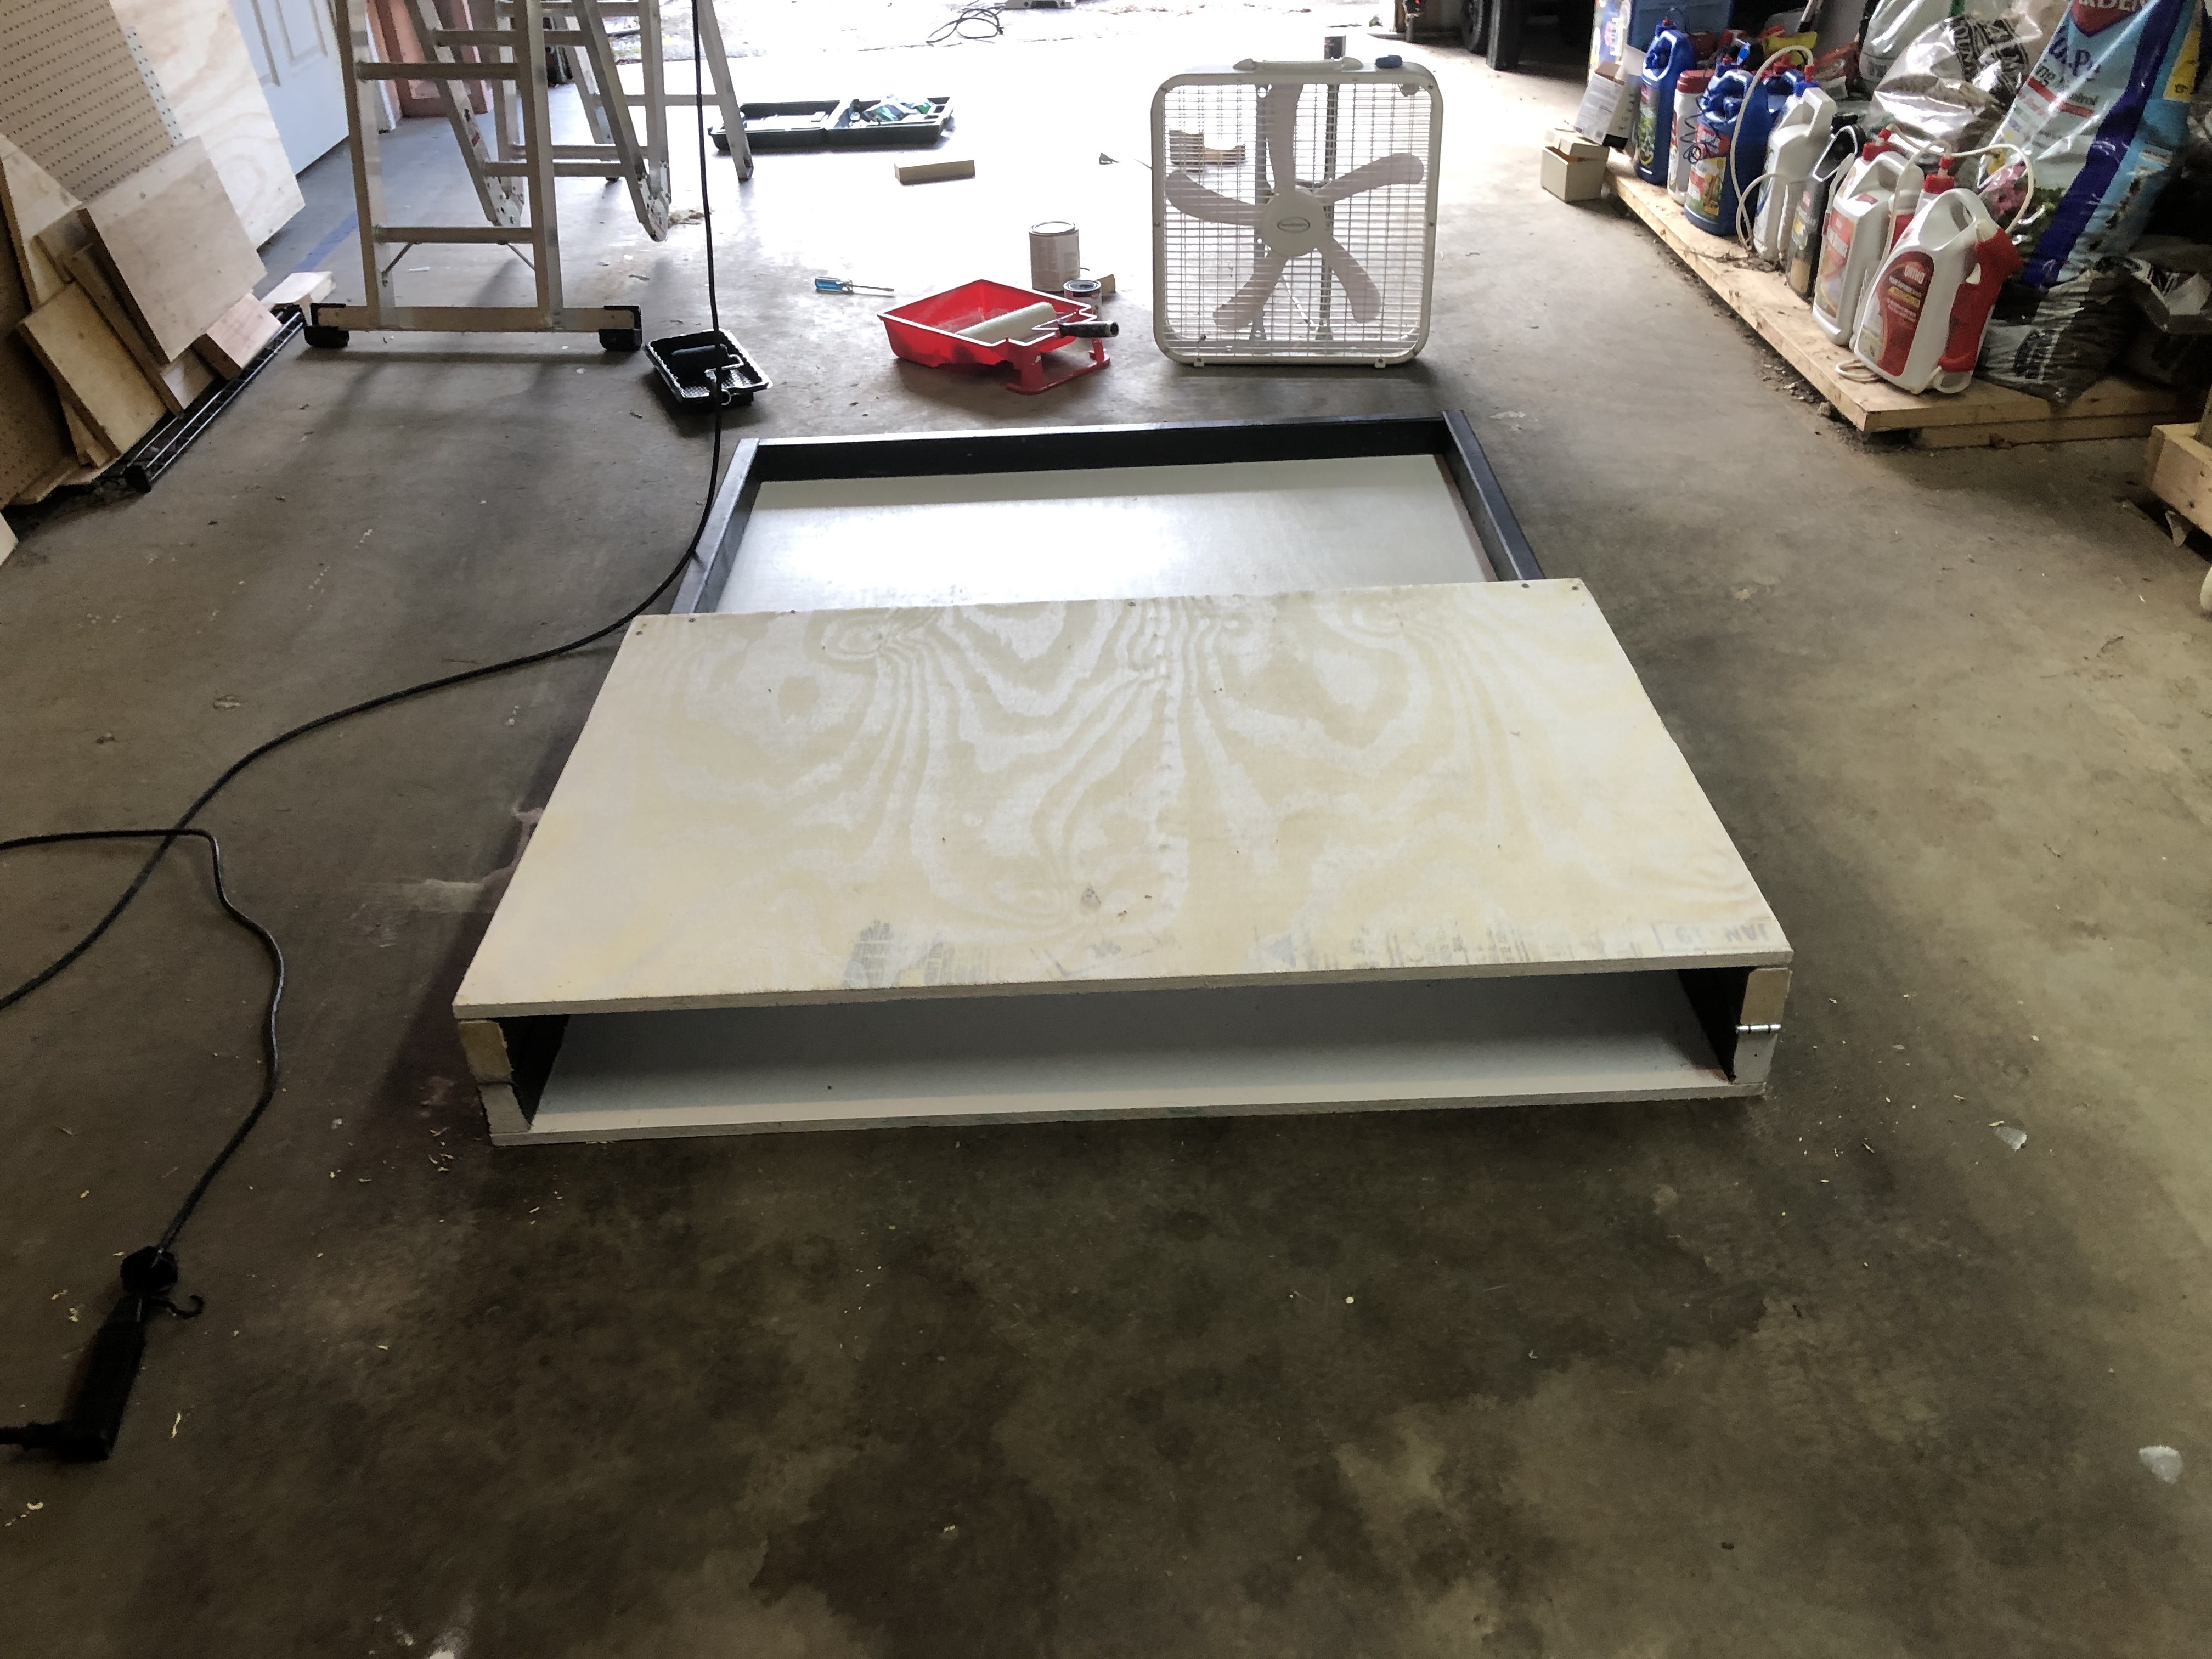
Flipping the table over, attaching the bottom hinge assembly, and testing the second fold:

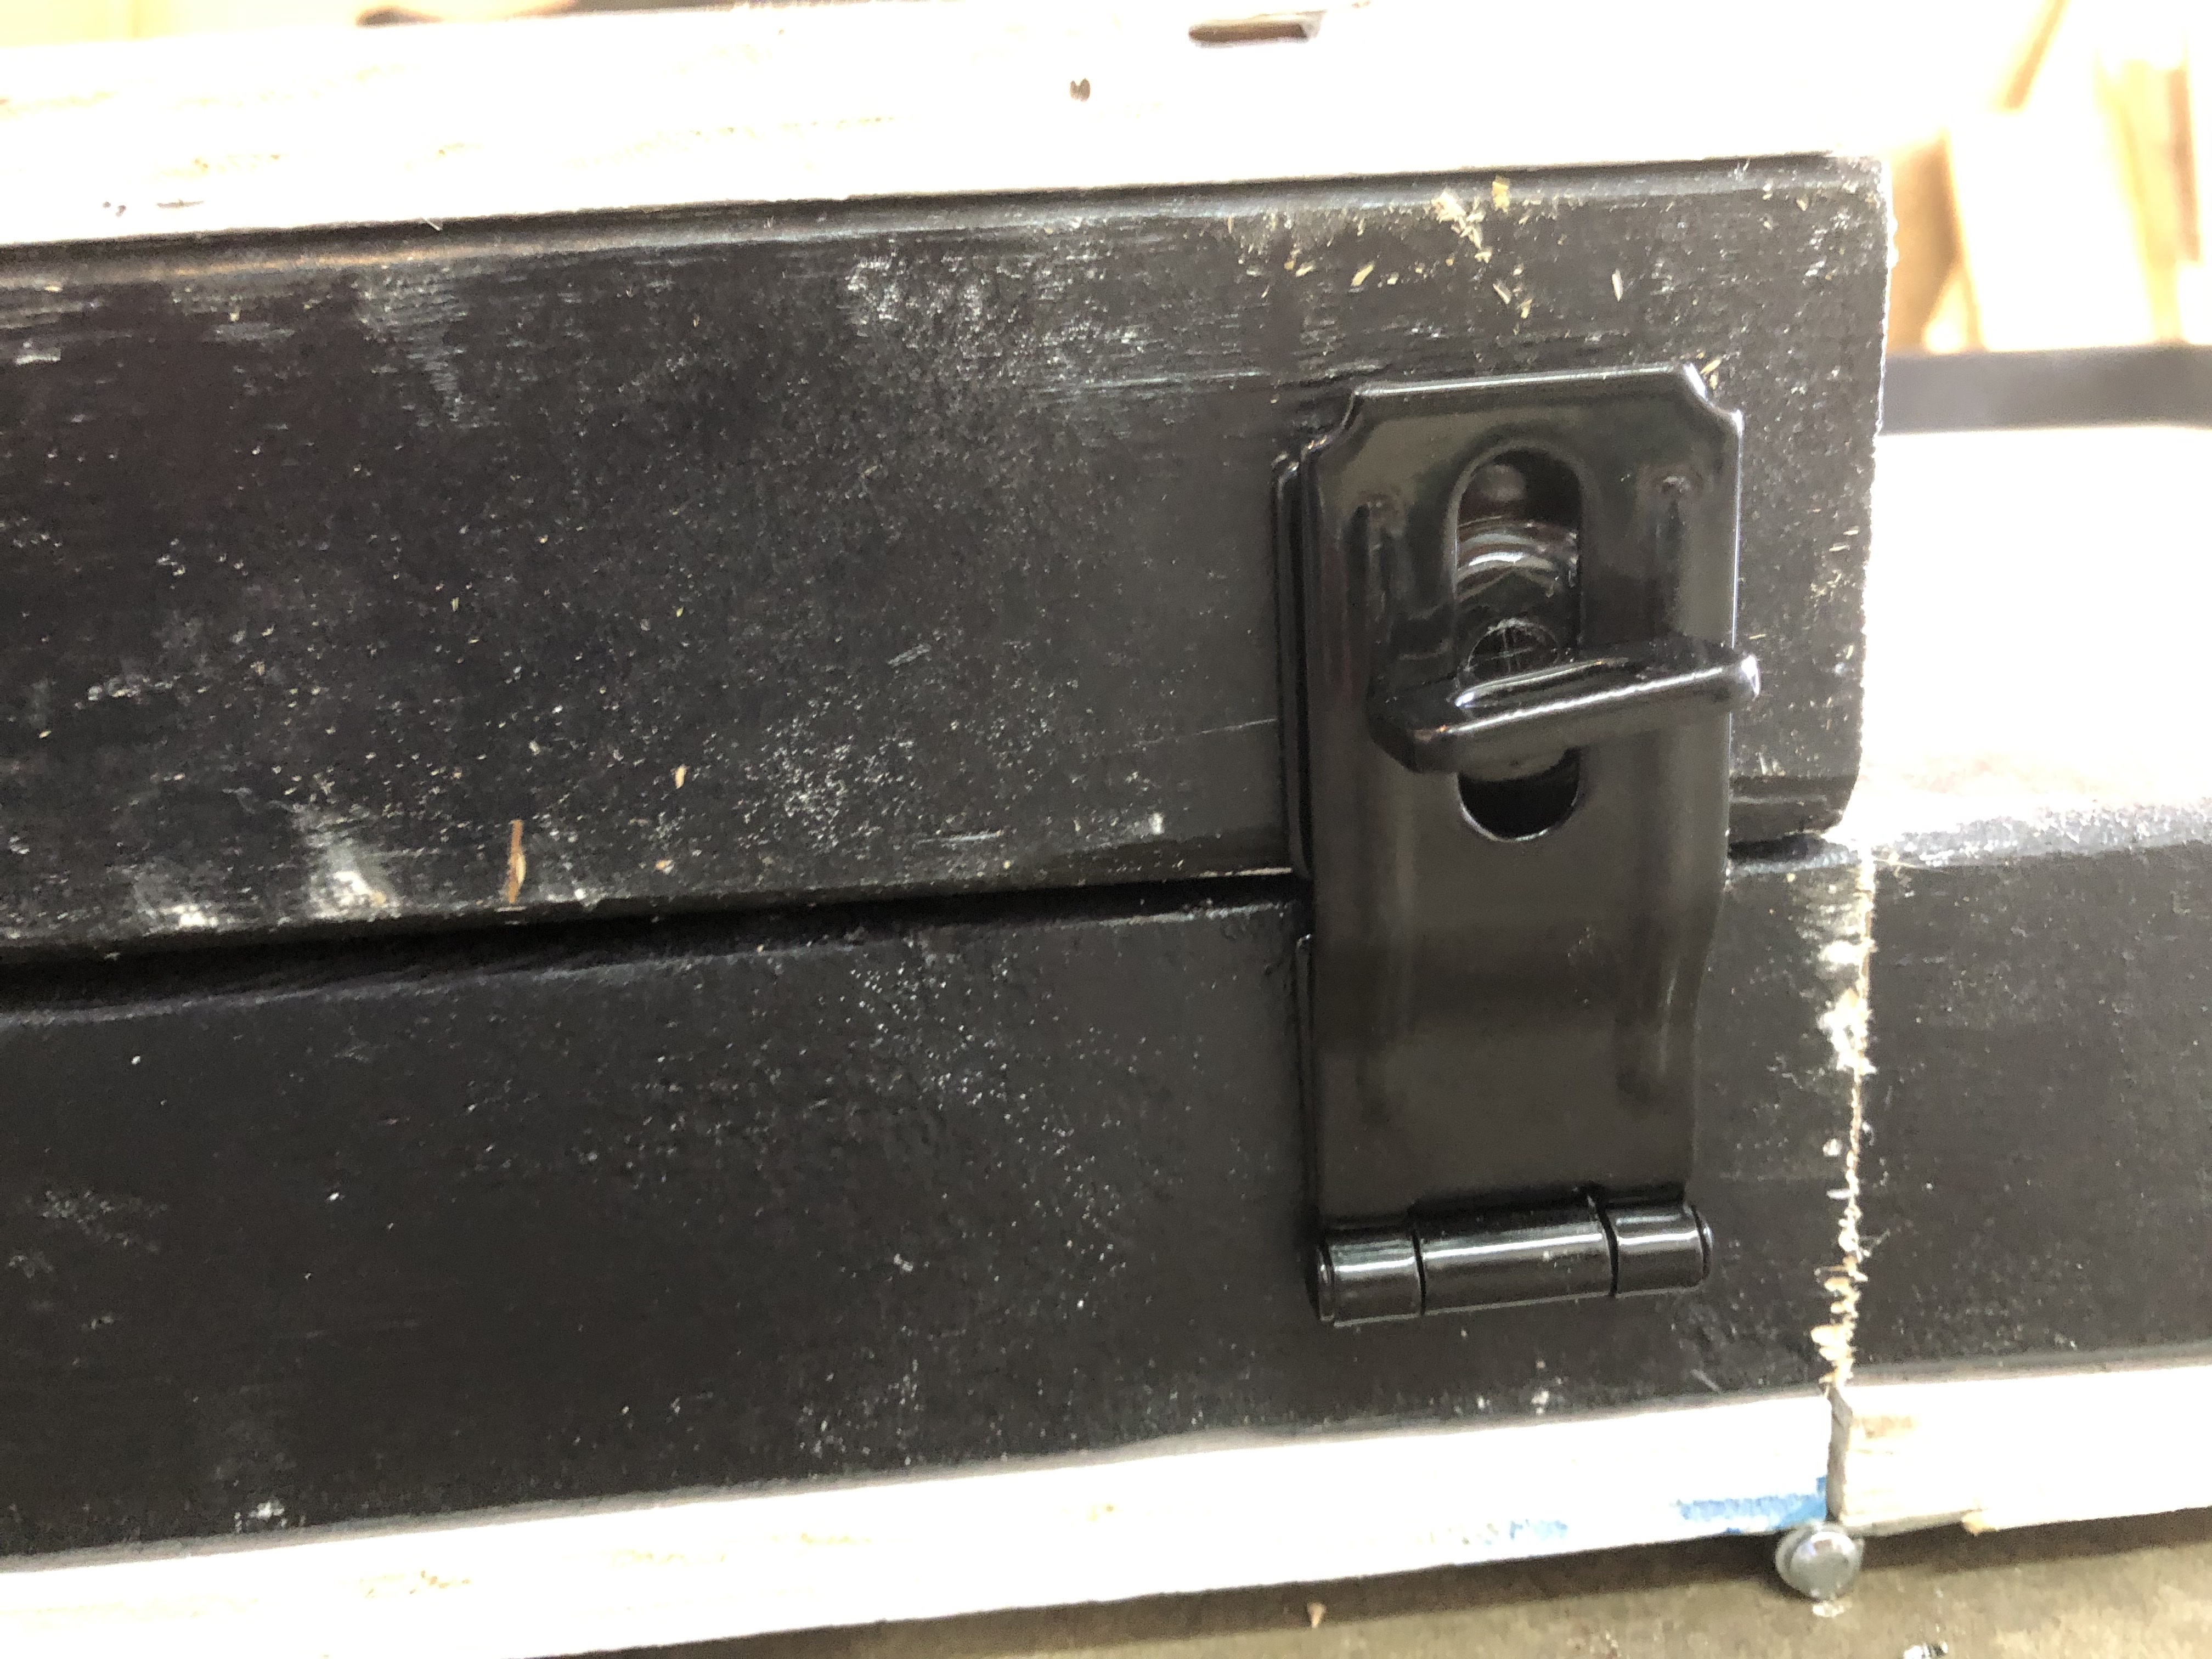
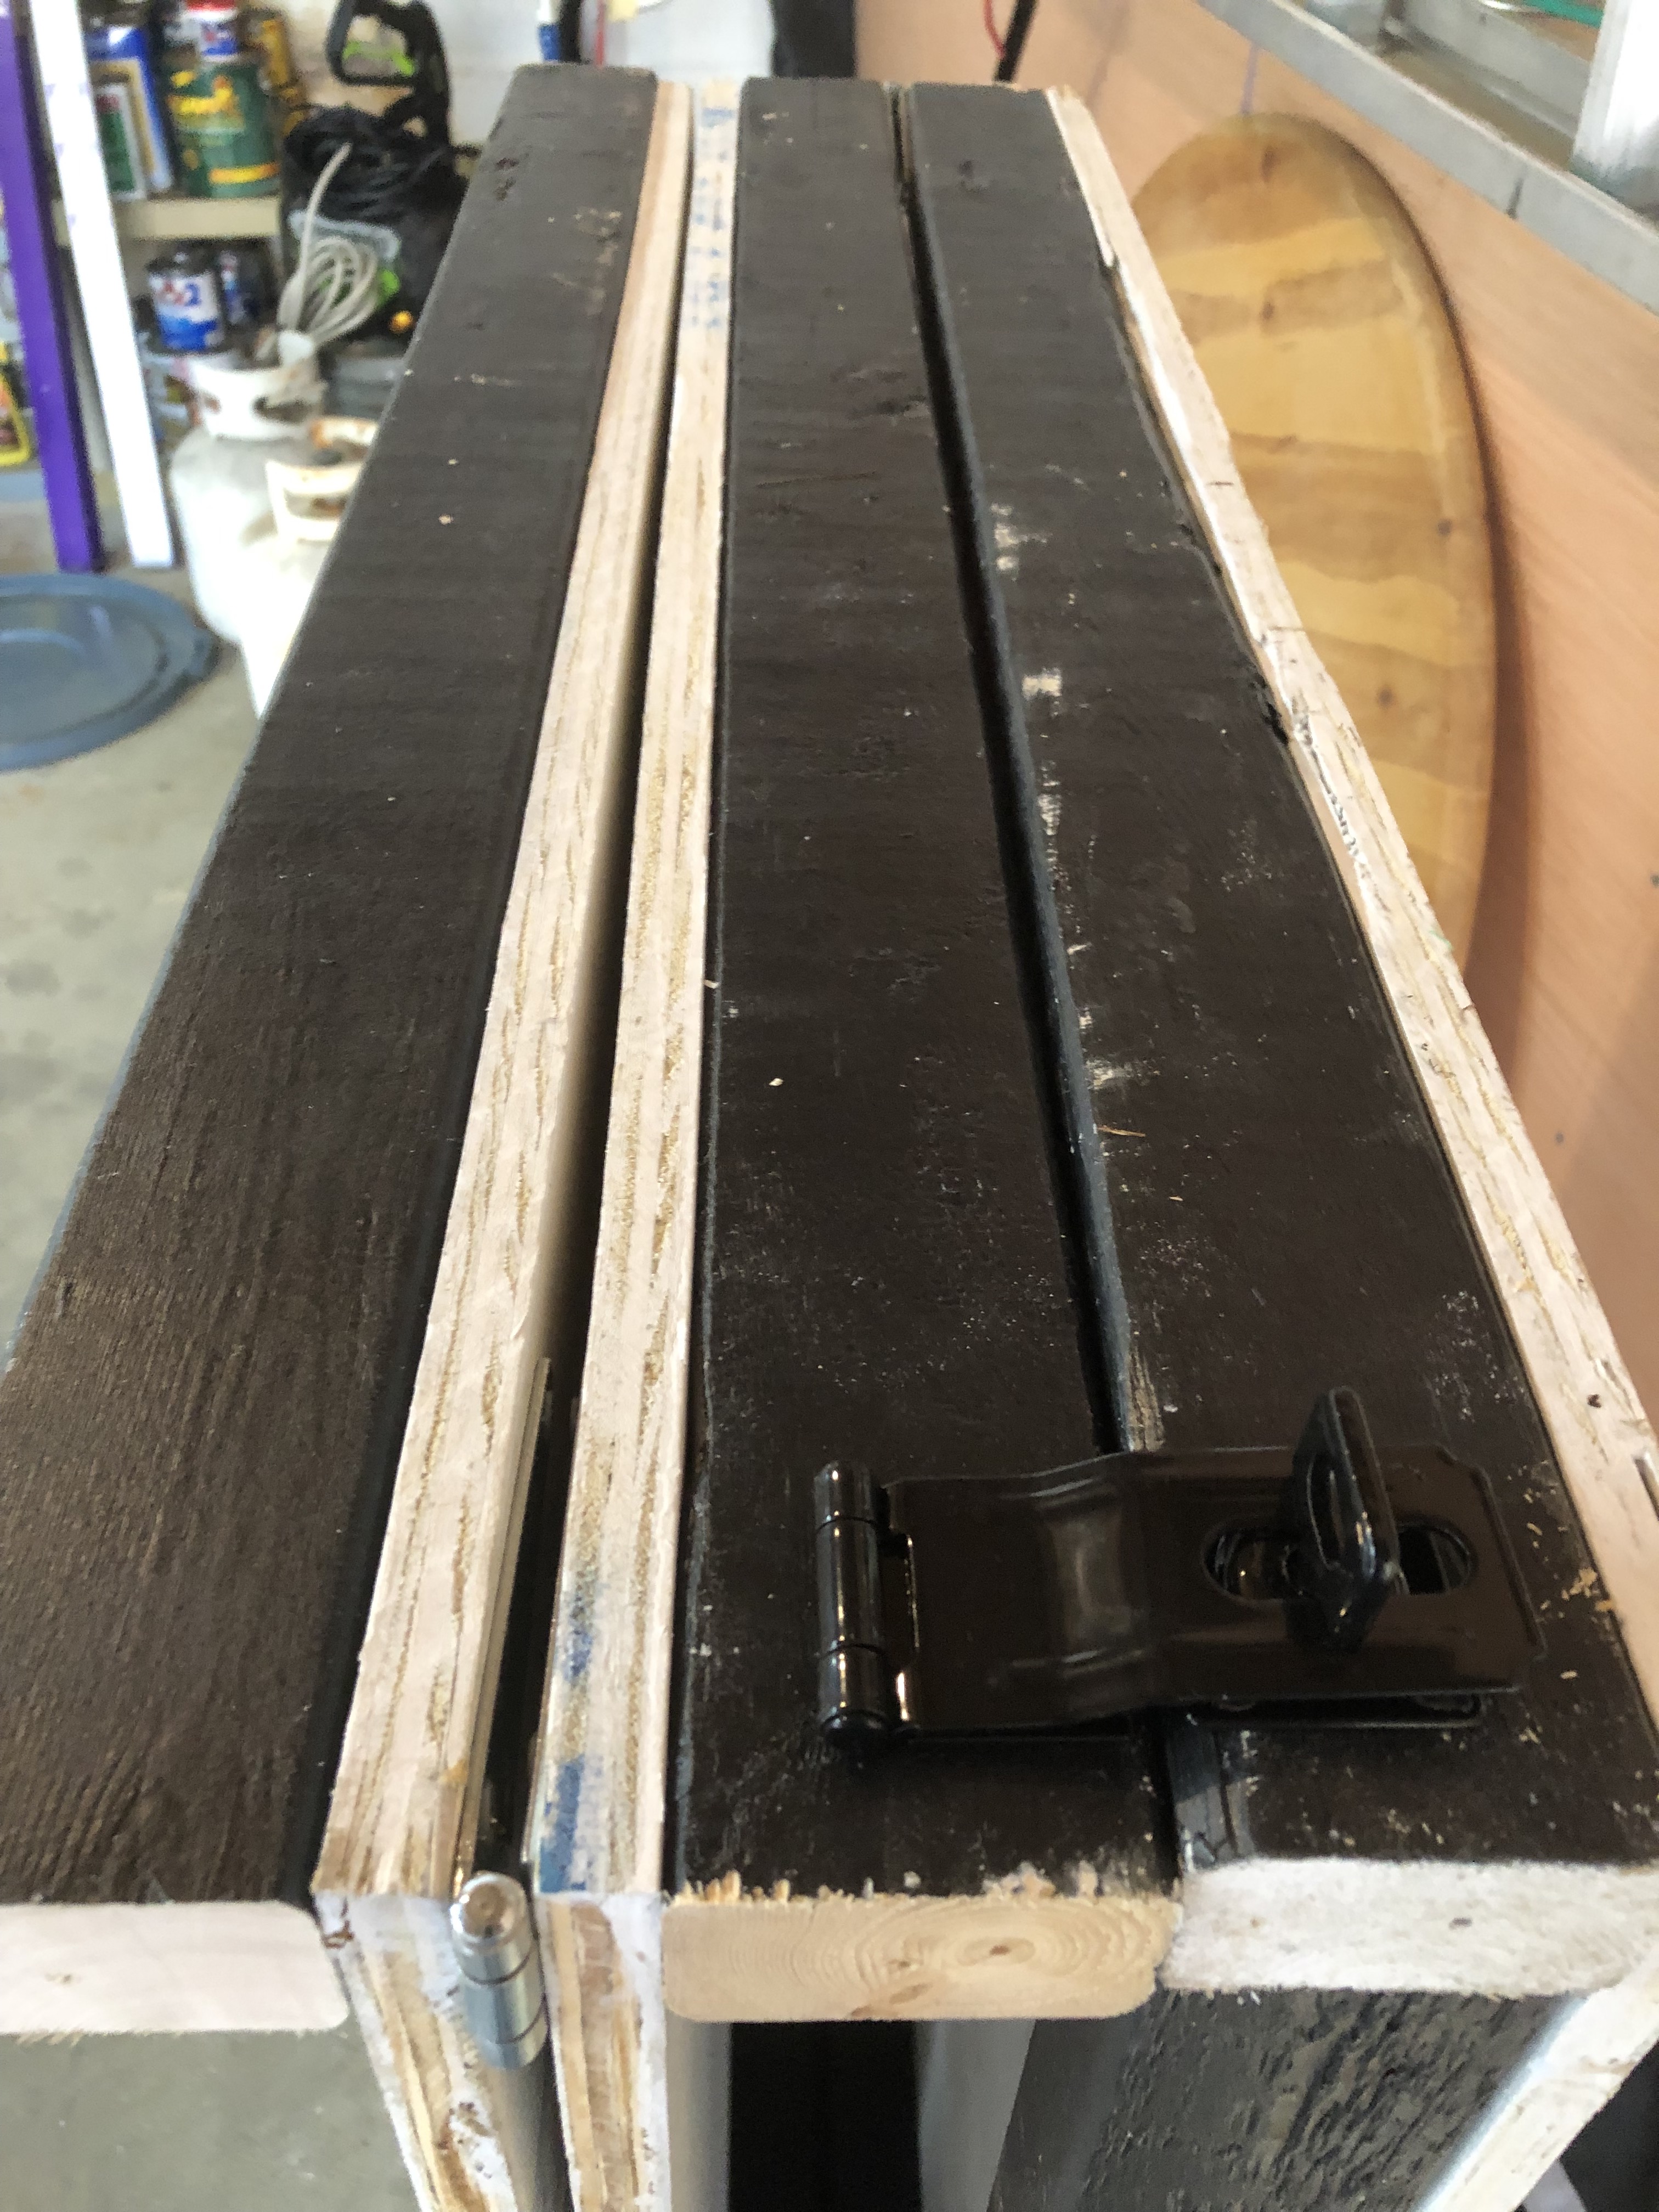
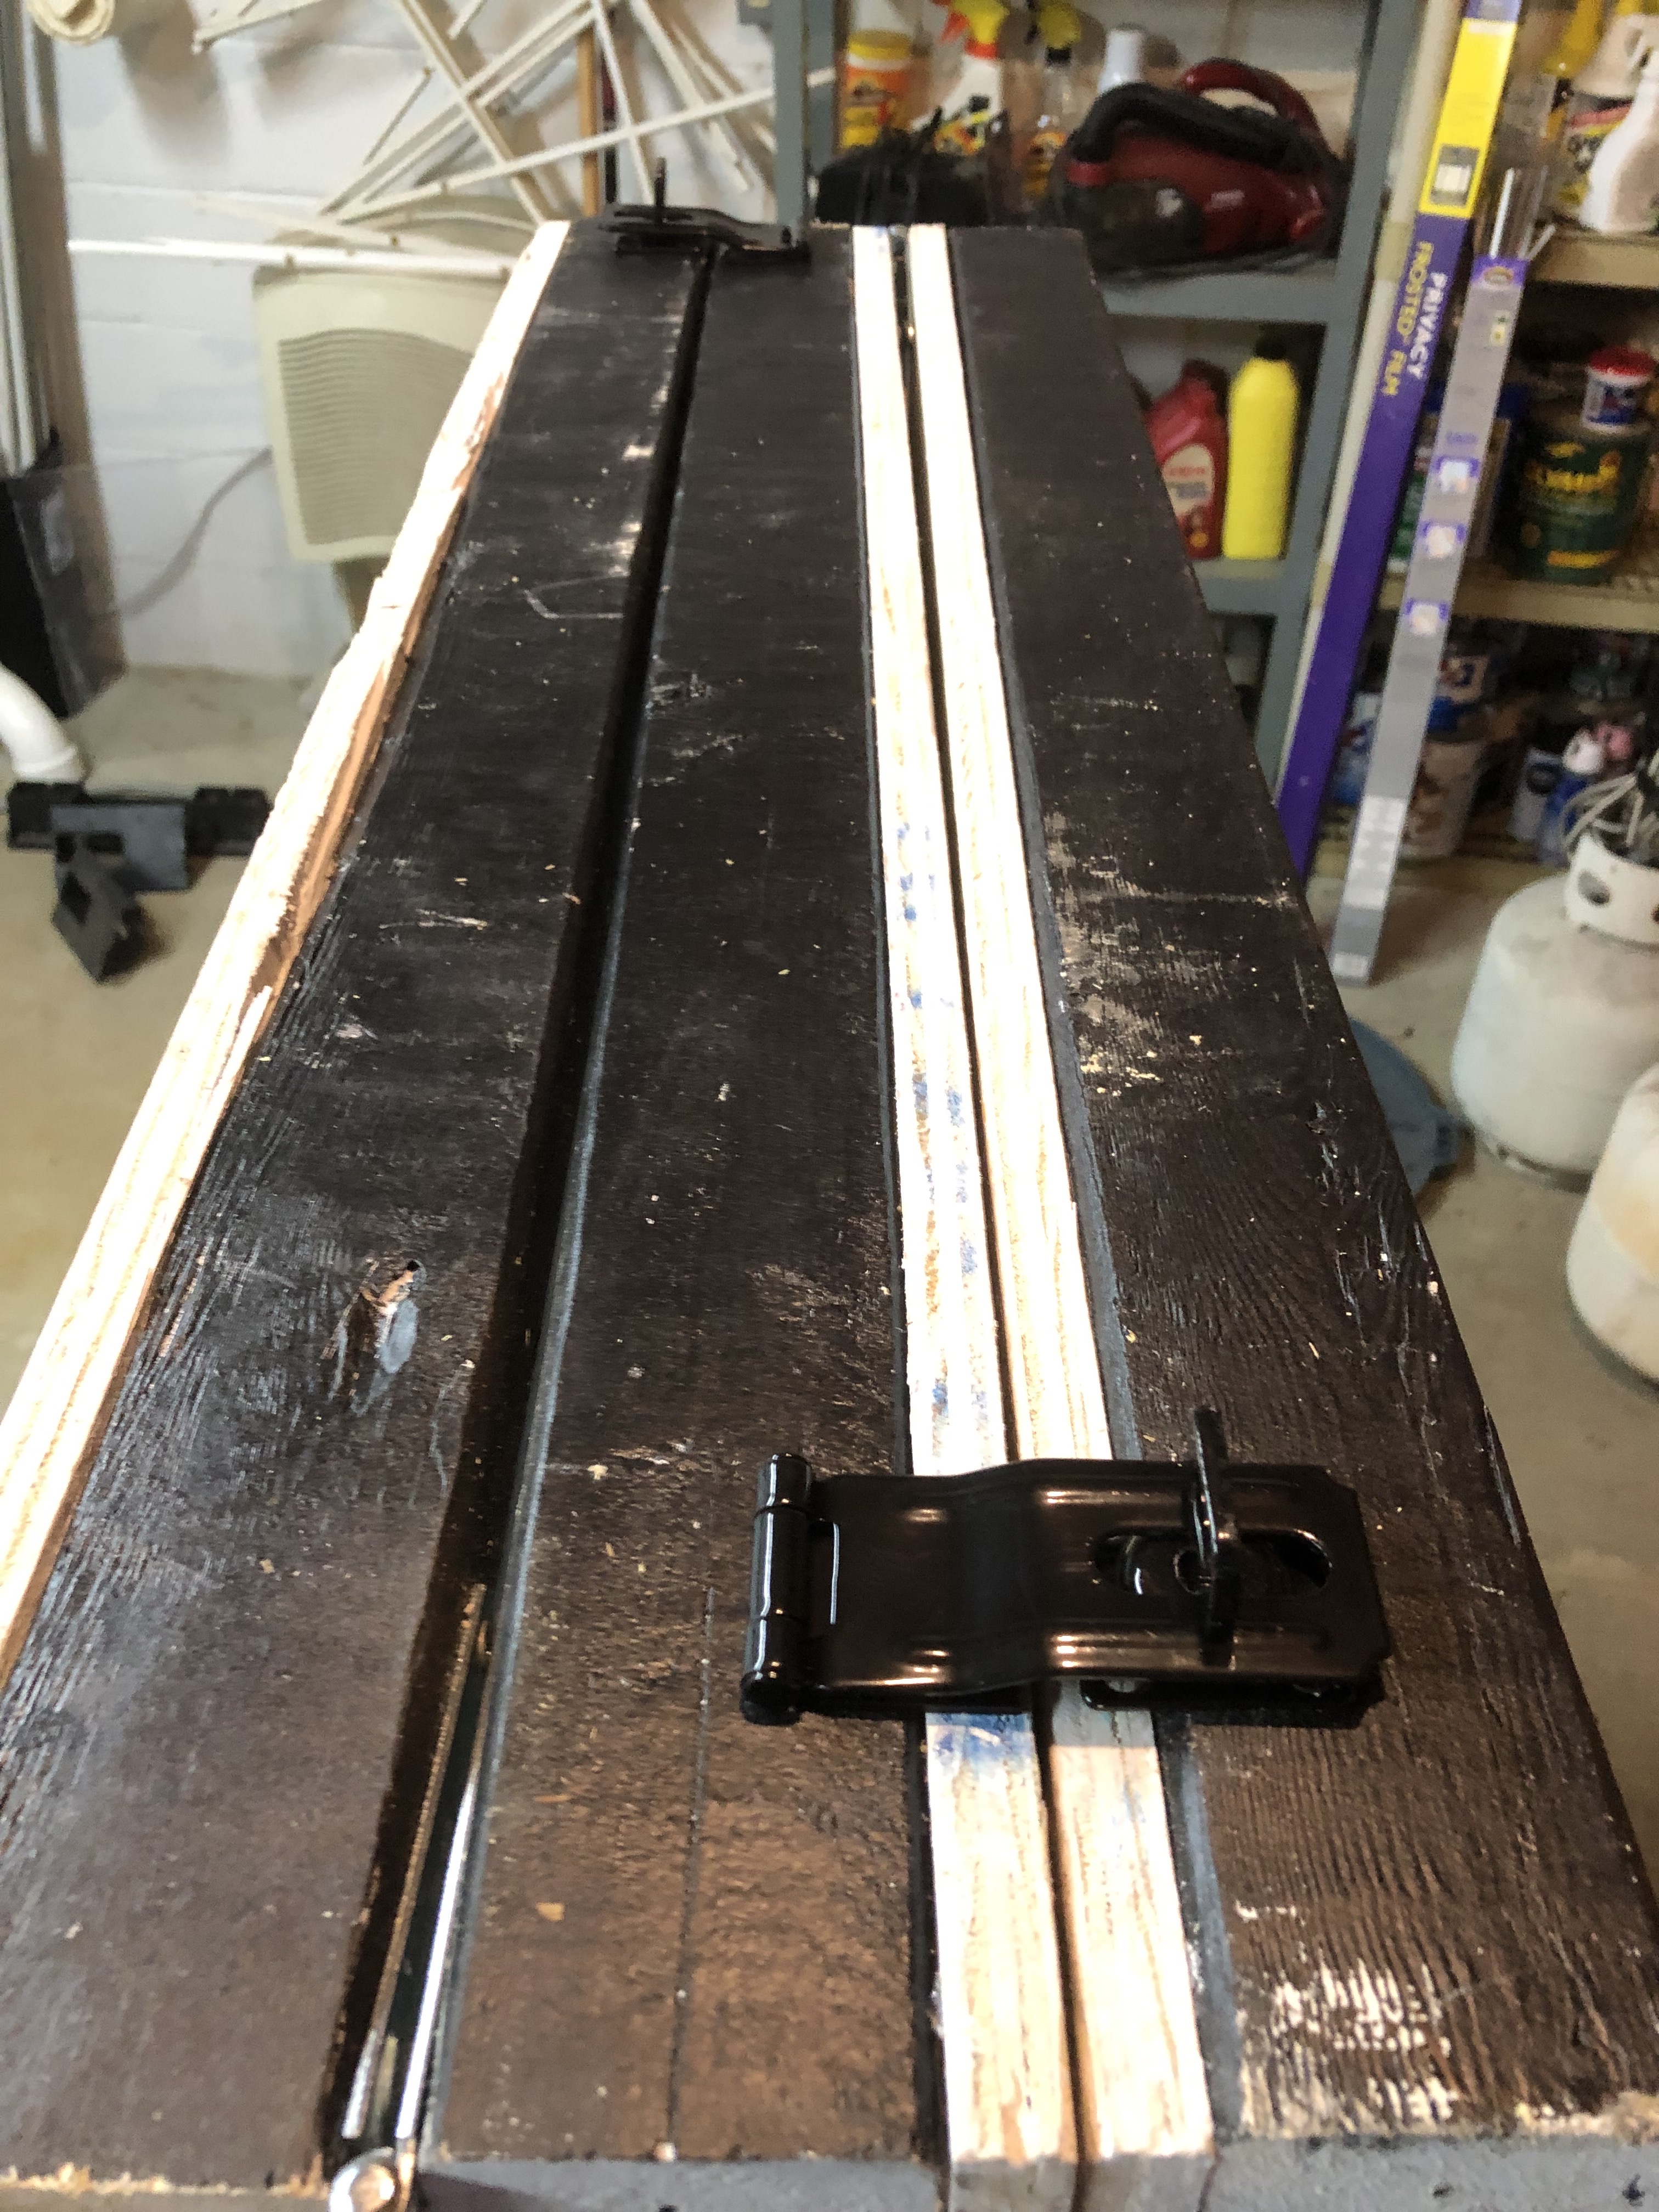
Attaching first locking hasp:
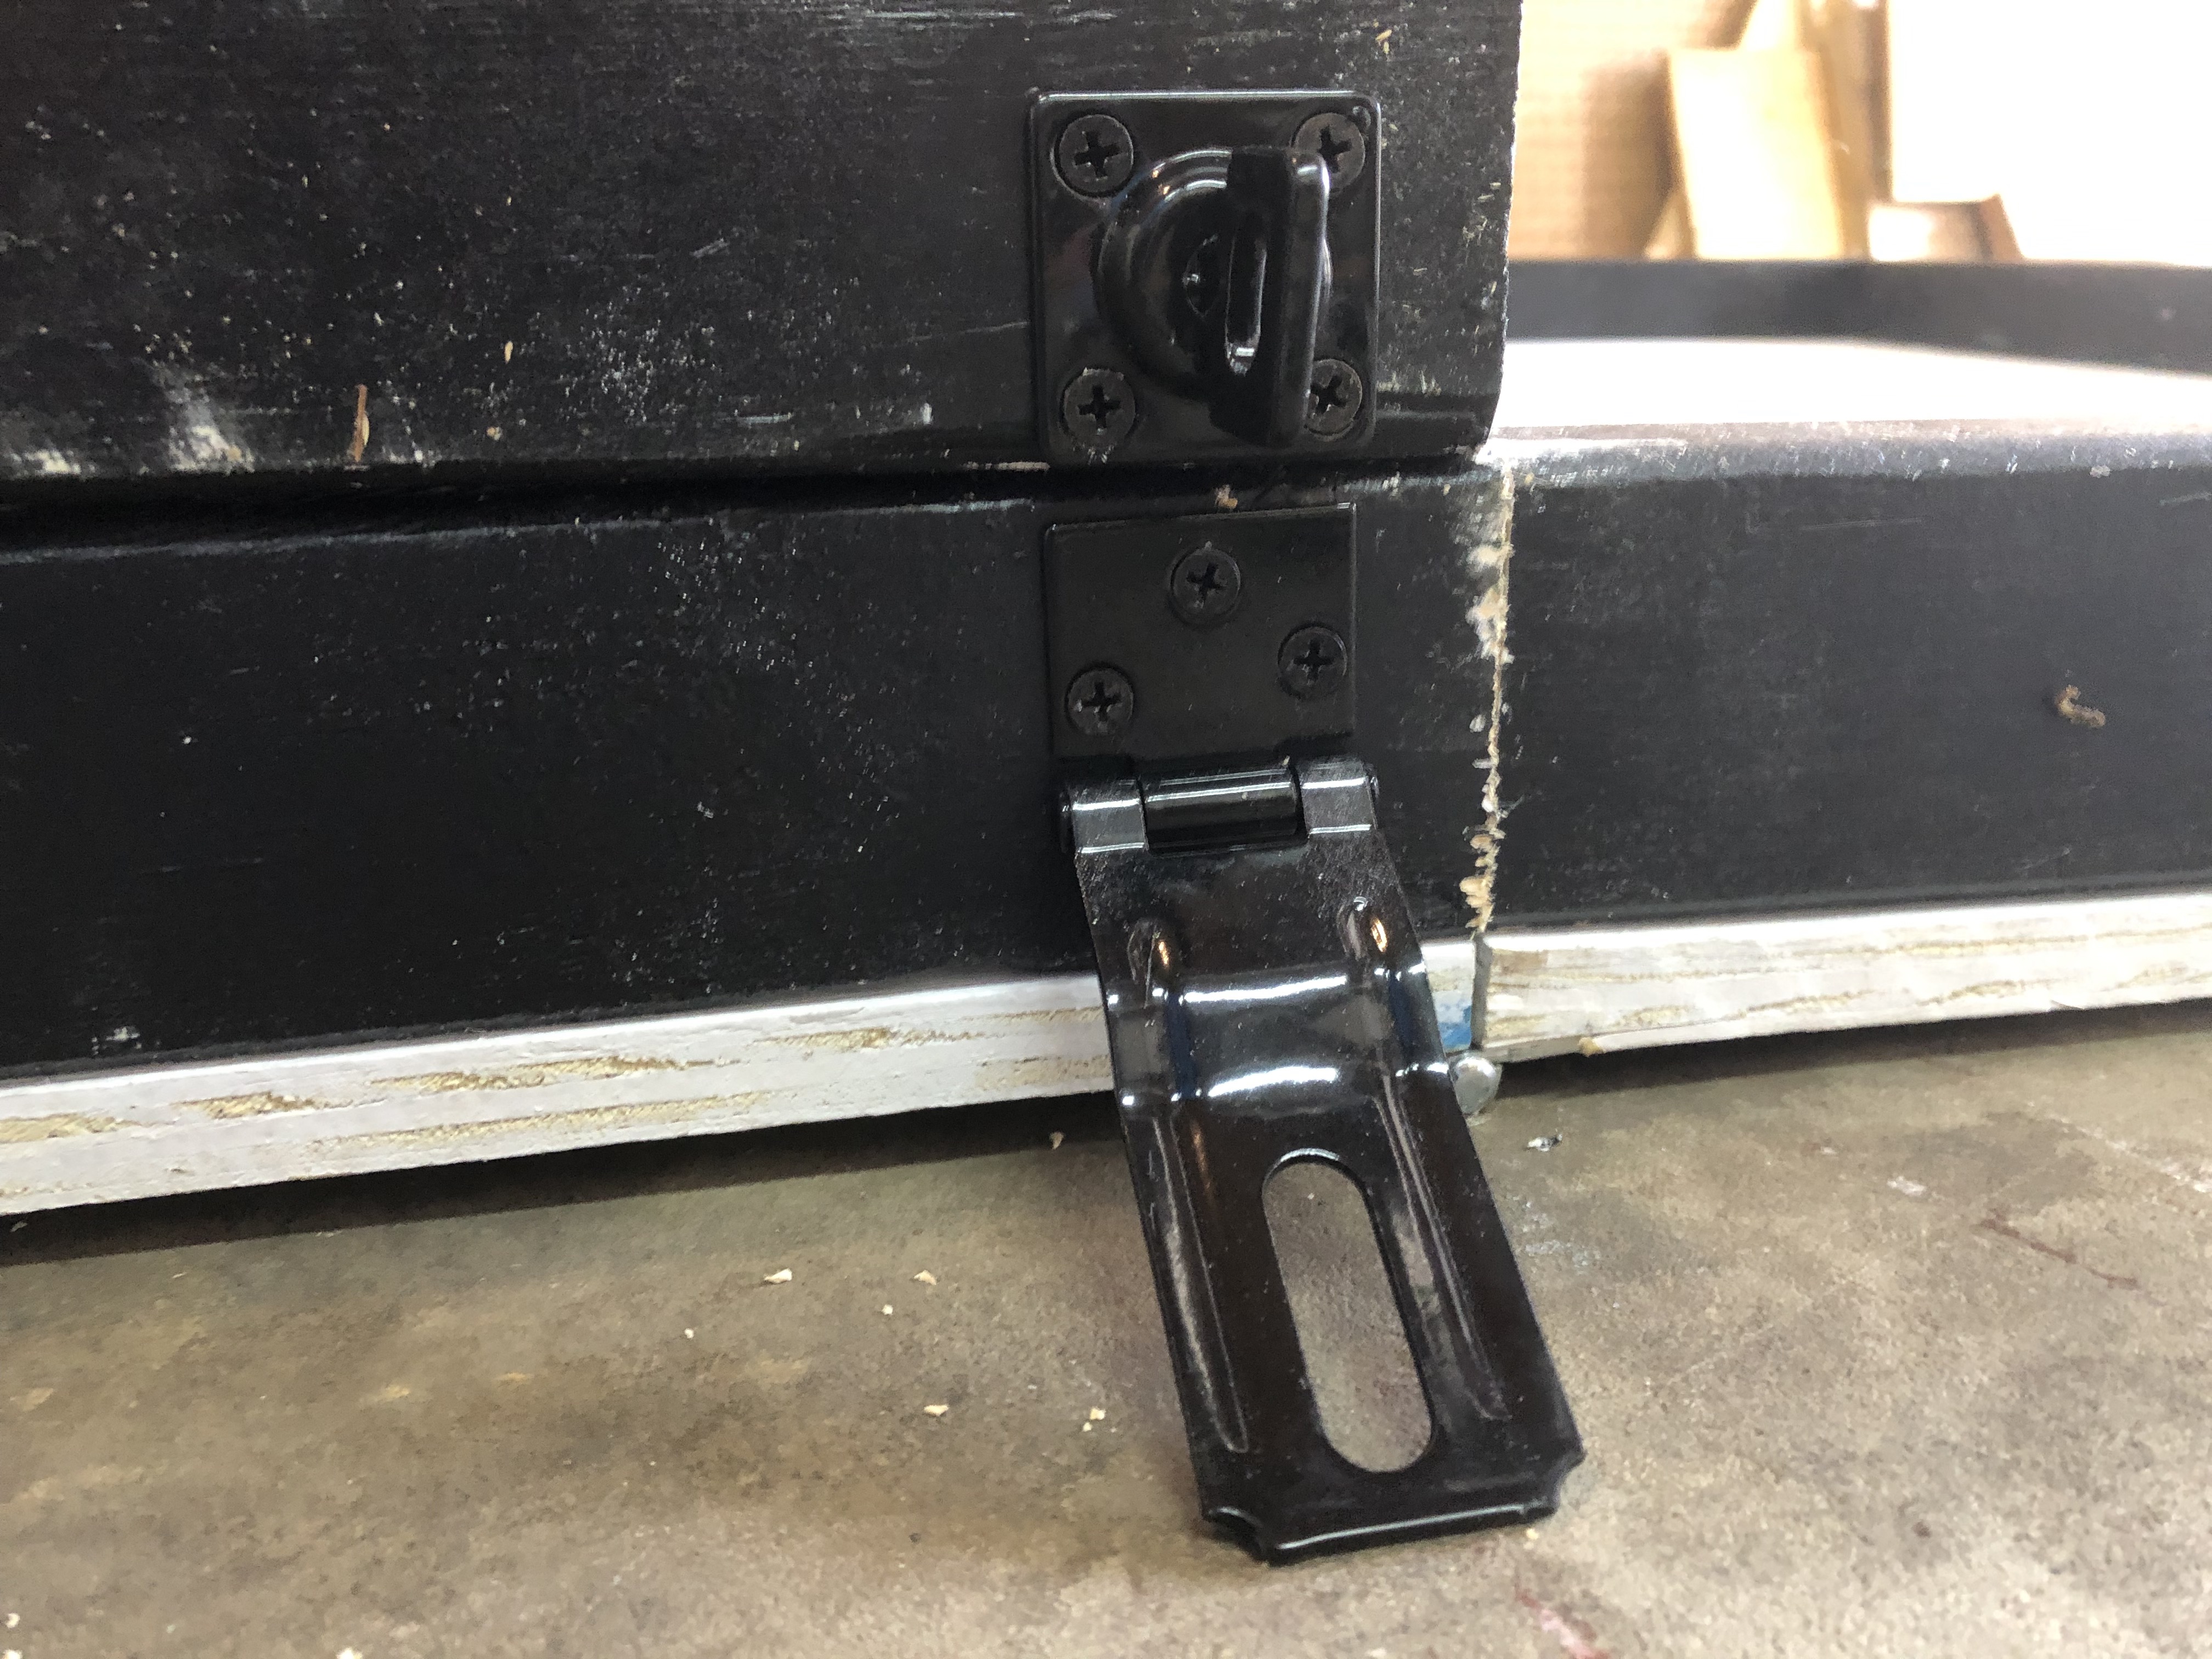
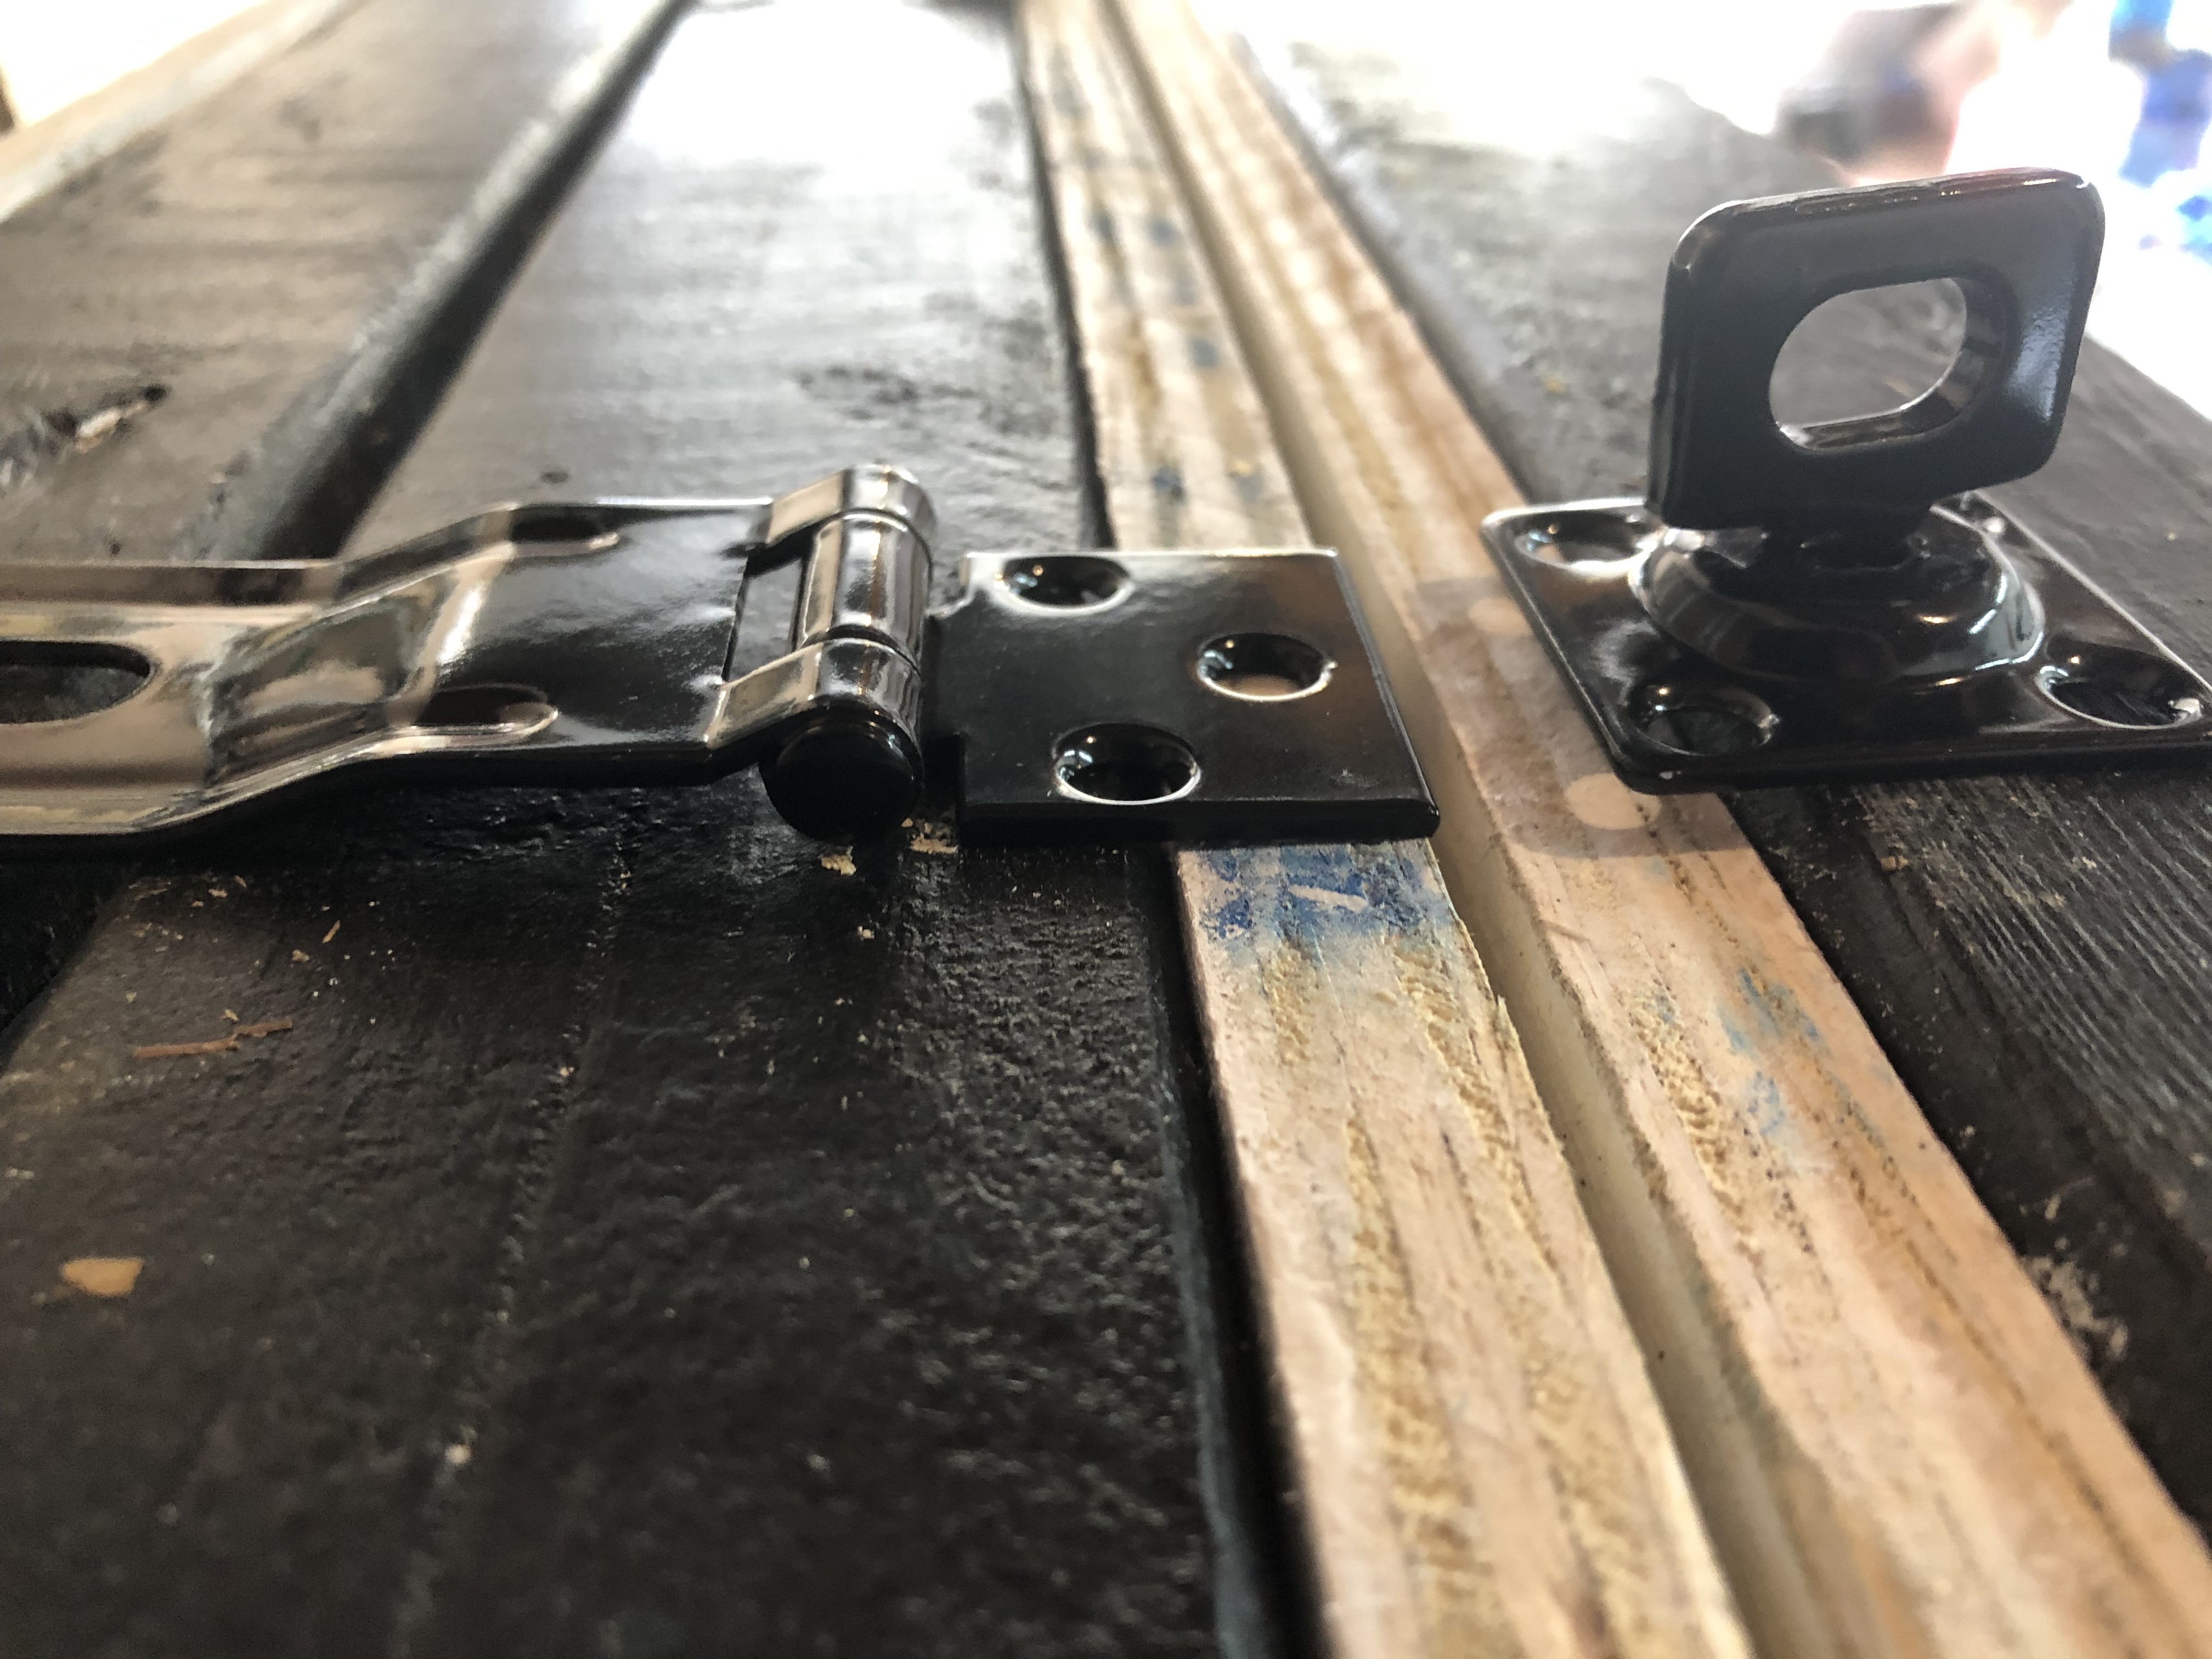
Attaching second locking hasp, I should have gotten larger ones with at least 1.5” of gap between the mounting plates:
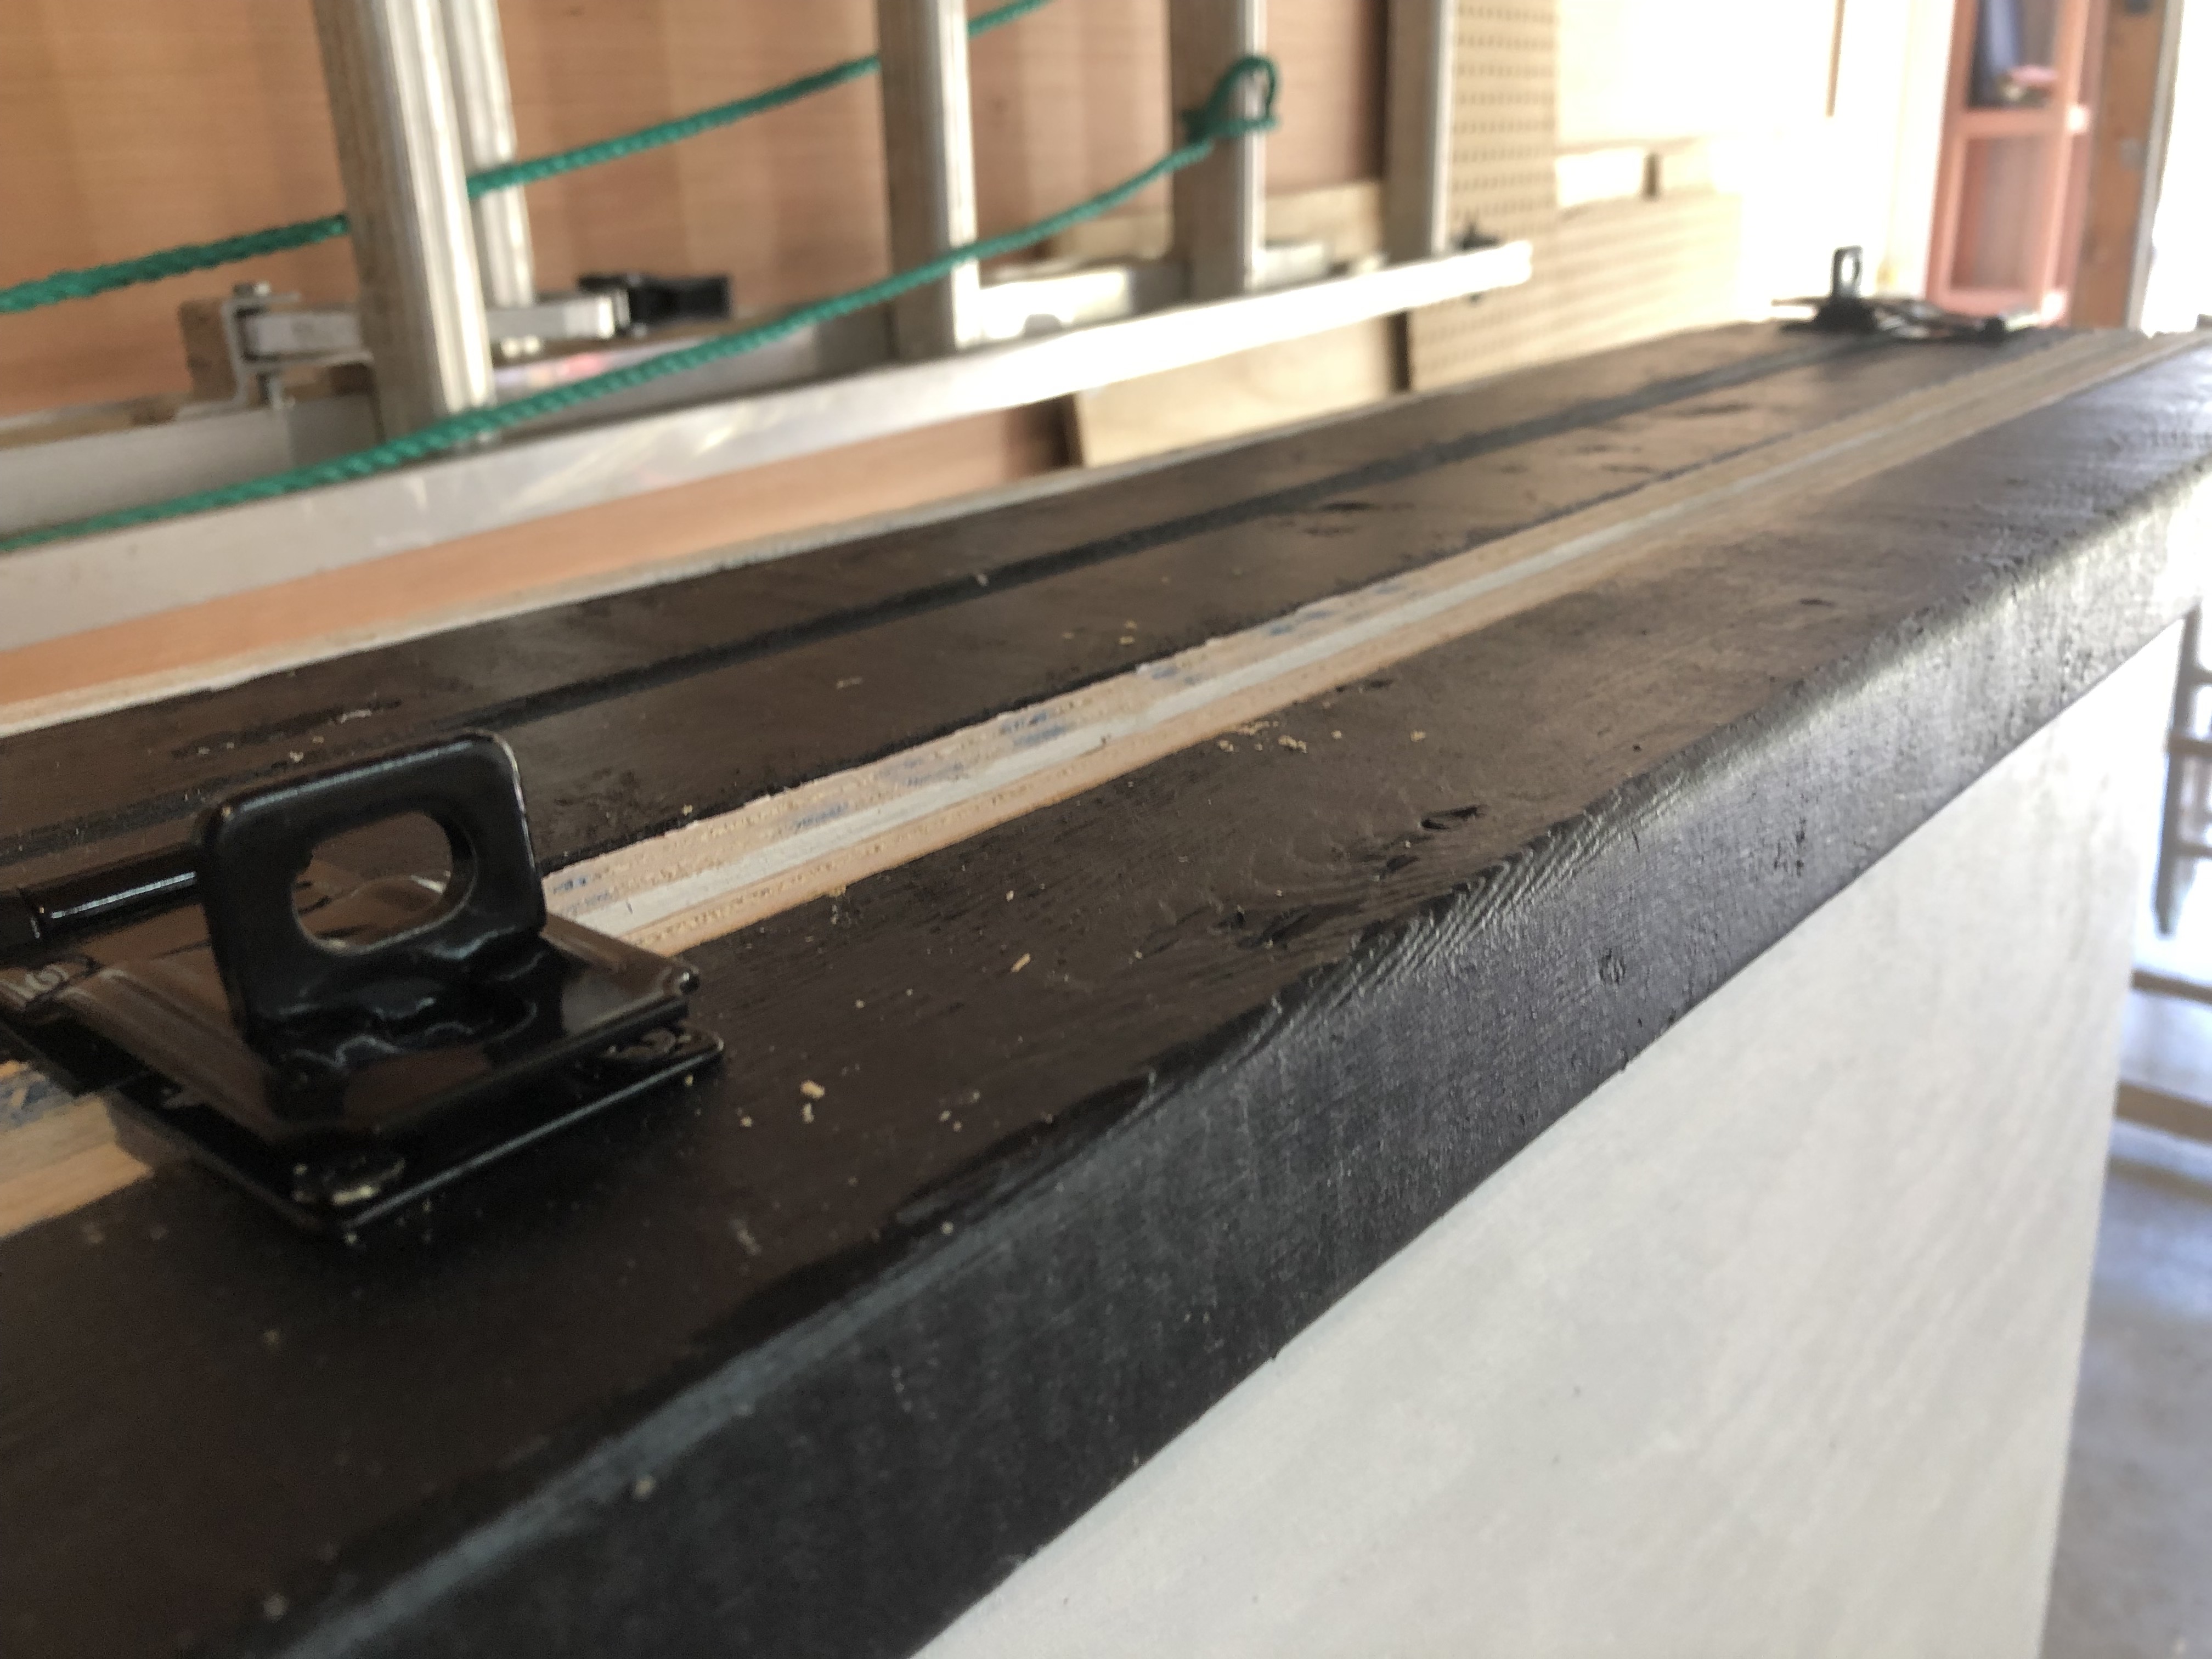
Game table sections all locked up:
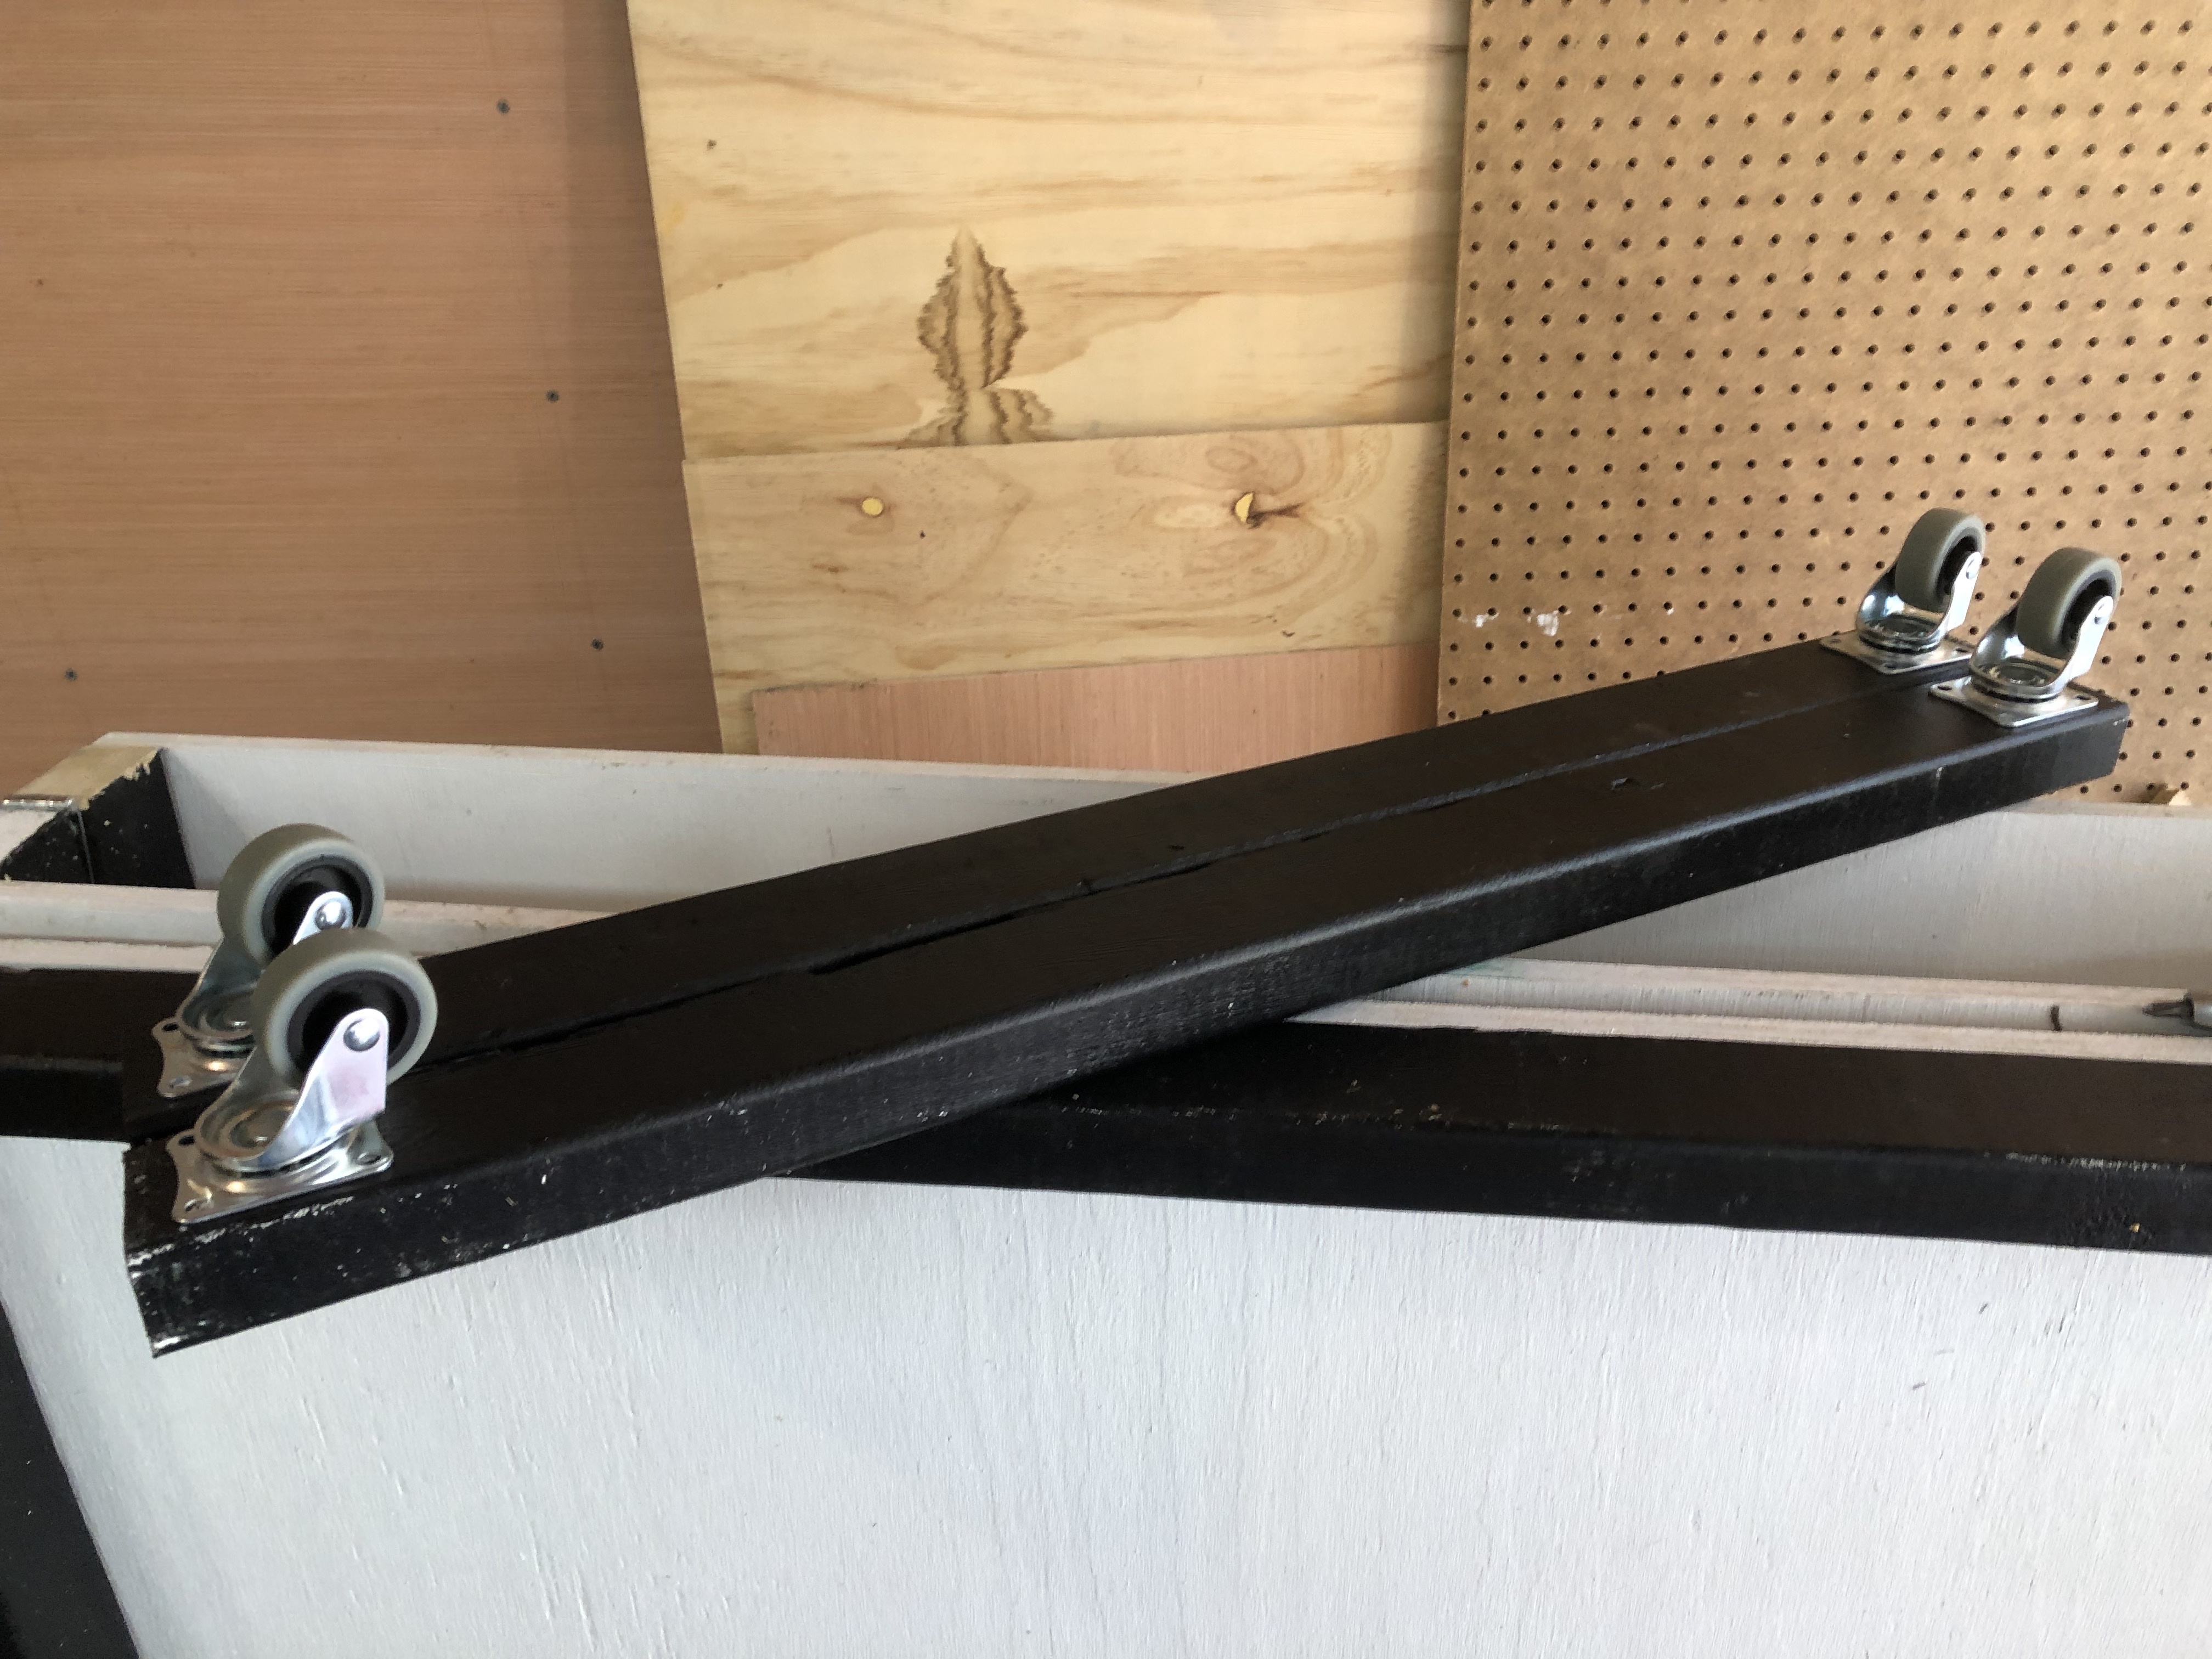
Attaching casters to outer sets of dummy walls:
Attaching all dummy walls:
Assembled except for handles, side view:
Top view:
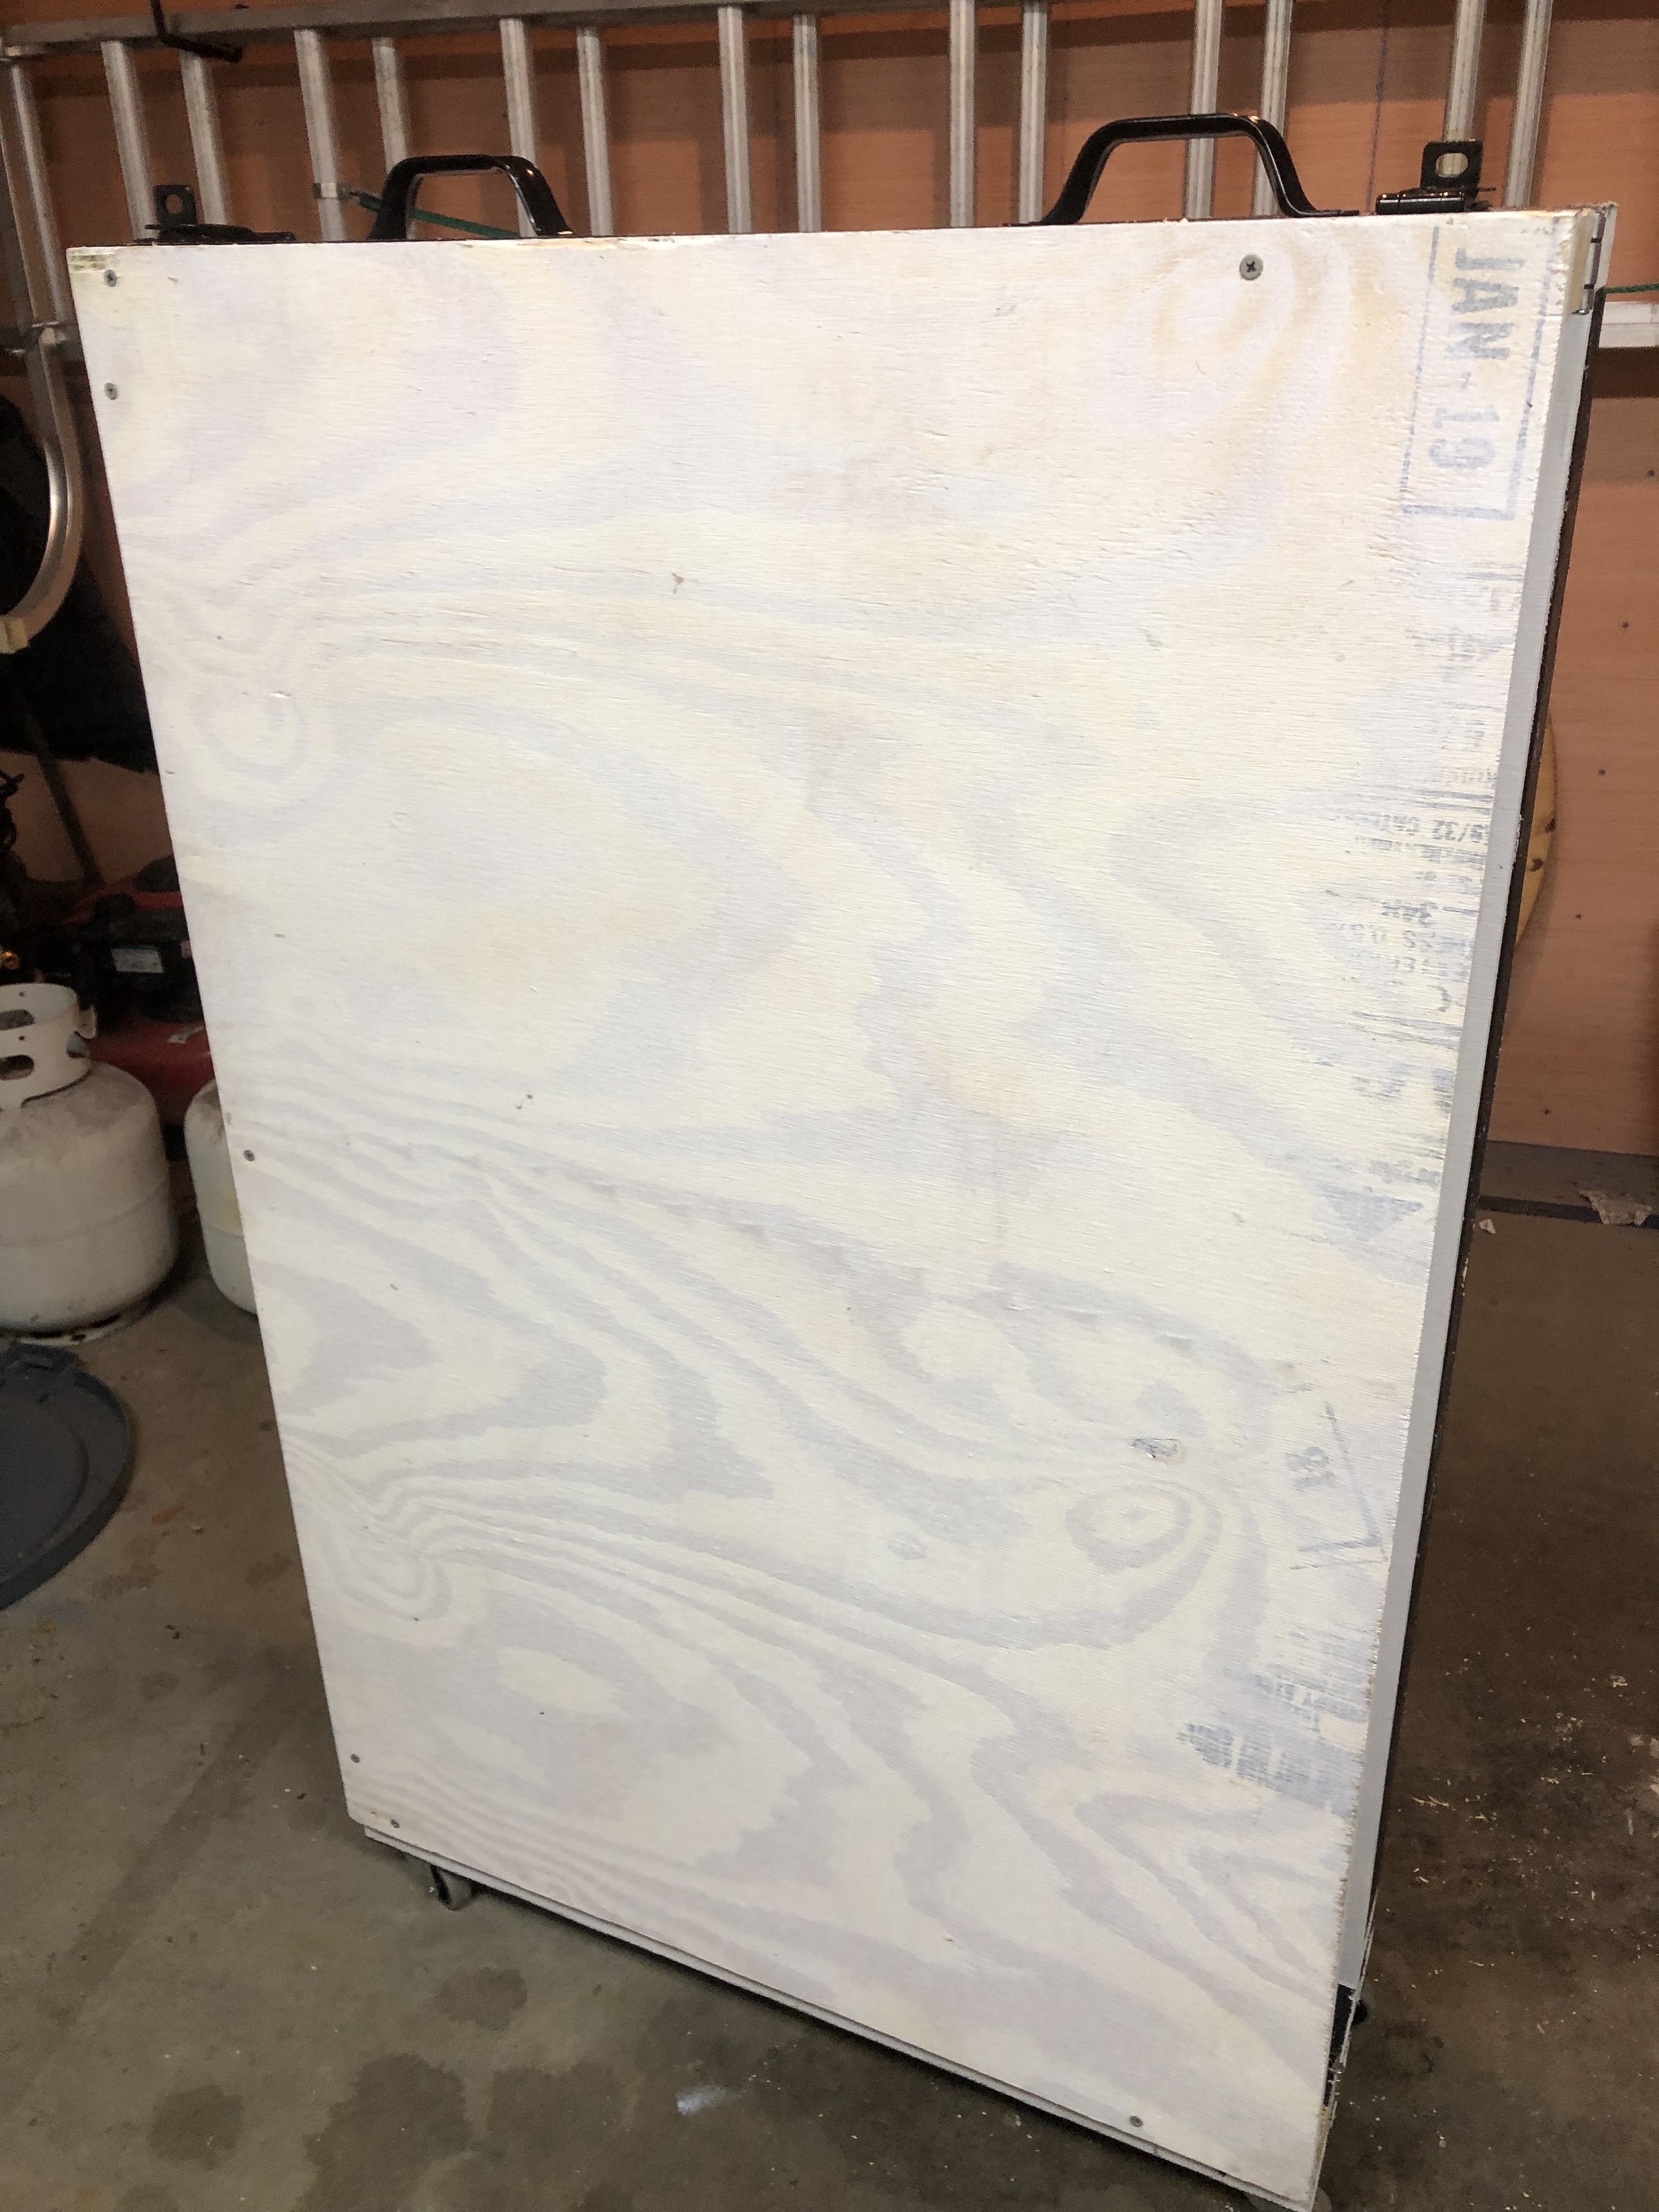
Handles attached:
Travel Photos
Going into the Fit:
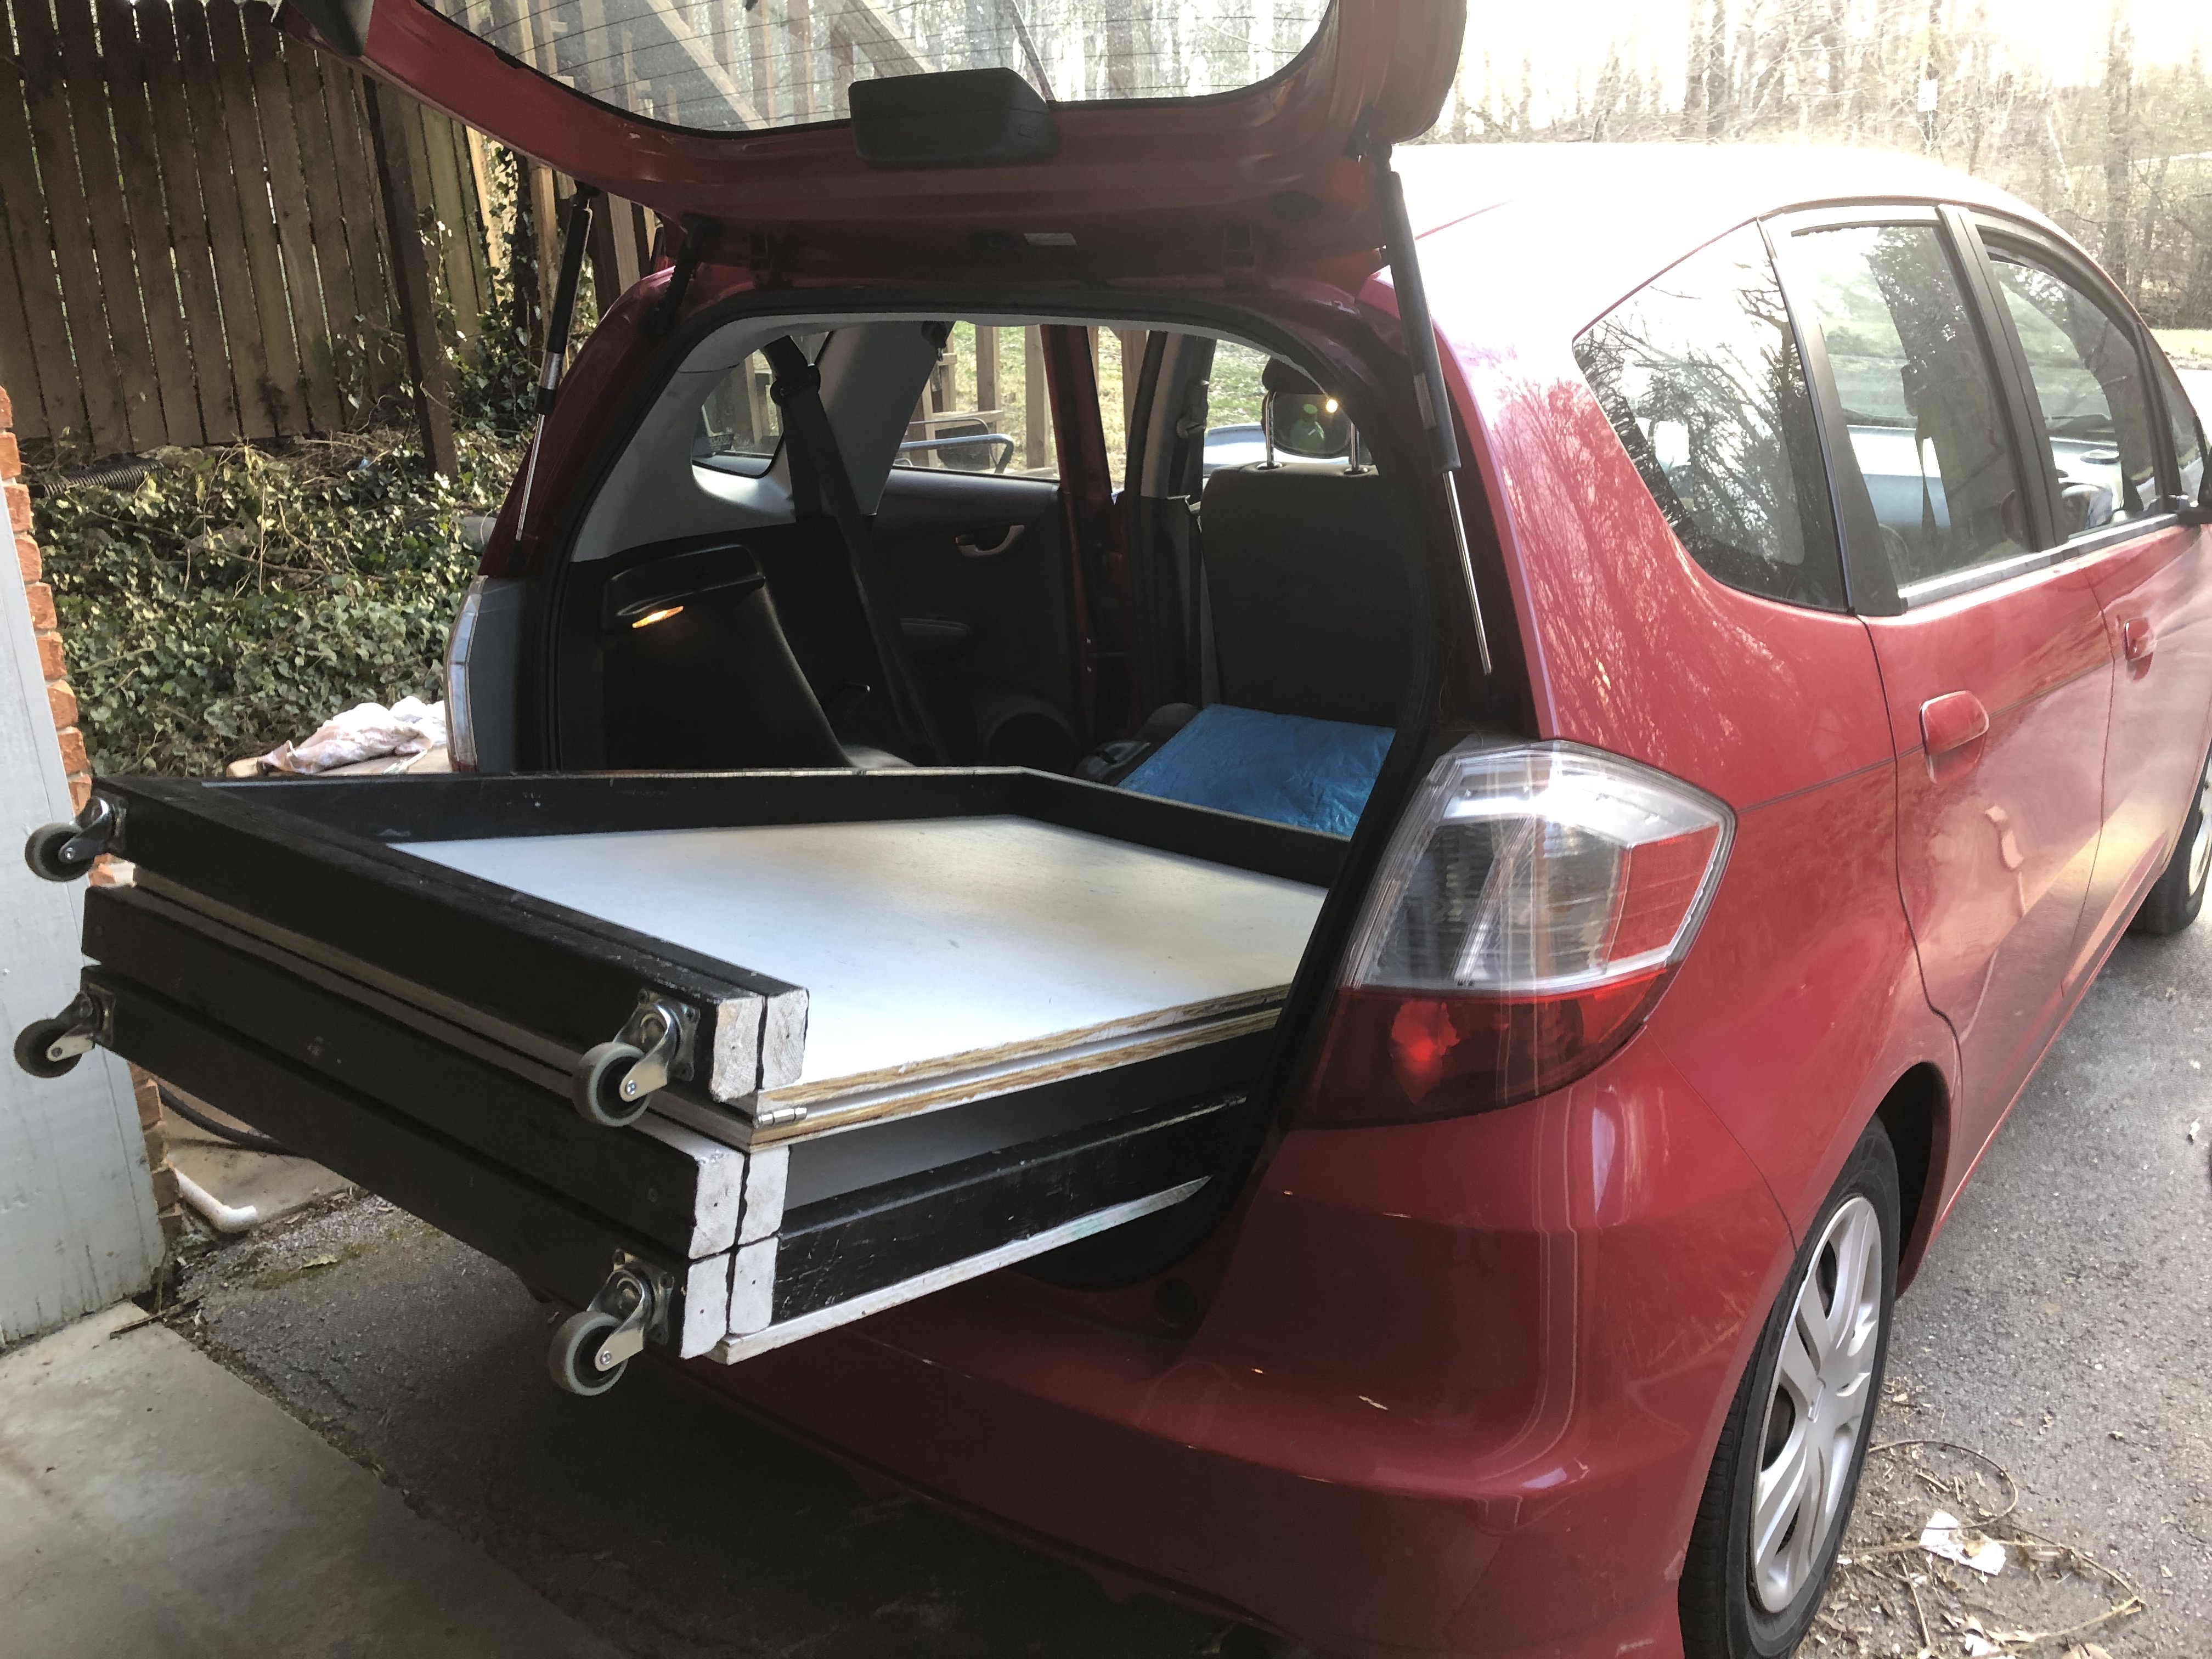
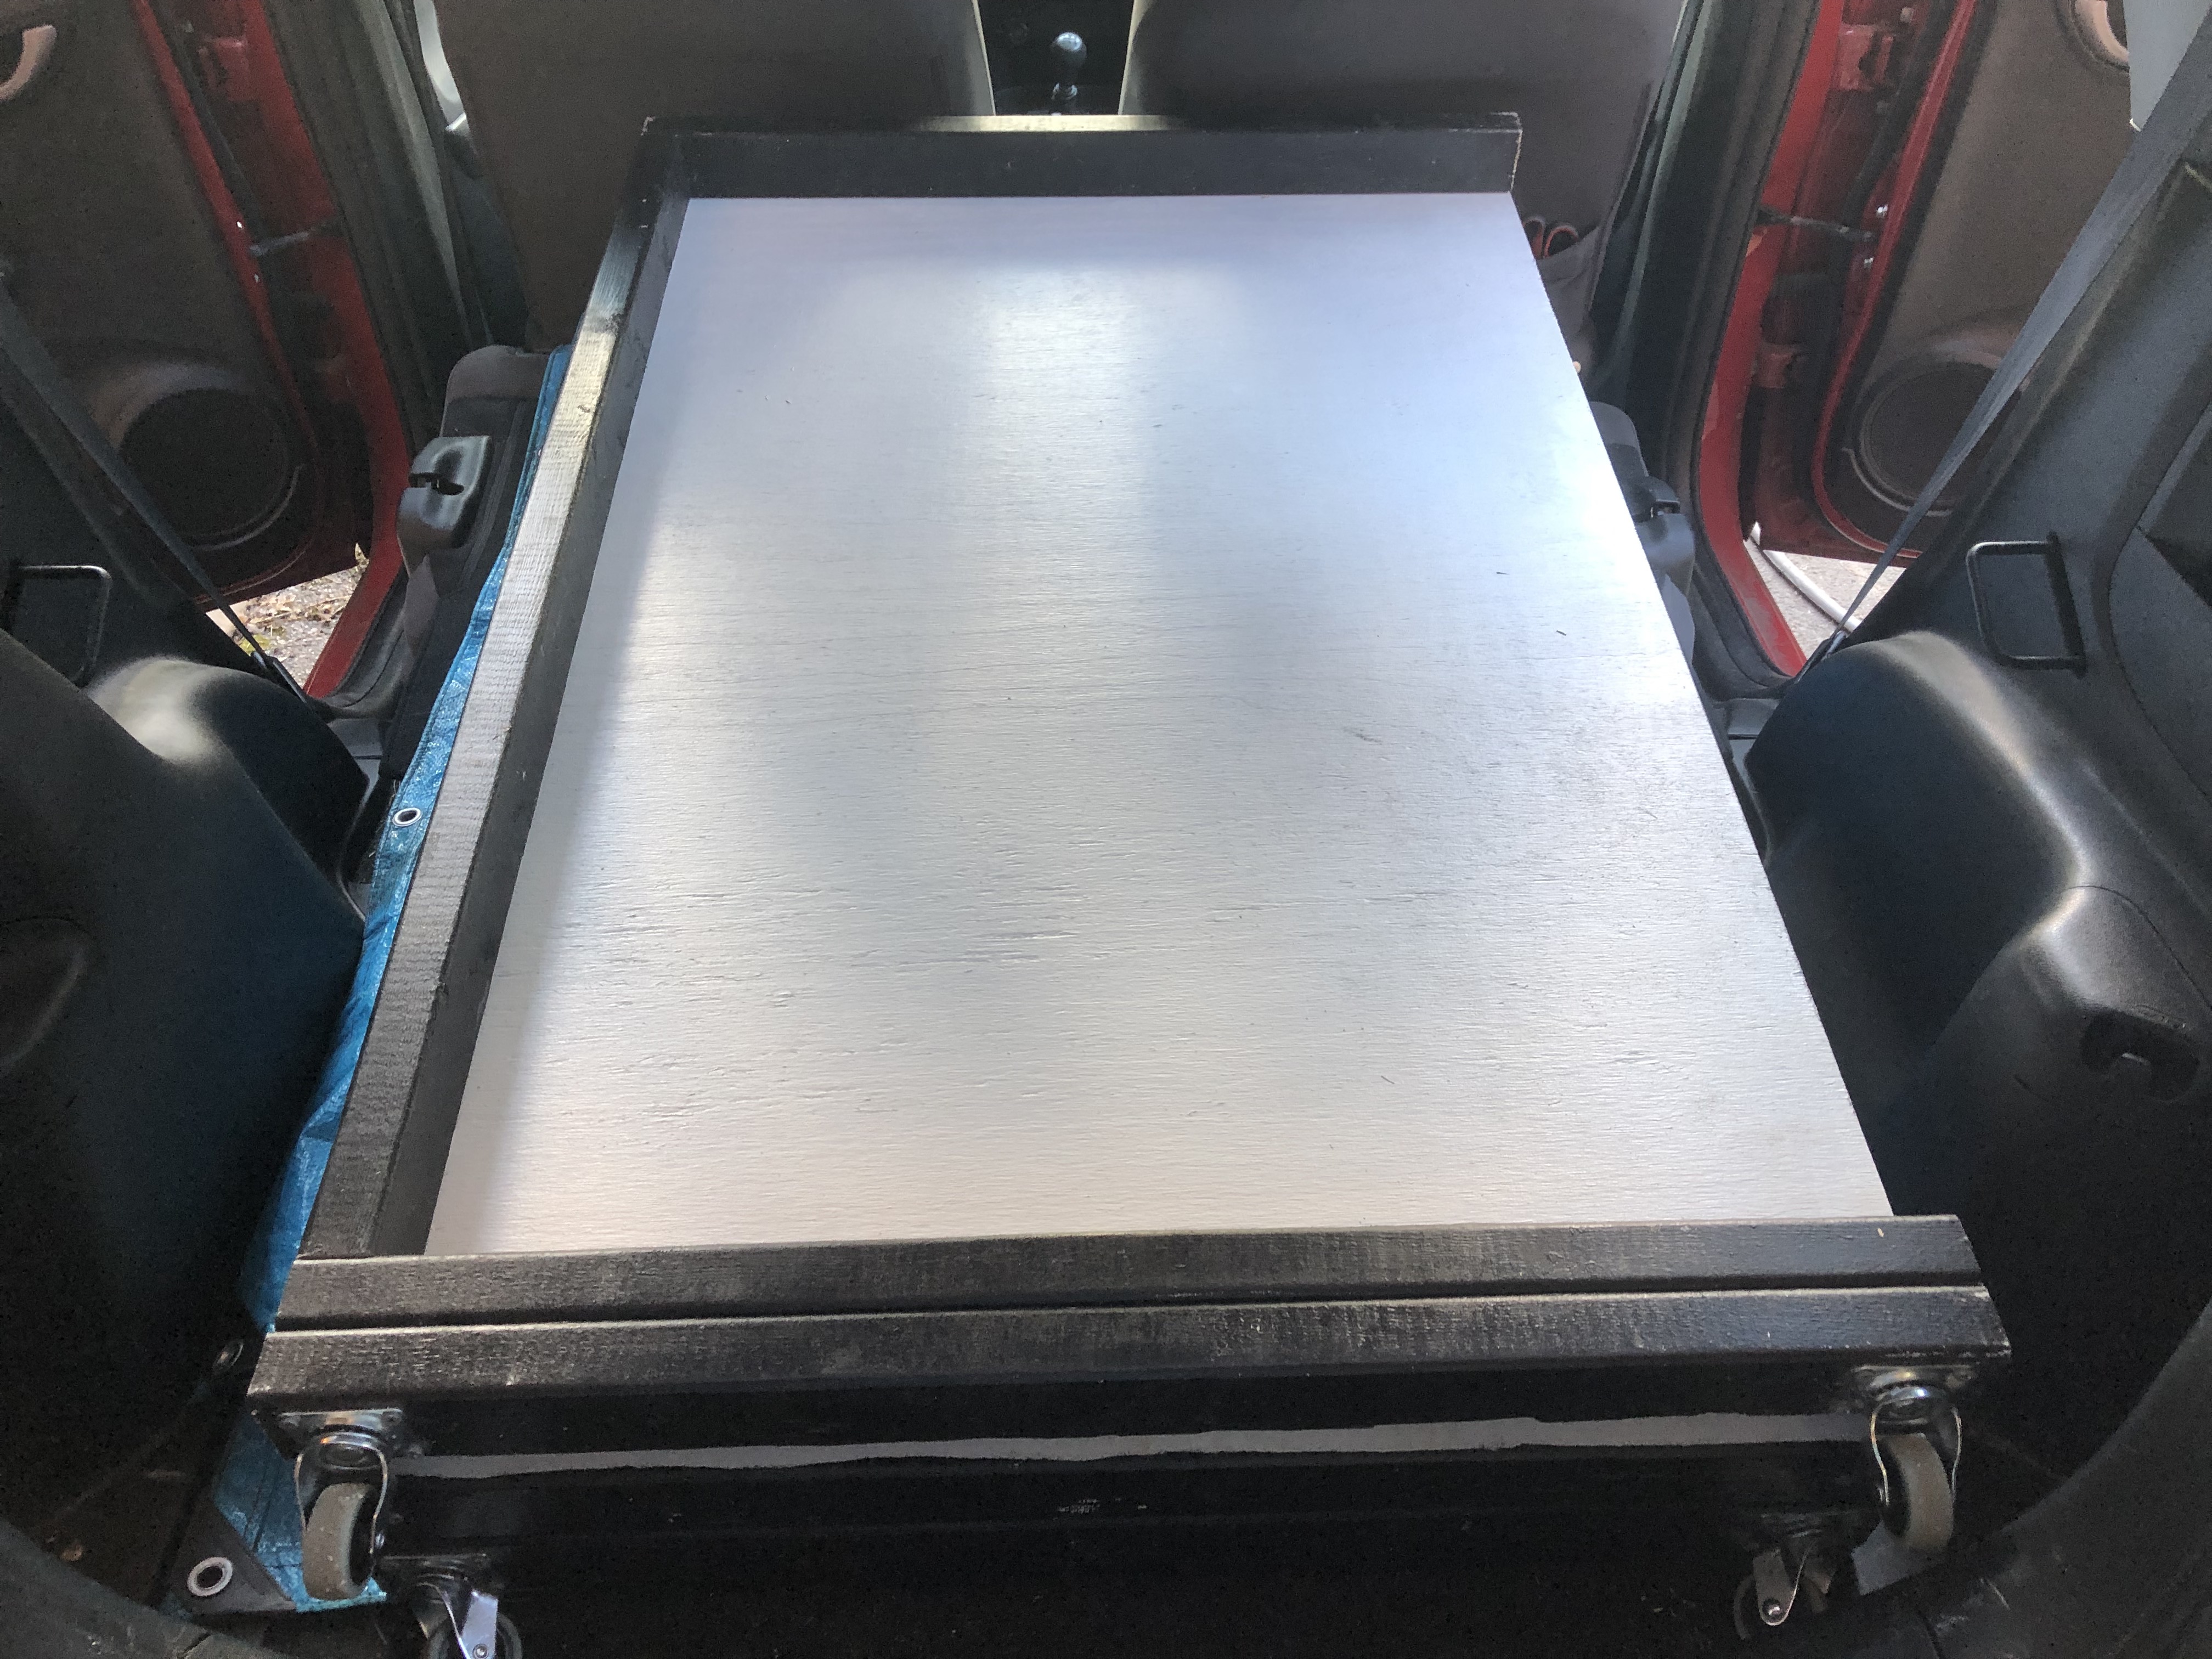
In the Fit with back seats down:
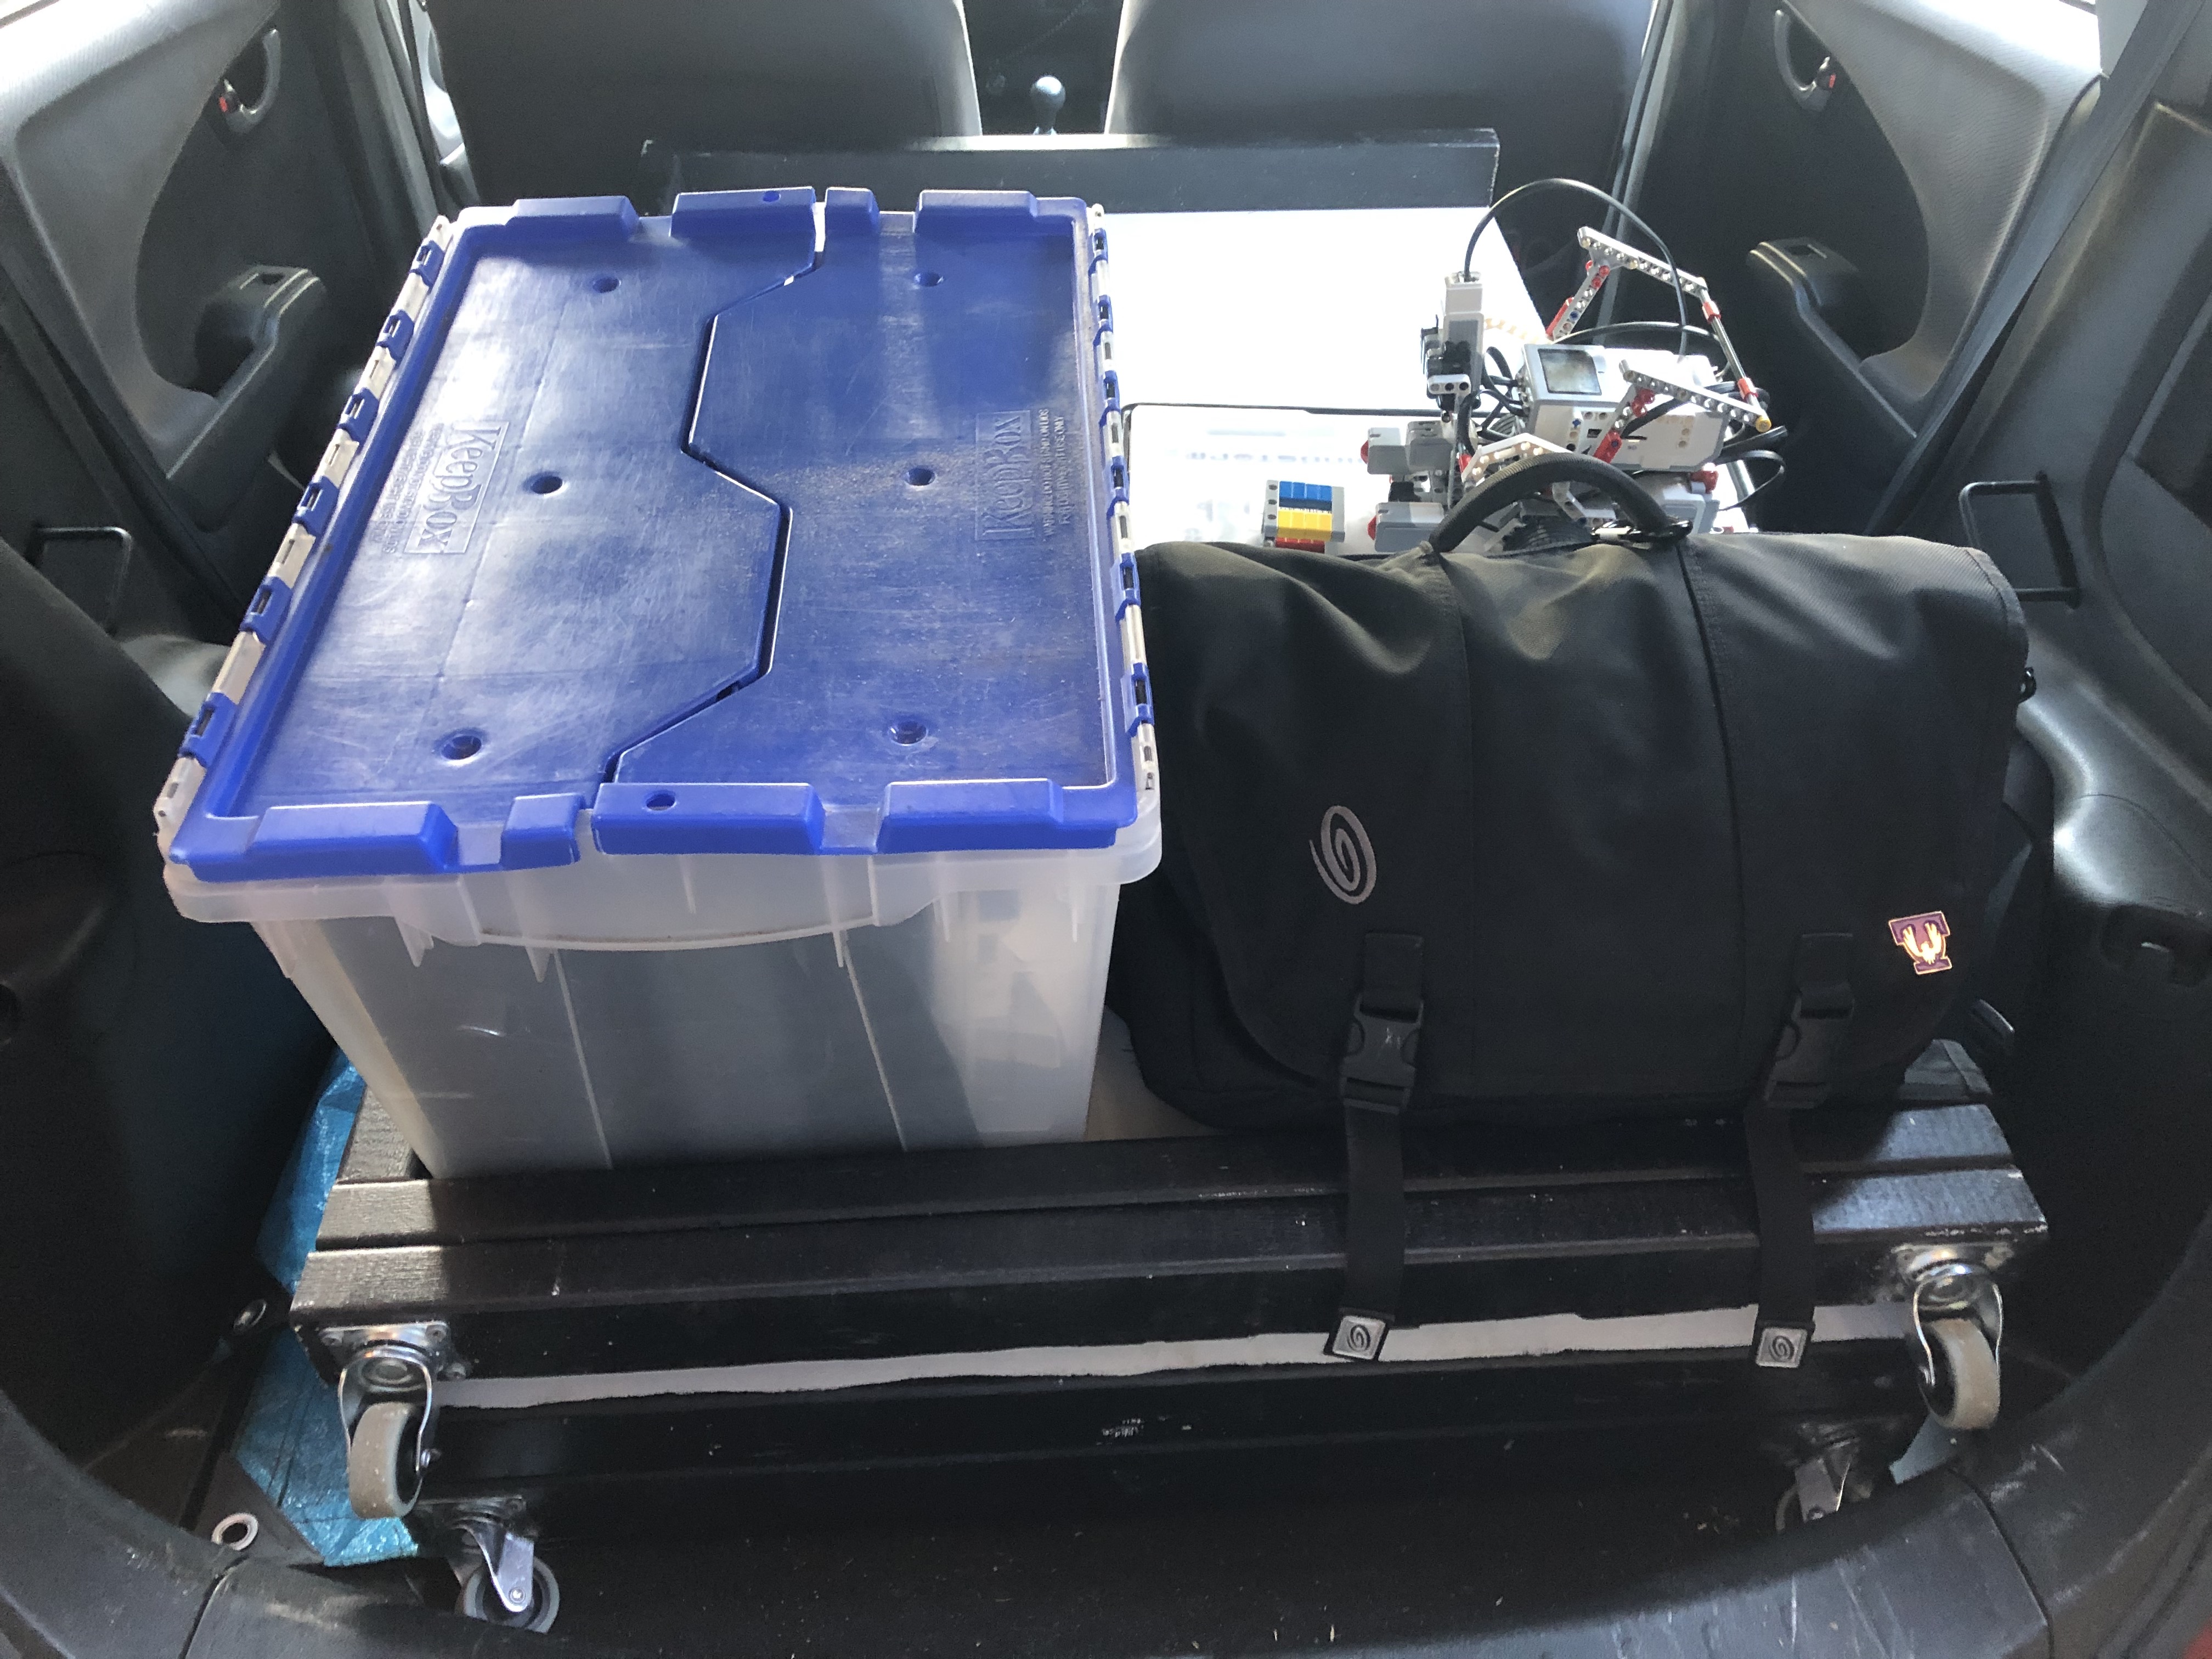
Lots of room for tools and other supplies:
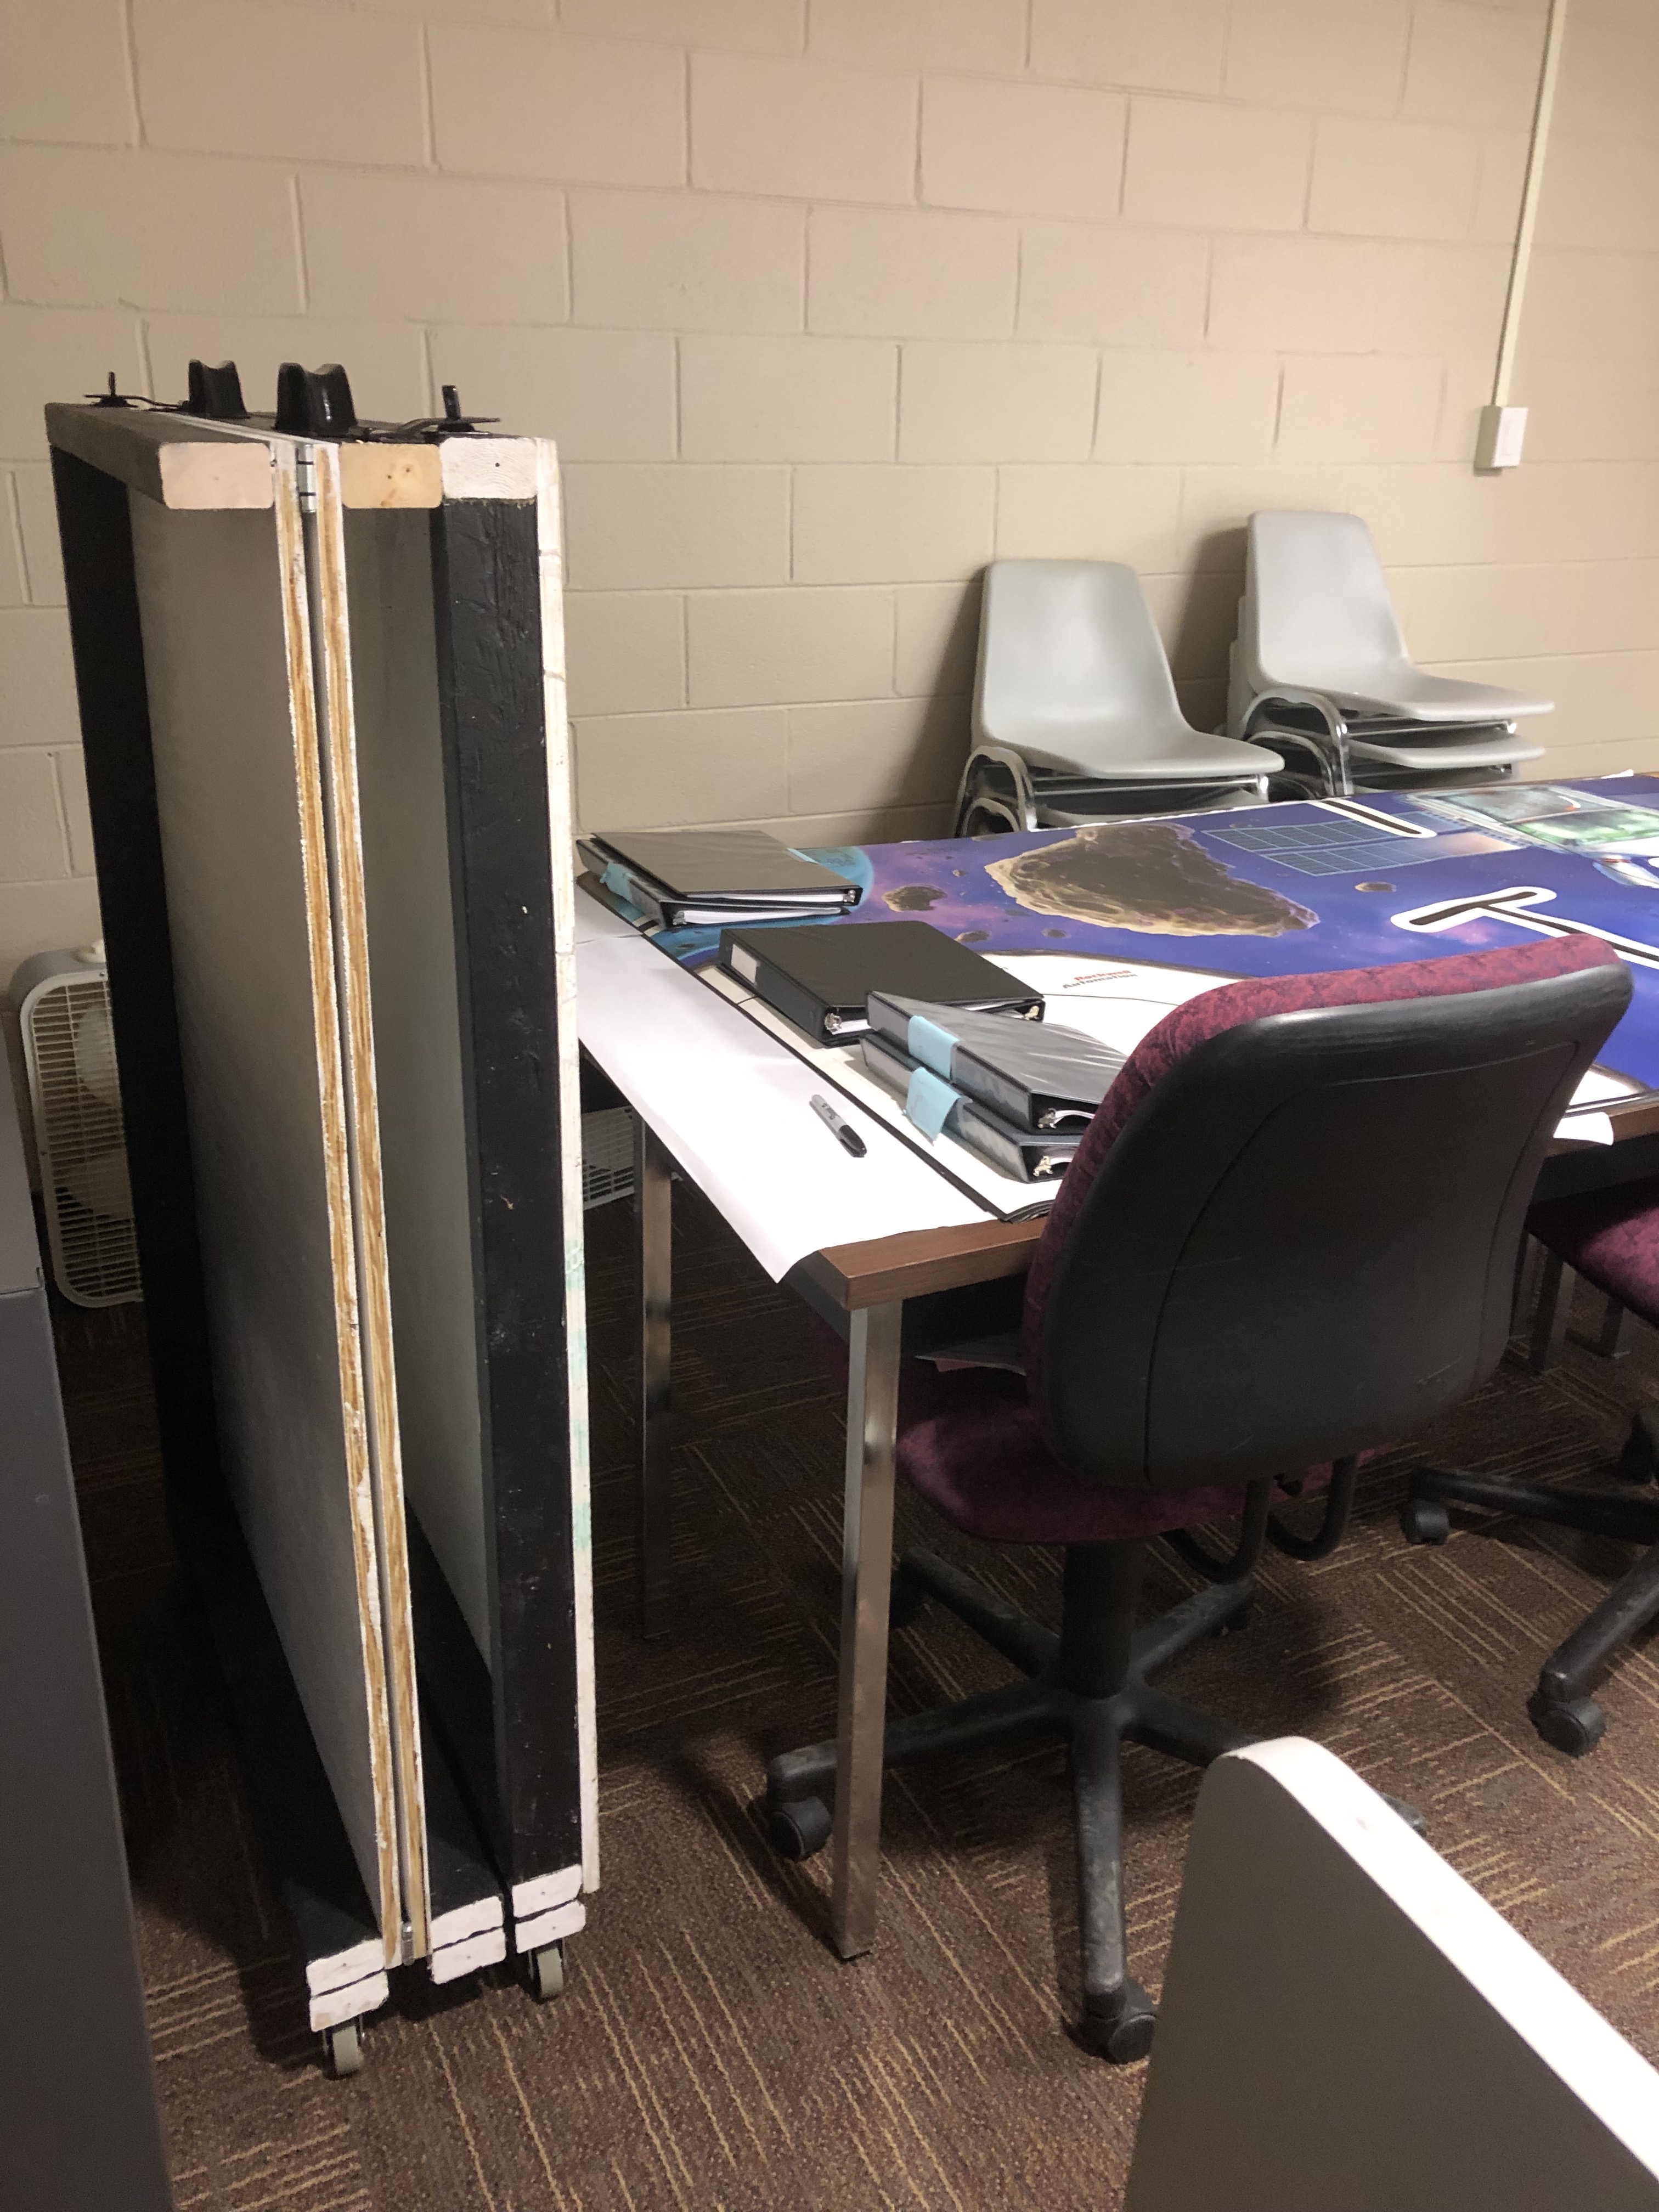
In referee practice room, before setup: