Now that we have pfSense installed on a VM, we need a way to configure it through the web. Rather than opening up pfSense to management through its WAN interface on the home network, we’ll create a second VM on its LAN segment that can run a modern web browser.
Installing a Management Virtual Machine
Review the post on installing pfSense if necessary, but the idea for installing the management virtual machine is to pick a Linux distribution and install it onto a VM connected to the pfSense LAN segment. I typically use Xubuntu LTS, BunsenLabs Helium, or CrunchBang++ as a live CD and avoid hard disk installation entirely.
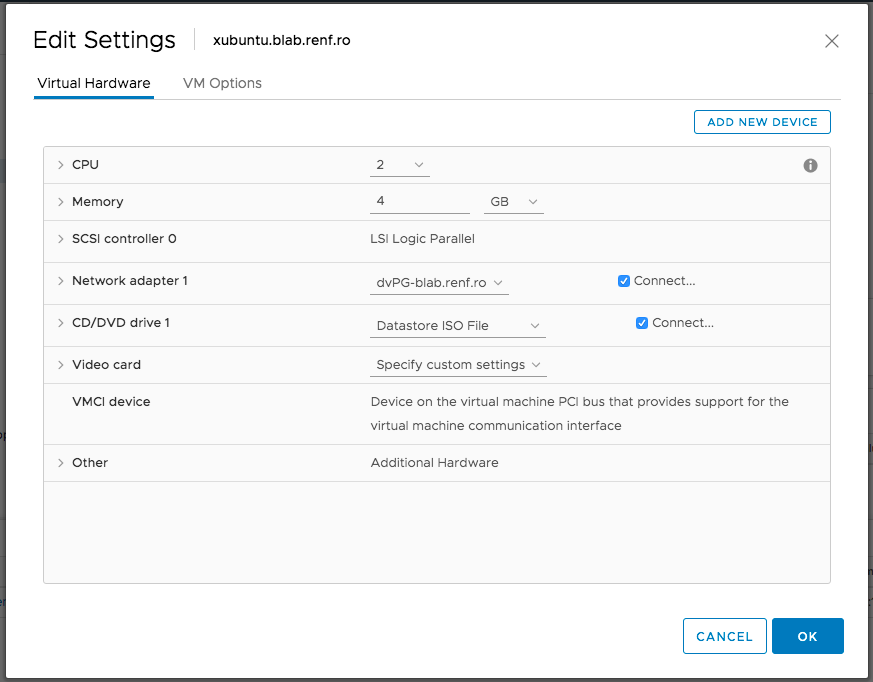
Create a new virtual machine with enough resources to run your preferred distribution. For an Xubuntu 18.04 Live CD, I used:
- 2 CPUs
- 4 GB RAM
- no hard disk
- network connected to the lab port group
Configuring pfSense
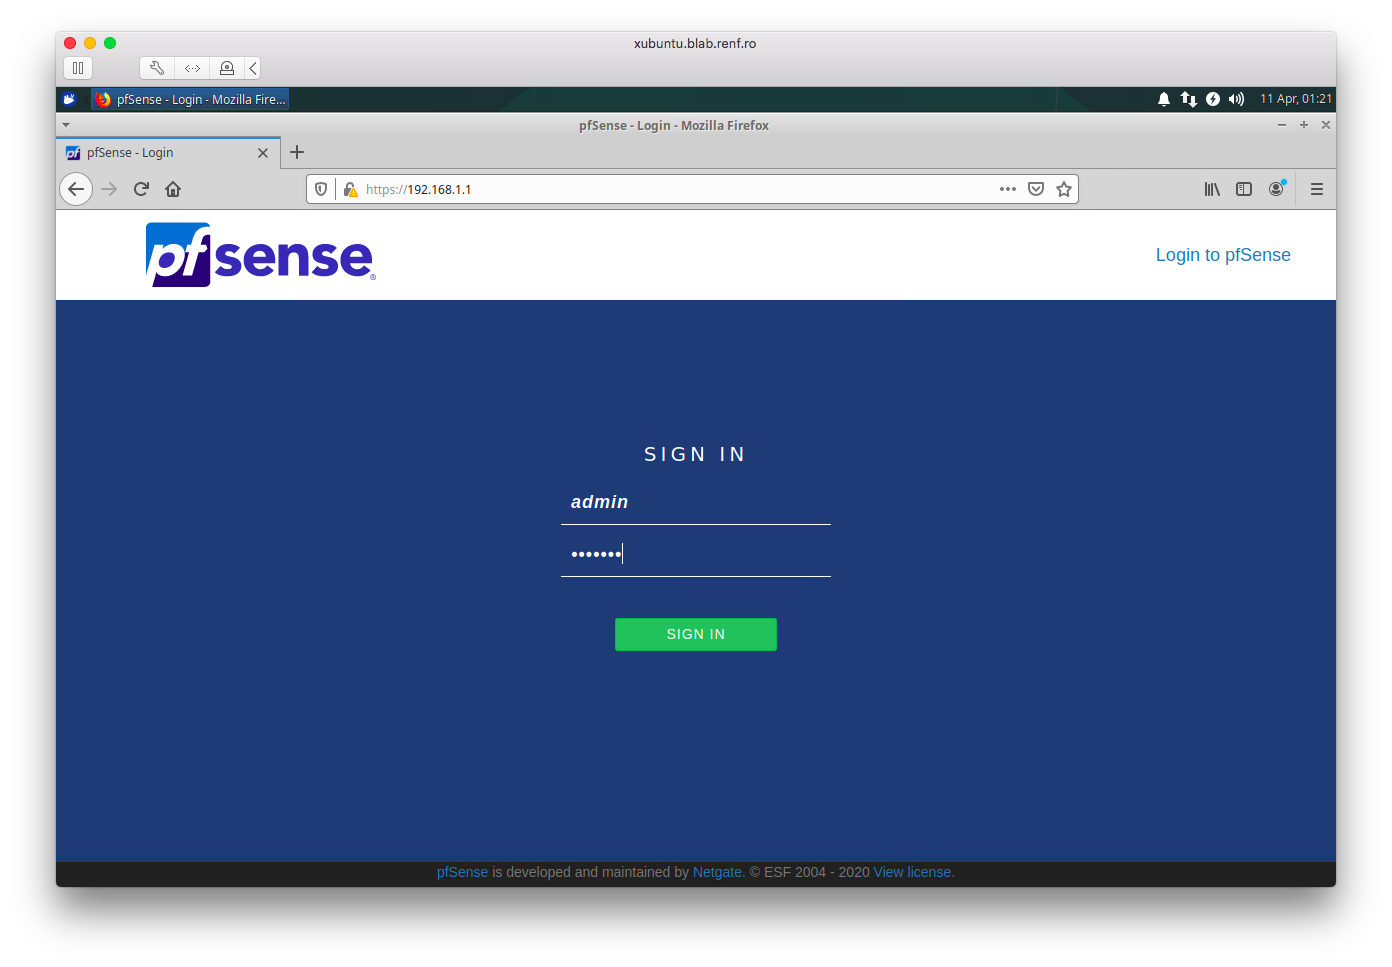
Connect to the pfSense web interface at its LAN IP address (192.168.1.1 by default). Use the default username admin and default password pfsense.
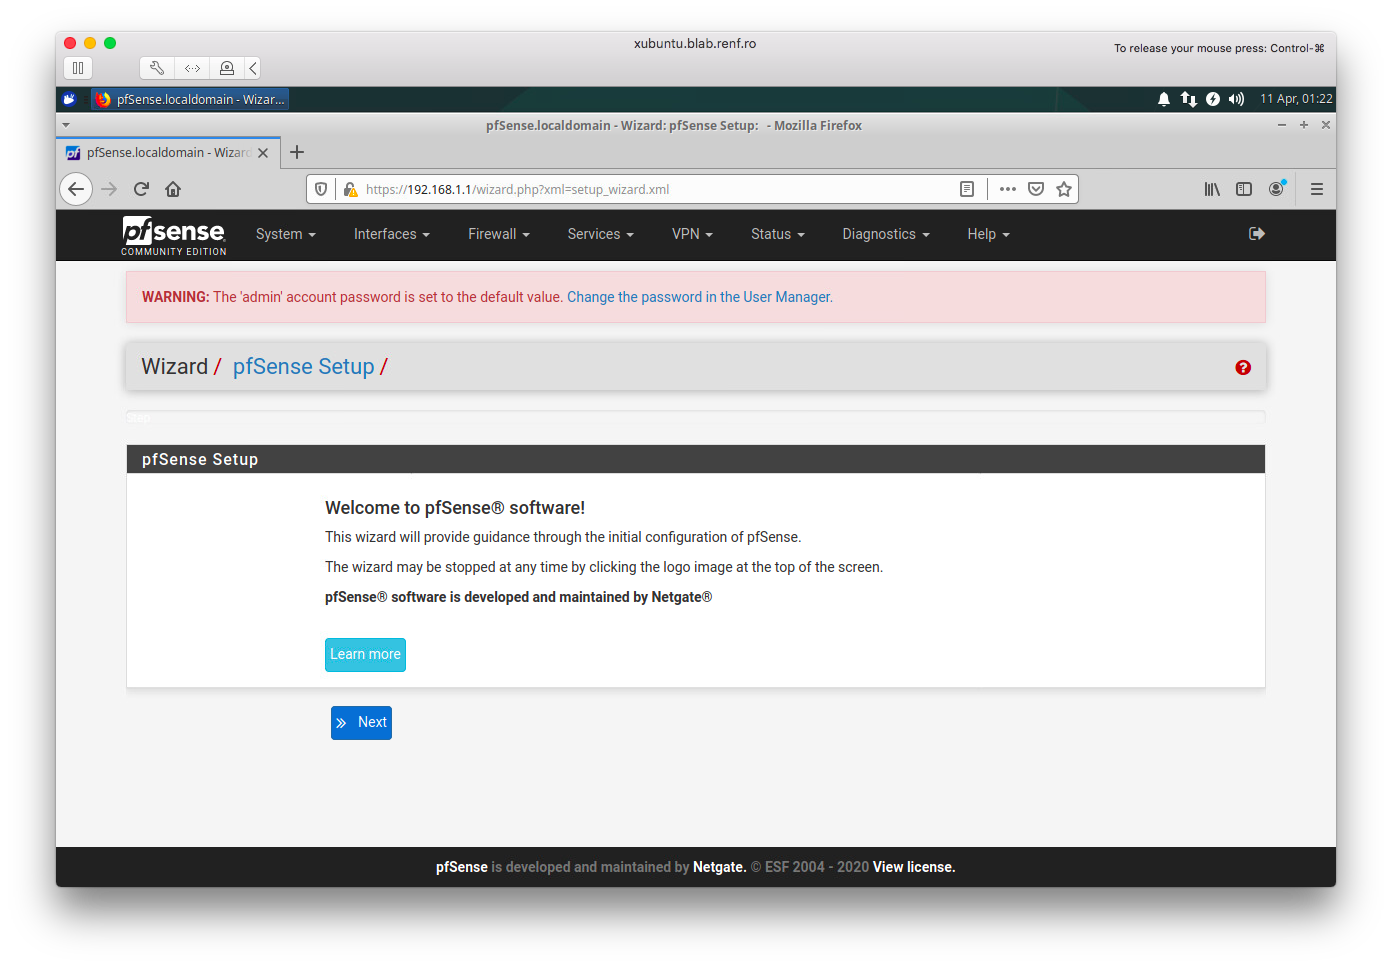
For the most part, we’ll take the defaults for the pfSense settings.
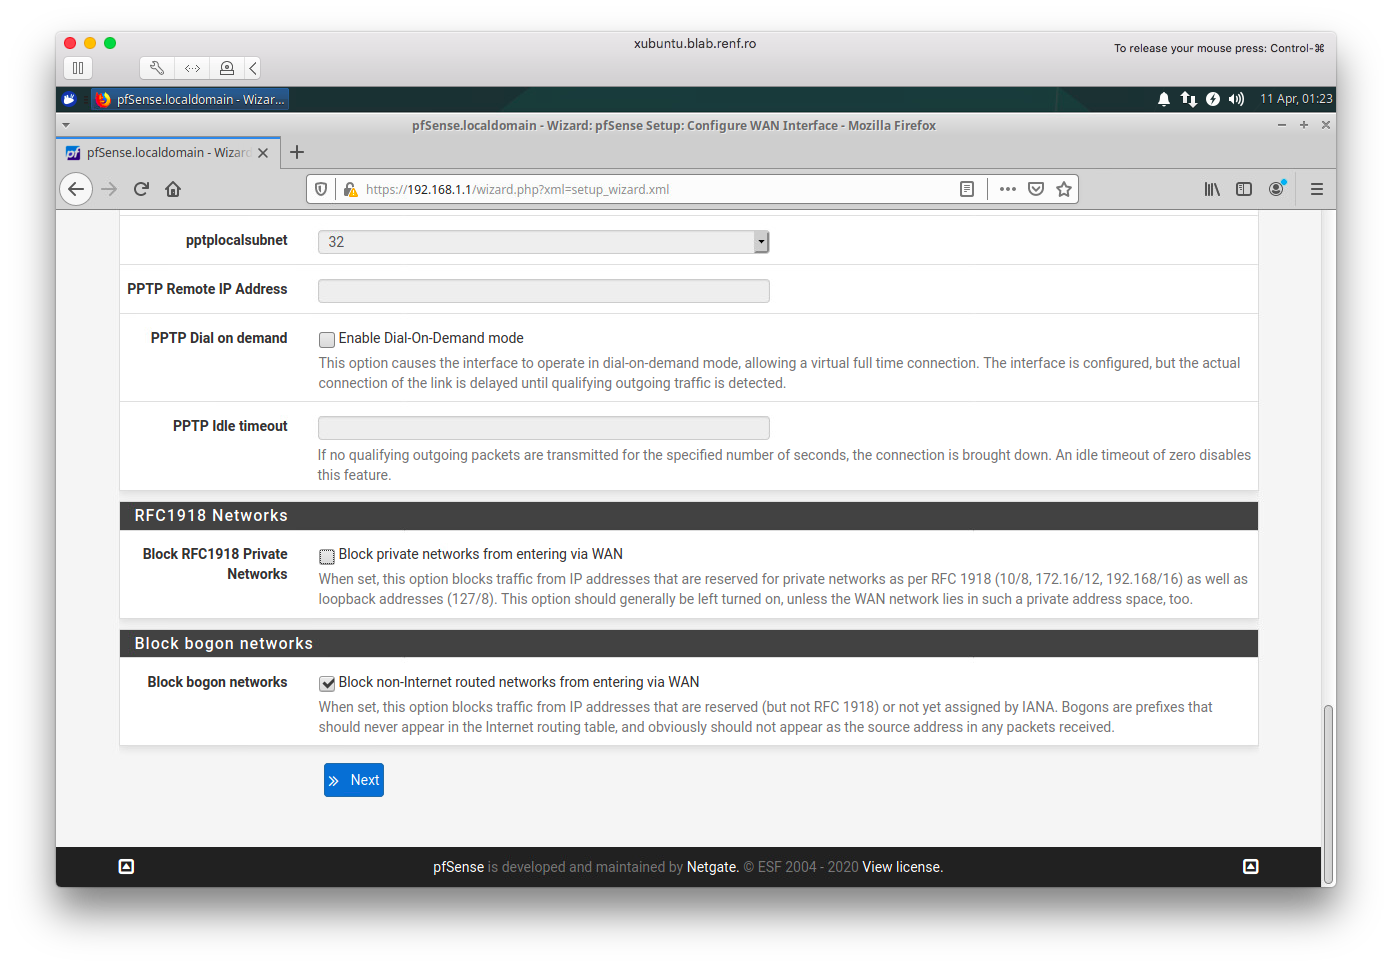
The most critical setting is in the Configure WAN Interface step: if your pfSense WAN interface is connected to a network that uses RFC 1918 addresses (that is, in 10.0.0.0/8, 172.16.0.0/16, or 192.168.0.0/16), you’ll need to make sure that the Block private networks from entering via WAN is unchecked.
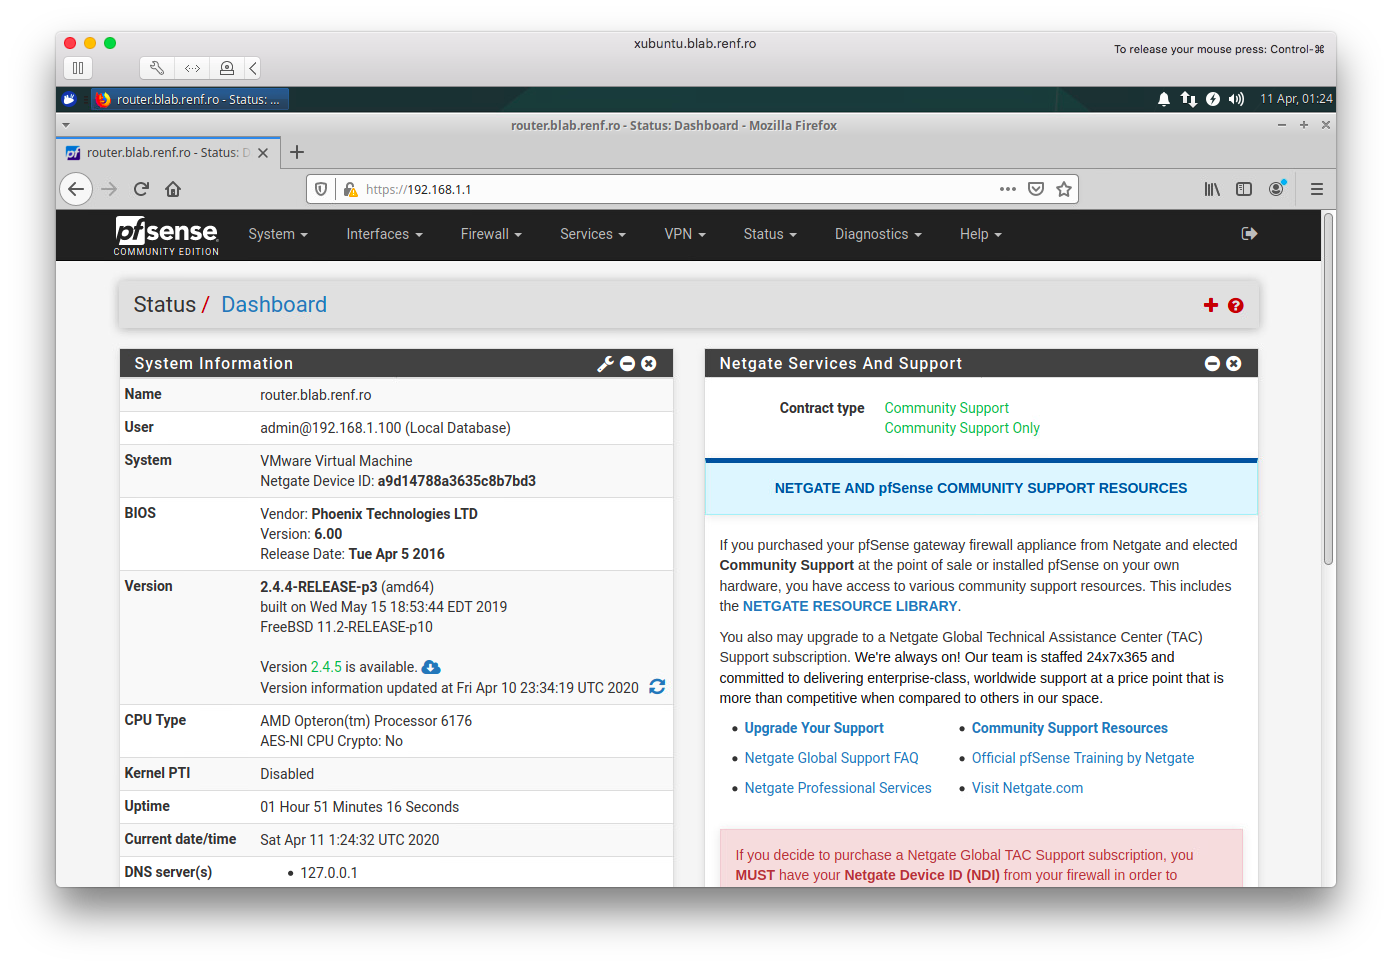
Once pfSense configuration is finished, you’ll see a Dashboard page like the one below.
Creating and Testing a pfSense Firewall Rule
We need a simple way to verify that we can allow specific traffic through pfSense to our lab network without opening up everything.
Start by setting up an ssh server on the management VM.
Preparing a Secure Shell Service
If you’re using an Xubuntu Live CD, you’ll need to run both sudo passwd xubuntu and apt install ssh.
Test that ssh works locally by running ssh xubuntu@localhost and using the new password.
If you’re using something different than an Xubuntu Live CD, your instructions may vary.
Creating a pfSense Firewall Rule
Create a new firewall rule under the pfSense Firewall menu by selecting Rules.
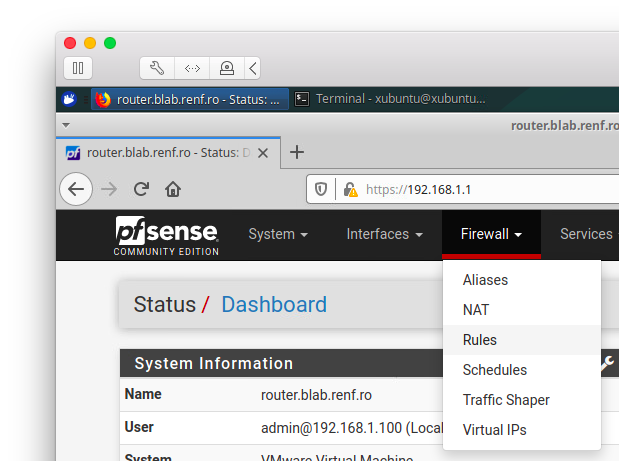
Select the WAN tab to show existing WAN rules.
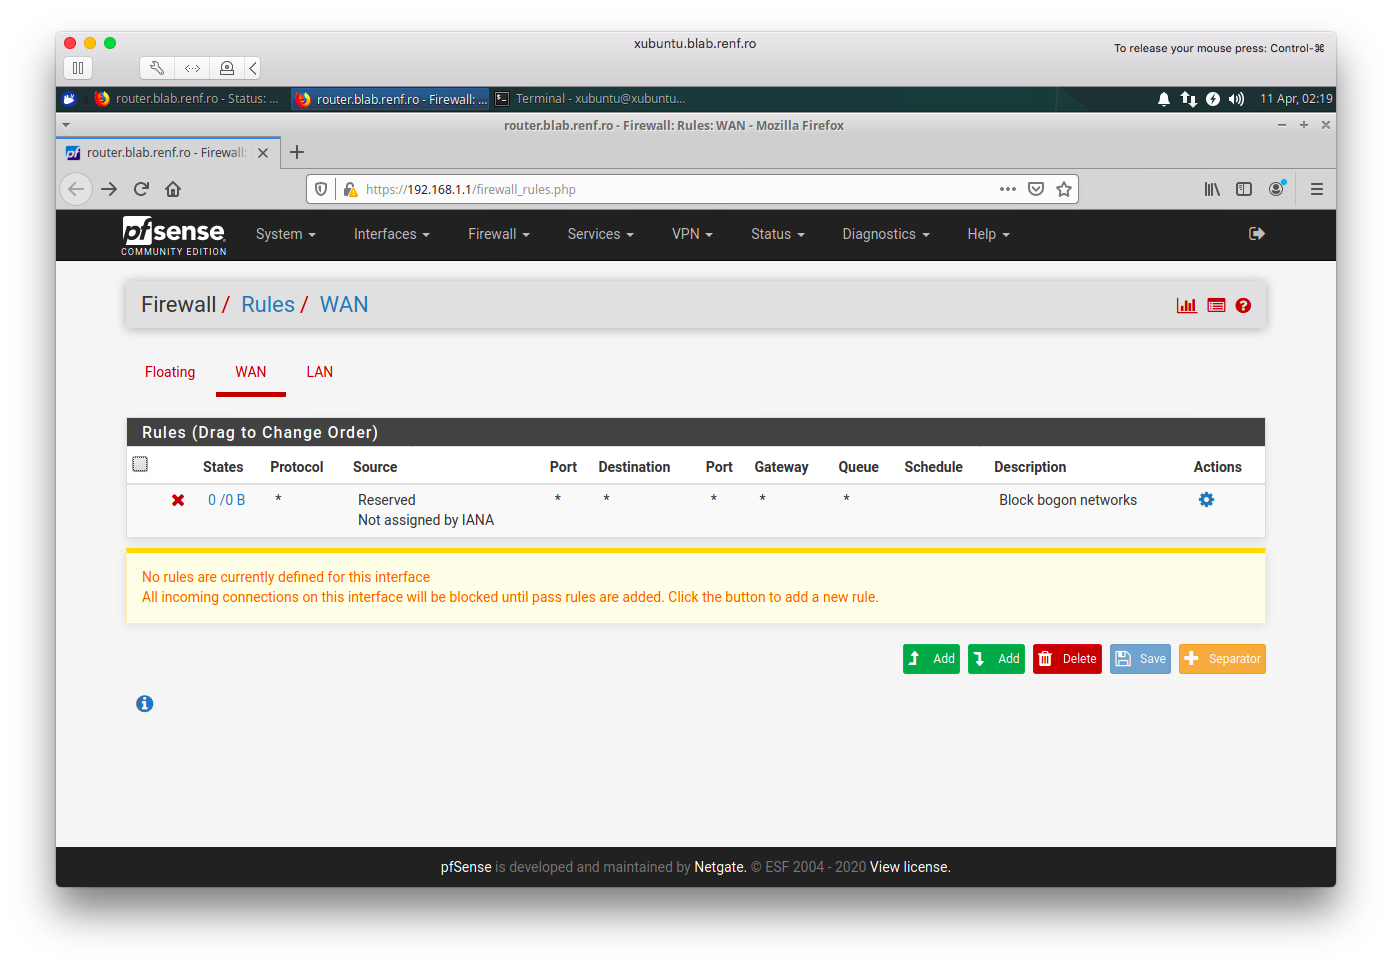
Add a new rule to the bottom of the list, with settings of:
- Action: Pass
- Interface: WAN
- Address Family: IPv4
- Protocol: TCP
- Source: WAN net
- Destination: Single host or alias
- Destination Address: 192.168.1.100 (default address for first DHCP lease on pfSense LAN)
- Destination Port Range: SSH (22)
- Description: Management VM ssh
and click the Save button. Back on the Firewall / Rules page, click the Apply Changes button to enable the new rule.
Adding a Route to the Lab Network
The simplest way to add a route to the lab network is on the home network’s edge router. This will let any host on the main home network access resources in the lab network, subject to firewall rules.
Ubiquiti Static Route
For a Ubiquiti router, go to the Routing tab of the administrative interface.
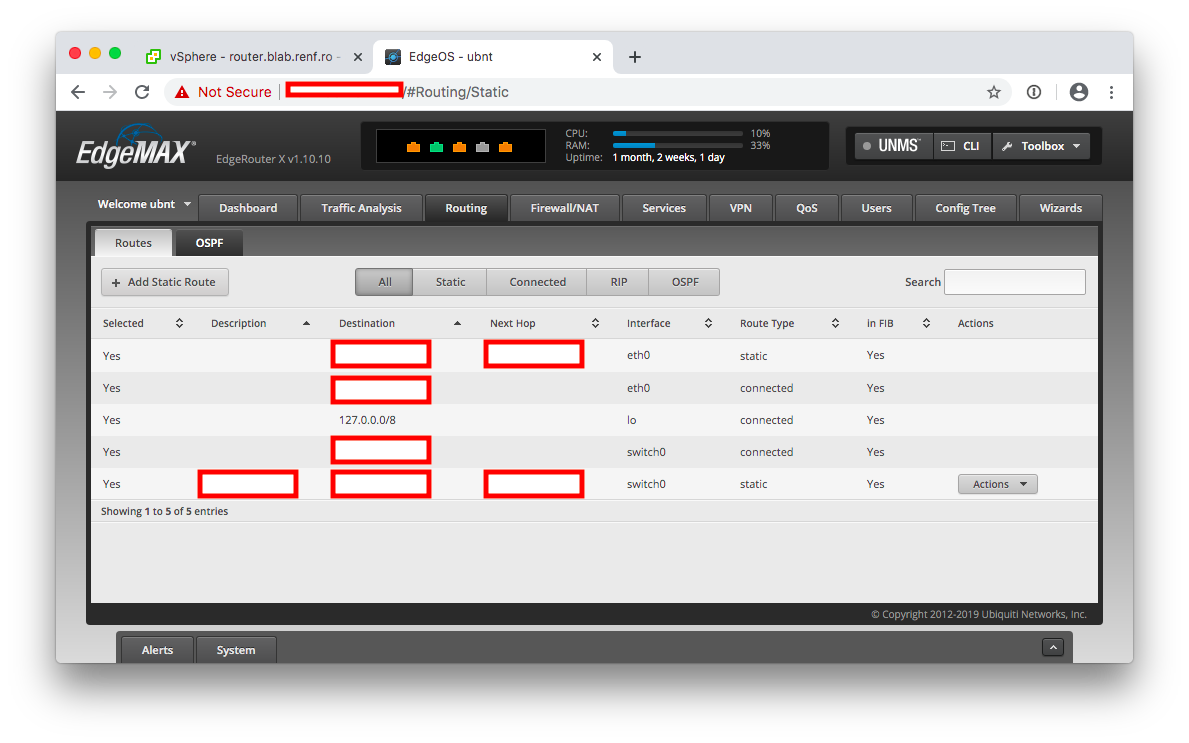
Click the Add Static Route button, then enter the pfSense LAN network address and netmask followed by the pfSense WAN interface IP adddress.

Host-based Static Routes
If the home network’s edge router does not support adding static routes, then manual routes must be added to each host on the home network that needs to access resources in the lab network.
On a Windows system, run route add 192.168.1.0 mask 255.255.255.0 PFSENSE.WAN.IP as an administrator, where PFSENSE.WAN.IP is the IP address of the pfSense WAN interface.
On a Mac or Linux system, use sudo route -n add -net 192.168.1.0/24 PFSENSE.WAN.IP where PFSENSE.WAN.IP is the IP address of the pfSense WAN interface.
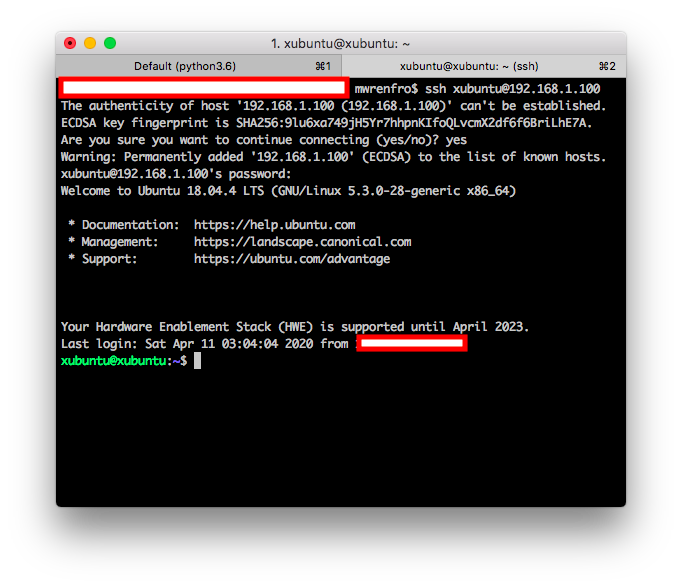
Testing Secure Shell from the Home Network
Make an ssh connection from a host outside the pfSense LAN segment to the management VM. You should see identical results compared to the localhost test above.
At this point, we’ve demonstrated that we can completely separate network services running in the lab environment from the larger home network. Now it’s time to make some useful server infrastructure in the lab network.