I am not a sophisticated network person, especially for the population of IT professionals or homelabbers. At home, I have no managed switches, no VLANs, just basic Ubiquiti edge routing and WiFi. At work, I’m a consumer of the network infrastructure, but I don’t manage the network myself. And there, as long as I connect my hosts to the right network segment, that’s typically as far as I have to go.
Since I’ll be setting up this lab at home, I can’t let the home lab network disrupt the “home production” network (Netflix, online classes, COVID-19 work-from-home settings, etc.). My home network already has highly-available DNS and DHCP using BIND and ISC DHCP, which I don’t want to replace with Microsoft equivalents. And I want the lab network to more closely resemble the university’s Active Directory envrionment with Microsoft DNS, DHCP, and other core services.
So the architecture for adding the lab network to the home is relatively simple: I’ll put a virtualized pfSense or similar firewall product between the lab network and the home network, and set a static route in my edge router pointing to the lab network segment,

Everything in the lab network will be virtual, and will live on a single VMware host, which lets me use a simple virtual switch and port group with no uplinks to physical switches.
I am also not a certified VMware practitioner, but hopefully everything below is close enough to the Right Way.
Creating a Folder for the Network
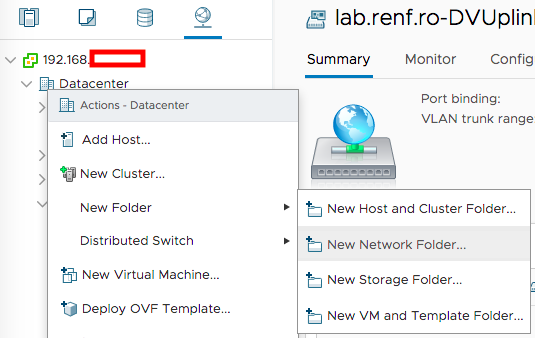
In my vCenter’s Networking tab, I created a folder to store all the network entities for this network segment by right-clicking the datacenter containing my ESX host, and selecting New Network Folder.
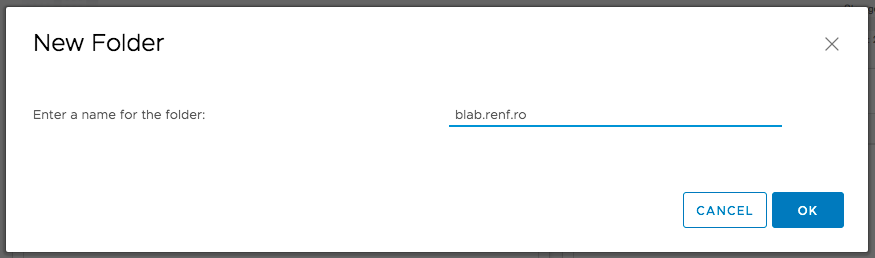
I gave the folder a name, then clicked the OK button to continue.
Creating a New Distributed Switch
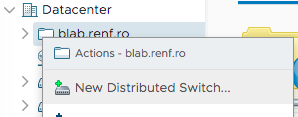
In my vCenter’s Networking tab, I created a new distributed switch by right-clicking the newly-created network folder, and selecting New Distributed Switch.
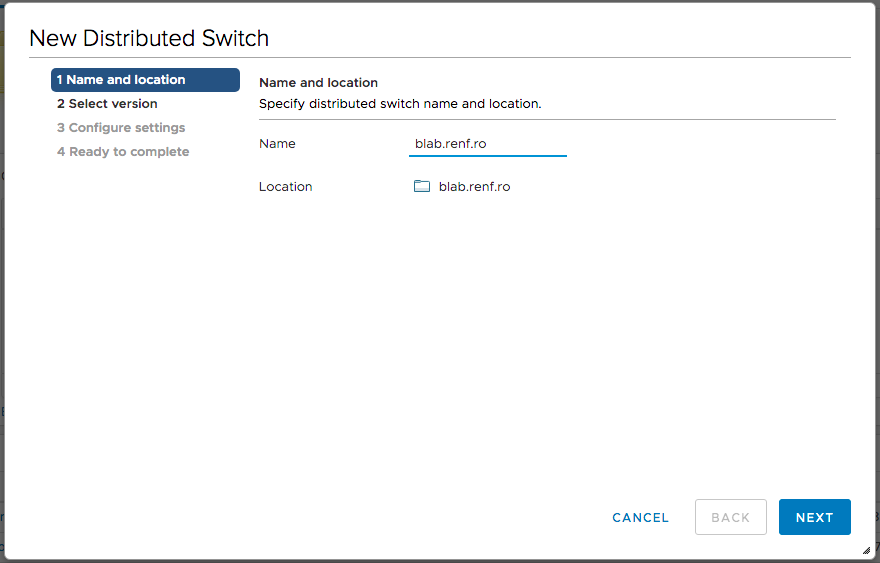
I gave the switch a name, and clicked Next.
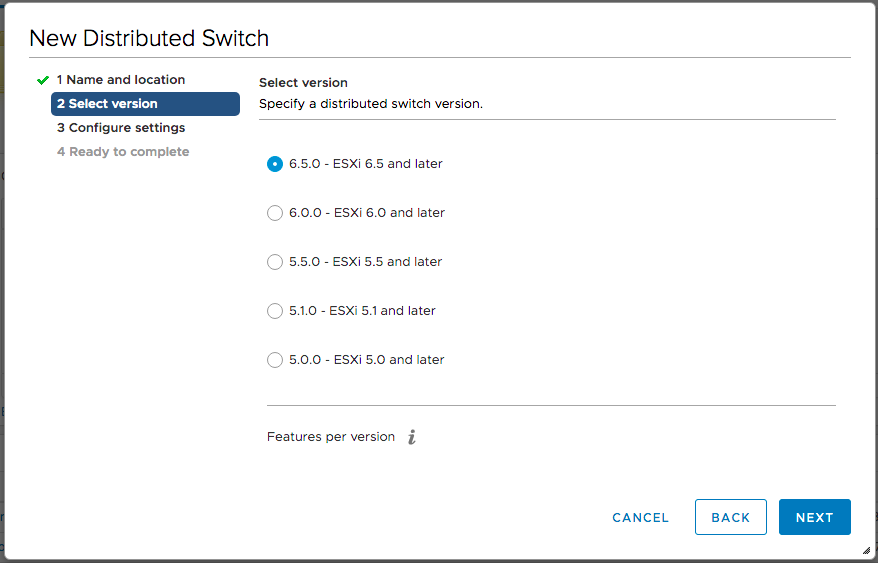
I selected the latest distributed switch version, matching my ESX host version, since this is a single-host environment, and clicked Next.
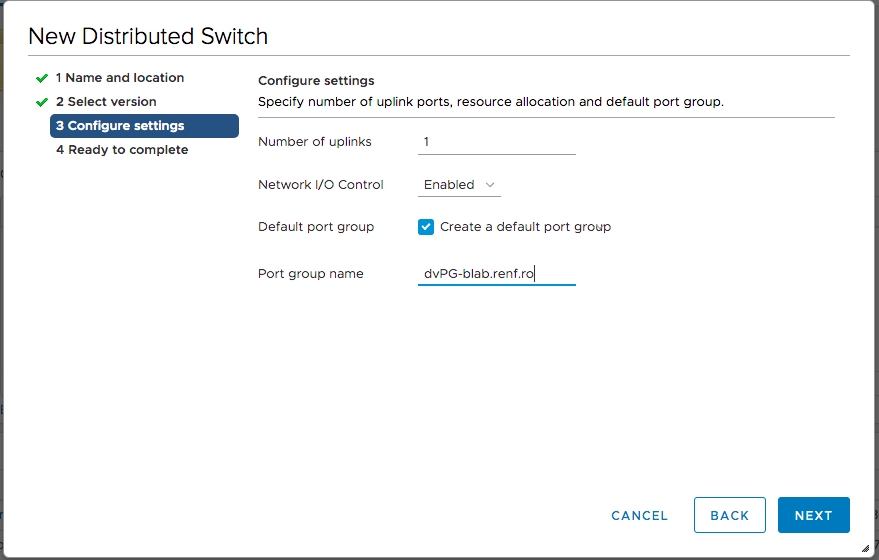
I changed the default Number of uplinks from 4 to 1 (but it won’t matter, since there won’t be any uplinks assigned). I left Default port group checked, changed the default port group name, and clicked Next.
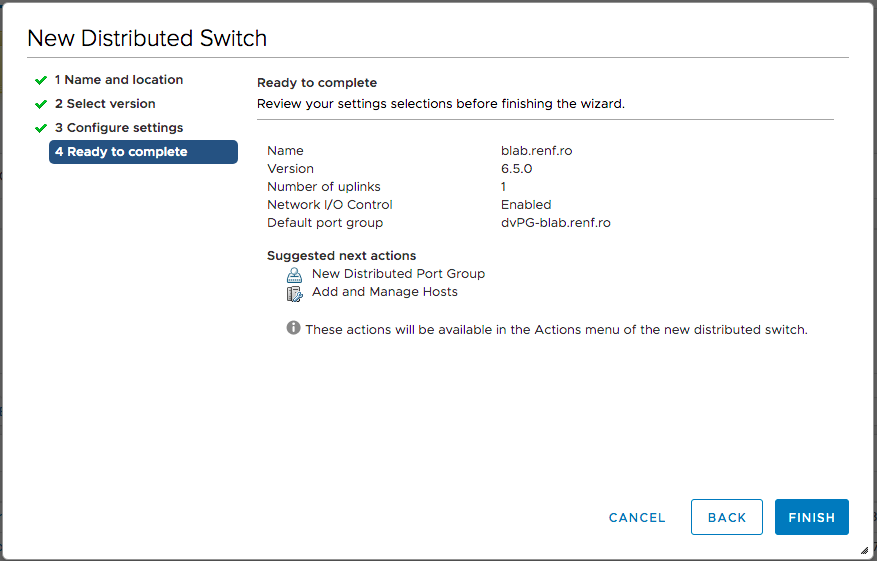
On the last screen for creating the distributed switch, I reviewed the settings I’d made (no, really), and clicked Next.
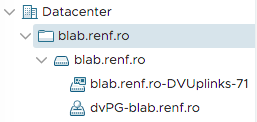
The distributed switch and port group are now located in the network folder.
Adding the ESX Host to the Distributed Switch
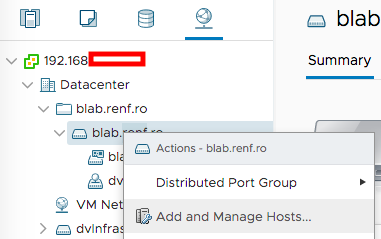
In my vCenter’s Networking tab, I right-clicked the lab network’s distributed switch, and selected Add and Manage Hosts.
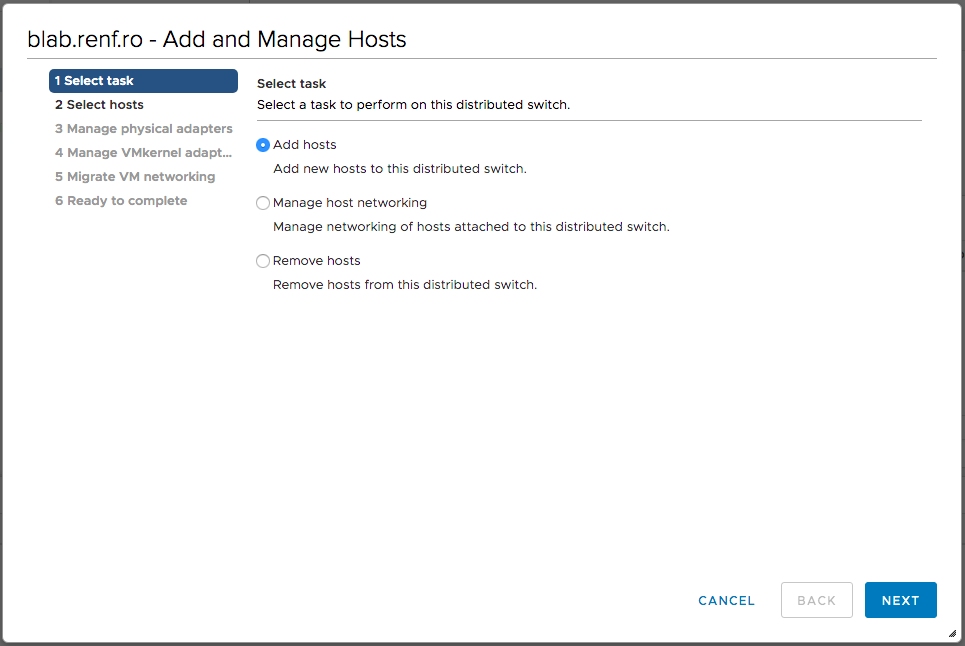
On the Select task dialog, I selected Add hosts and clicked Next.
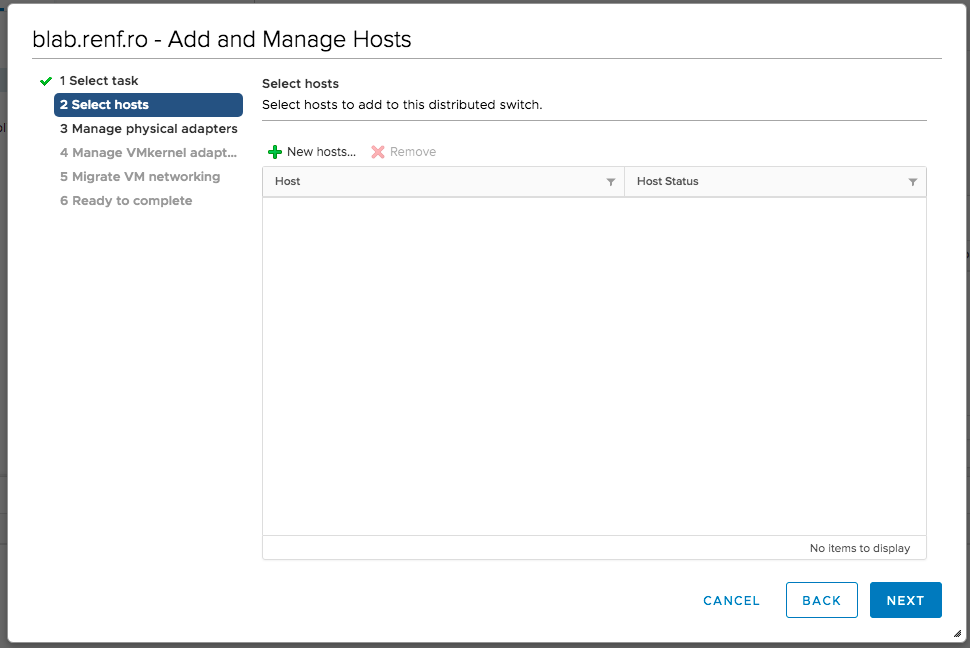
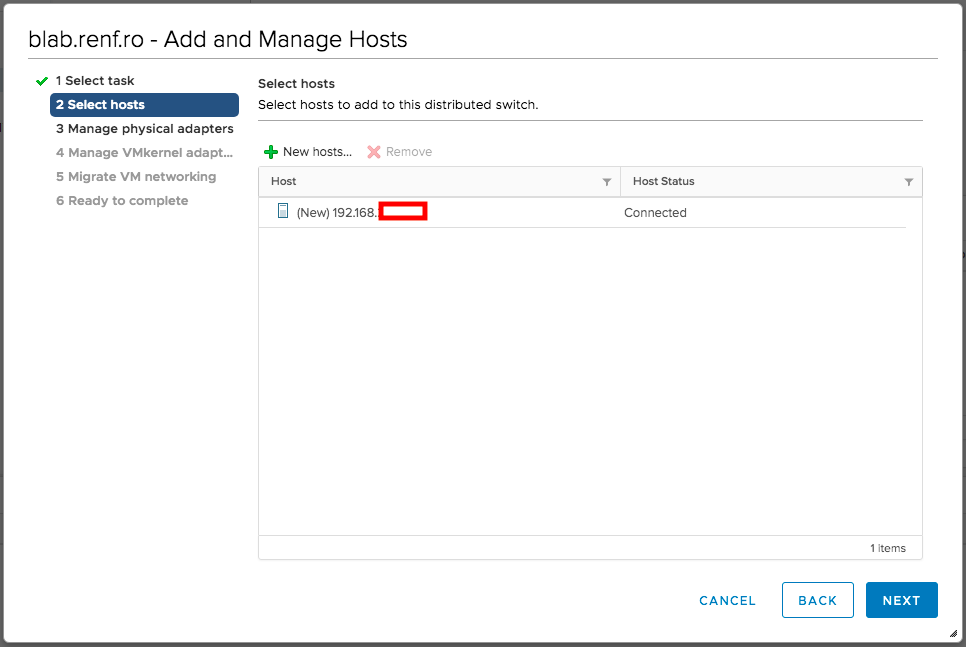
On the Select hosts dialog, I clicked the New hosts… button.
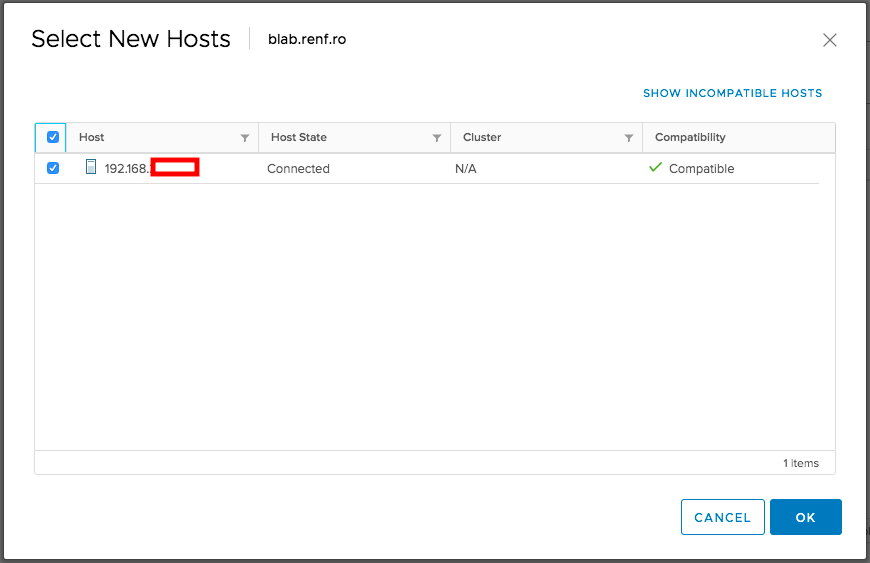
On the Select New Hosts dialog, I checked my ESX host and clicked the OK button.
Back on the Select hosts dialog, I clicked Next.
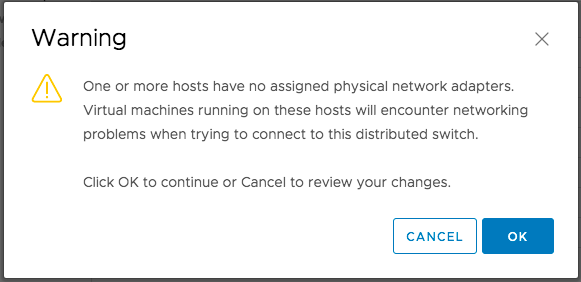
On the Manage physical adapters dialog, I clicked Next since I won’t use any physical adapters for this network segment.

Since vCenter rightly notes that nobody would omit physical adapters in normal situations, it pops up a Warning dialog to ask if this is really what I wanted. It was, so I clicked OK.
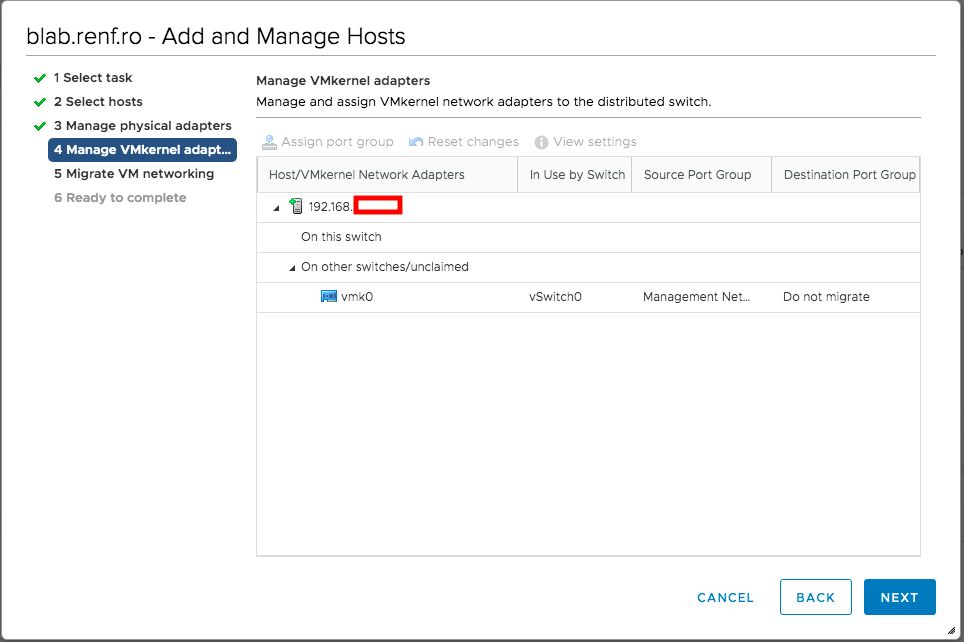
On the Manage VMkernel adapters dialog, I clicked Next.
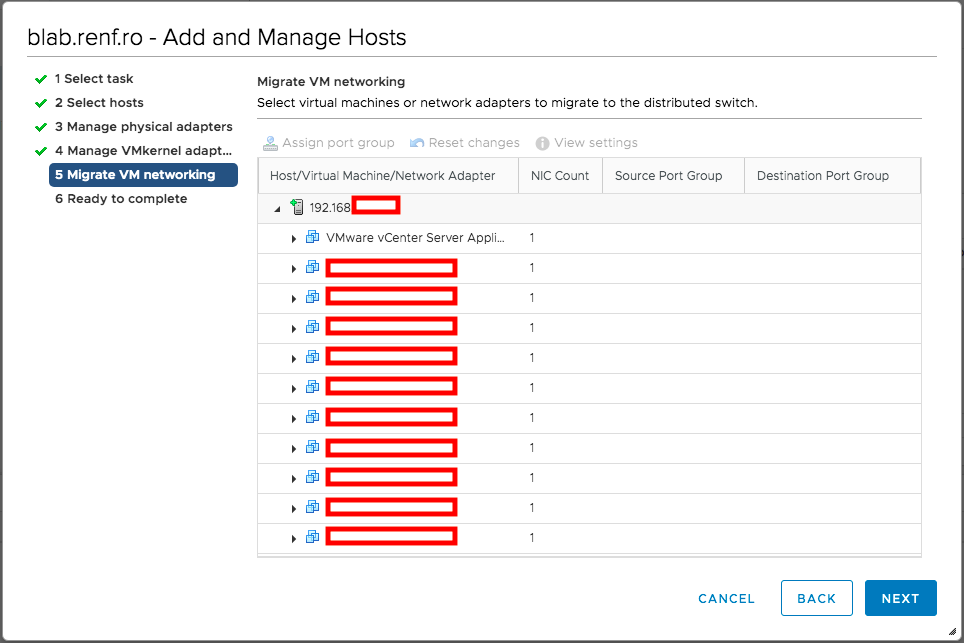
On the Migrate VM networking dialog, I left all the existing VMs unchecked, since I don’t want to migrate anything to this new segment, and then clicked Next.
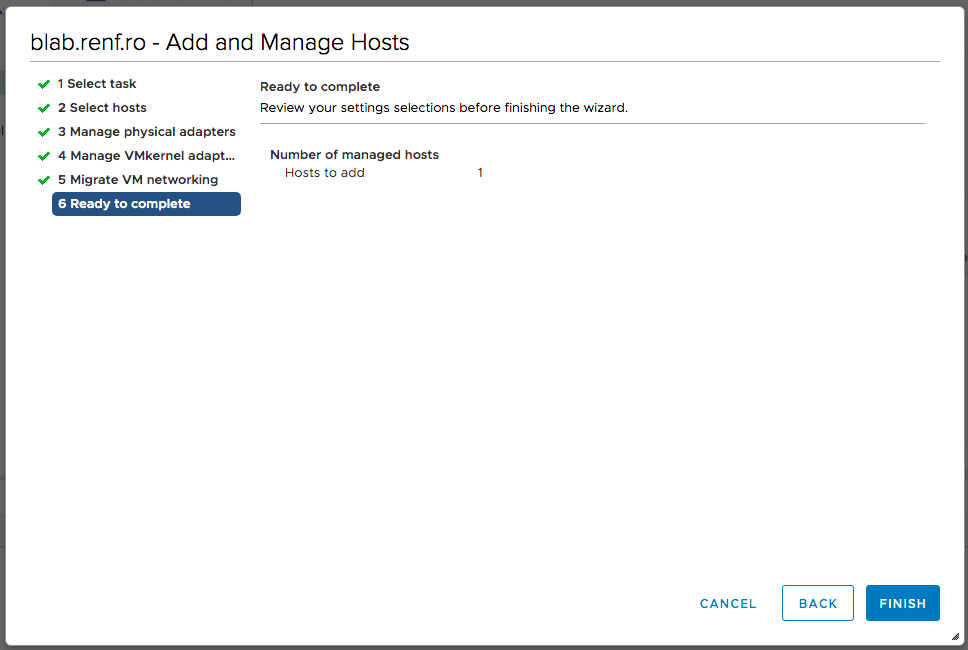
Finally, on the Ready to complete dialog, I clicked Next to finish creating the distributed switch.
Now that we have the network segment created, time to create the firewall to separate it from the home network.