Now that we’ve got the network segment created, time to create some virtual machines. We’ll start with the firewall: it will have rules of block-by-default for inbound traffic, and allow-by-default for outbound traffic.
Creating a Folder for the Virtual Machines
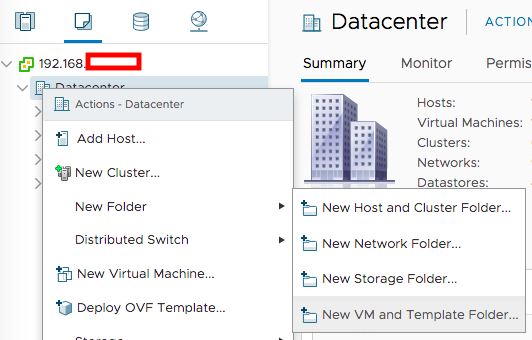
In my vCenter’s VMs and Templates tab, I created a folder to store all the VMs for this network segment by right-clicking the datacenter containing my ESX host, and selecting New VM and Template Folder:
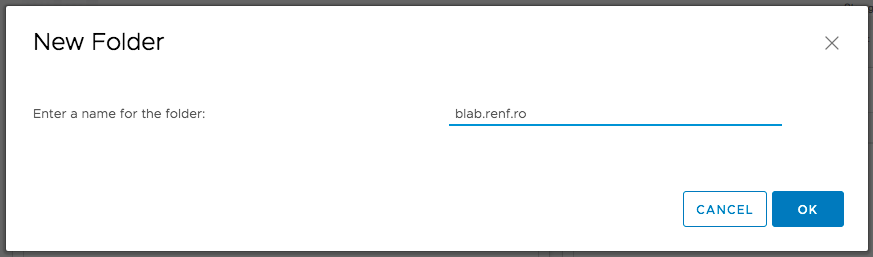
I gave the folder a name, then clicked the OK button to continue.
Creating the Firewall Virtual Machine
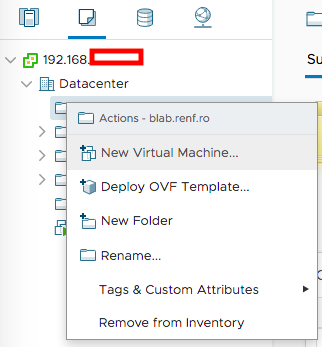
I right-clicked the newly-created VM and Template folder and selected New Virtual Machine to start creating the new pfSense VM.
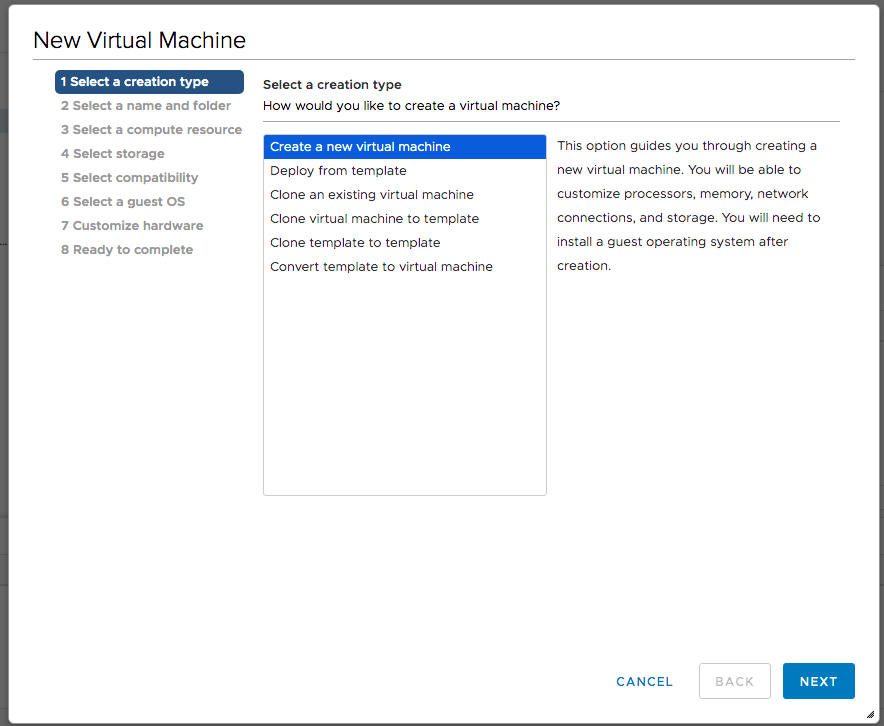
On the Select creation type dialog, I selected Create a new virtual machine and clicked Next.
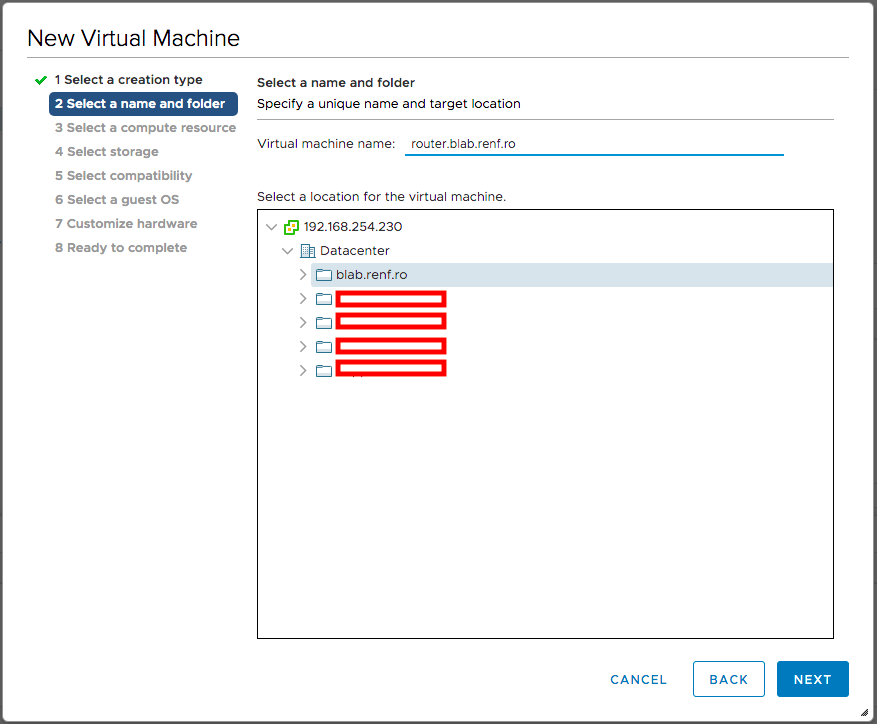
On the Select a name and folder dialog, I entered the pfSense virtual machine’s fully-qualified domain name, verified that the lab’s folder was selected, and clicked Next.
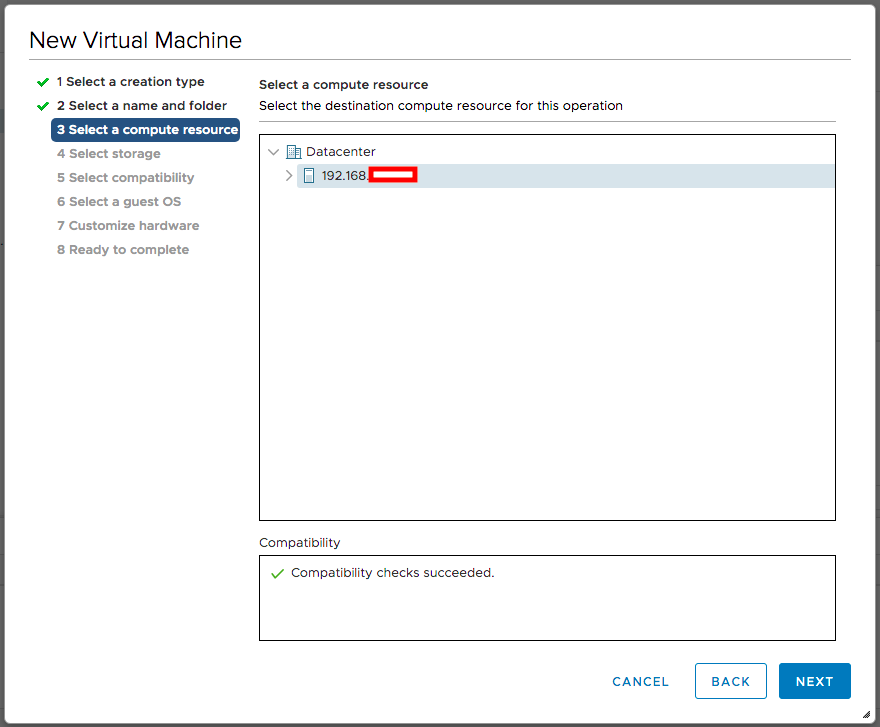
On the Select a compute resource dialog, I selected my ESXi host and clicked Next.
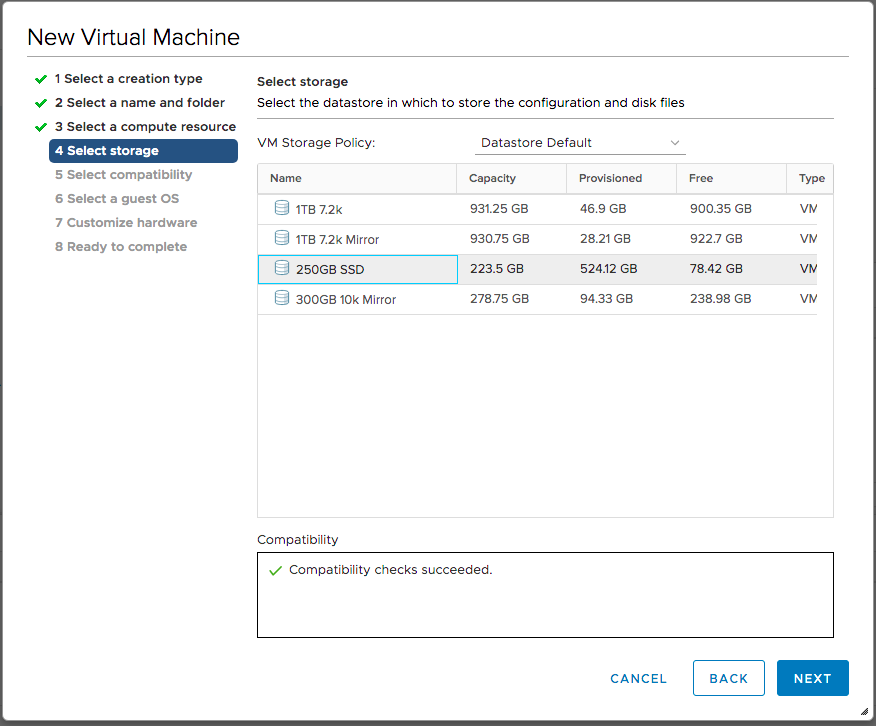
On the Select storage dialog, I selected an available datastore and clicked Next.
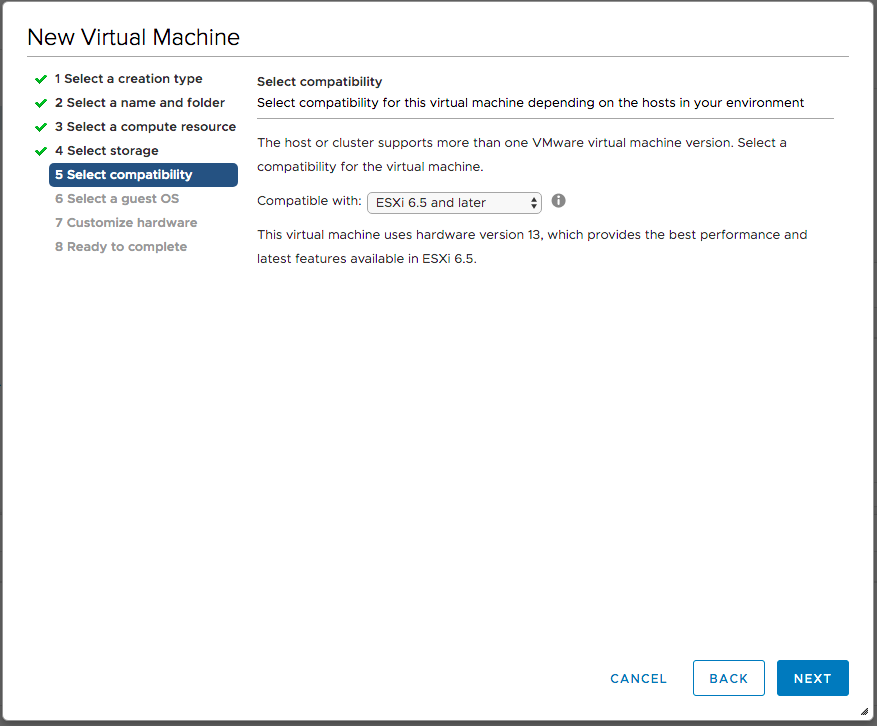
On the Select compatibility dialog, I selected the latest compatibility, since this VM won’t migrate to any older hosts, and clicked Next.
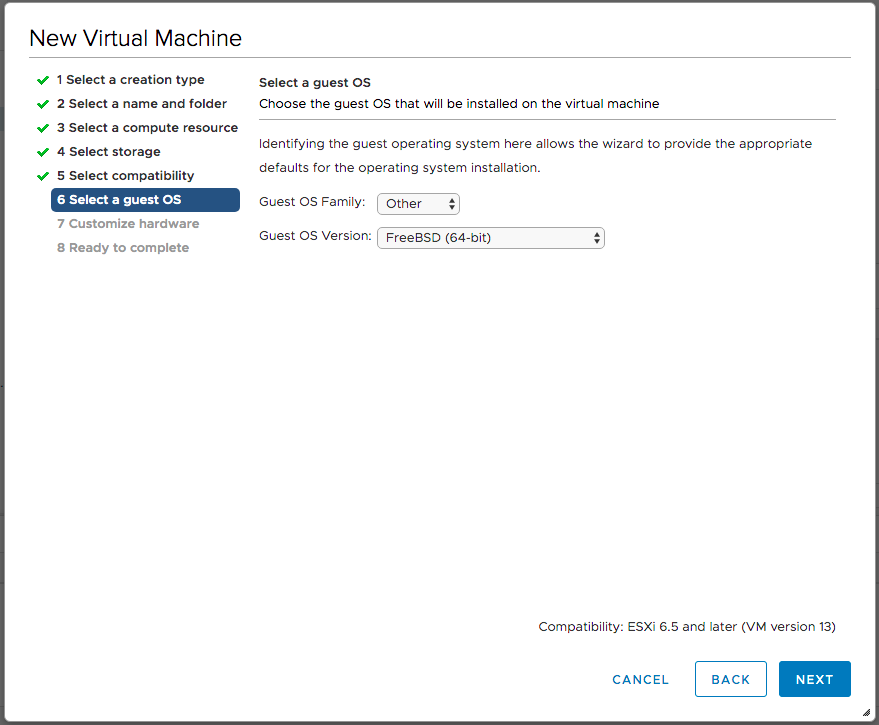
On the Select OS dialog, I selected a Guest OS Family of Other, a Guest OS Version of FreeBSD (64-bit), and clicked Next.
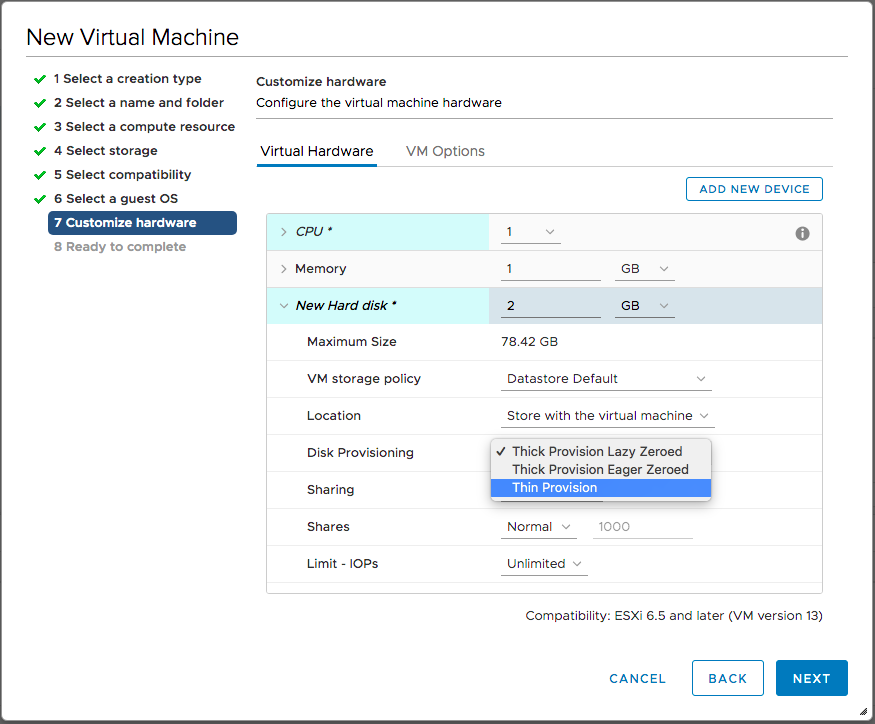
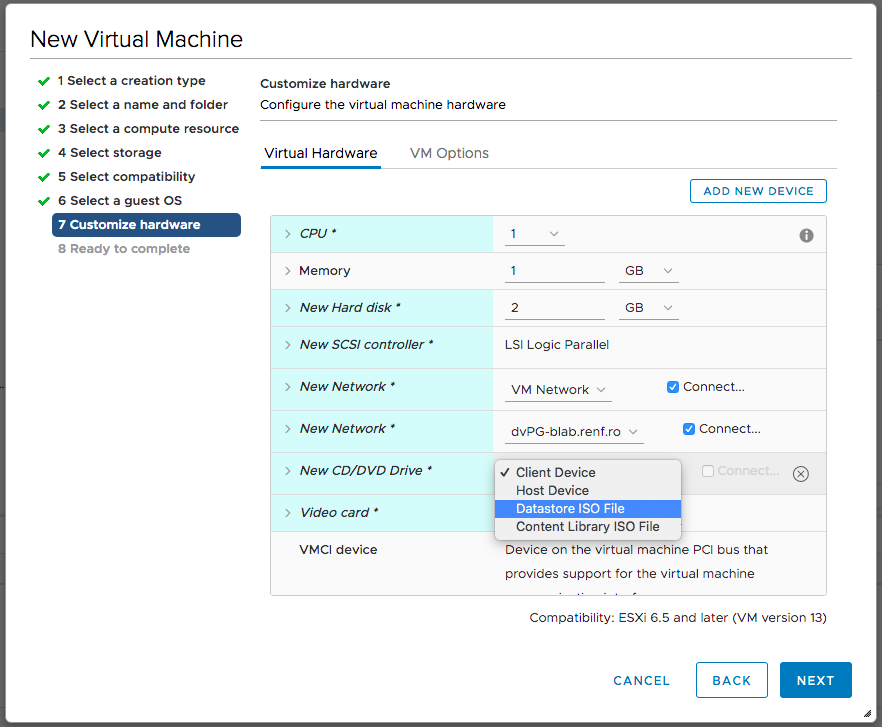
On the Customize hardware dialog, I set the VM to use 1 core, 1 GB of RAM, and 2 GB of disk space. I expanded the New hard disk entry, and set Disk Provisioning to Thin Provision.
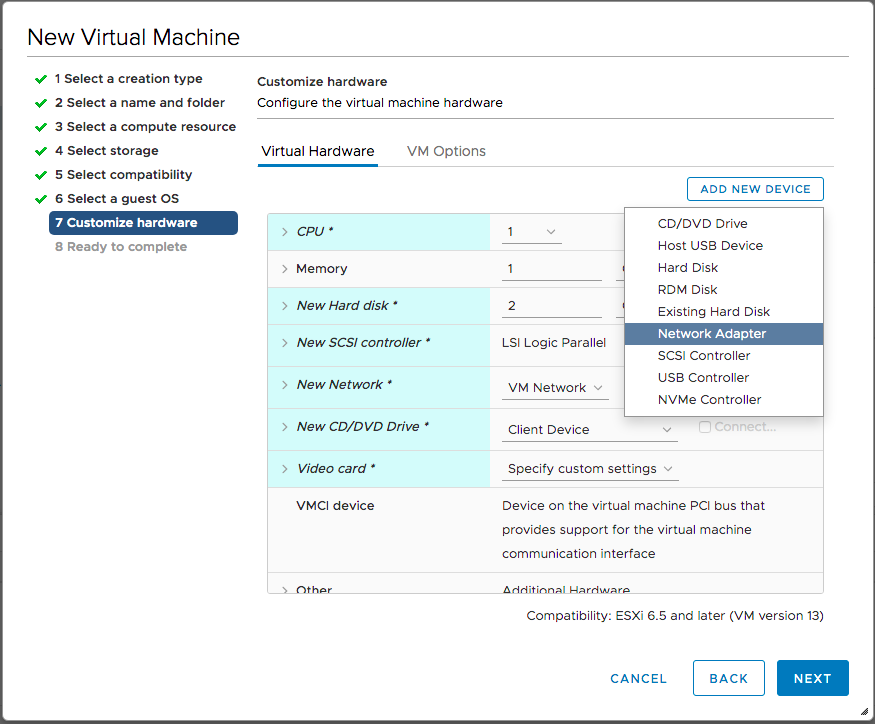
The firewall VM will need two network adapters: one connected to the main home network (assigned as WAN in pfSense), and another dedicated to the lab VMs (assigned as LAN in pfSense). So I clicked the Add New Device button and selected Network Adapter.
Once the new network adapter was added, I clicked its Browse button to define what it was connected to.
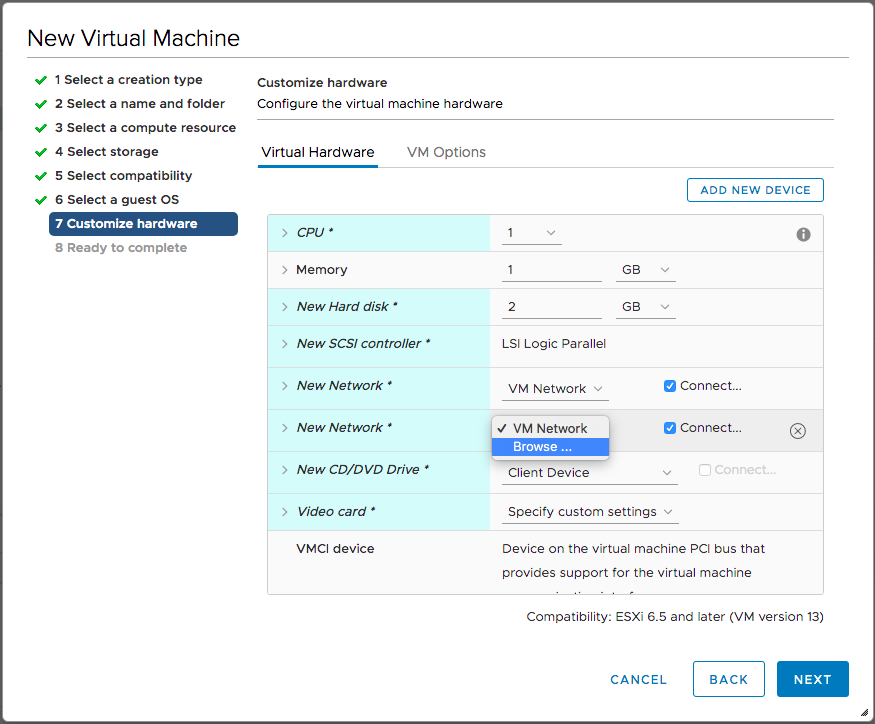
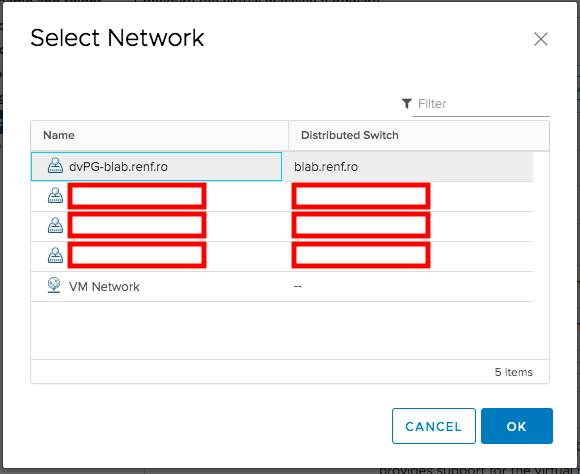
In the Select Network dialog that appeared, I selected the distributed switch’s port group created in the previous post and clicked OK.
We’ll need to install pfSense from a CD image, which I had already uploaded to an available datastore. On the New CD/DVD Drive entry, I selected Datastore ISO File.
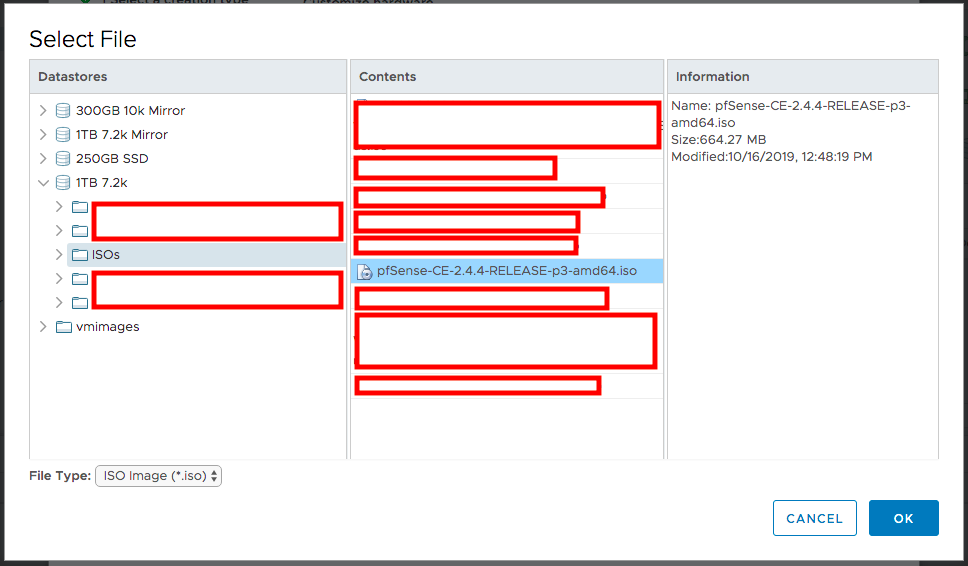
When the Select File dialog appeared, I selected the pfSense ISO file and clicked OK.
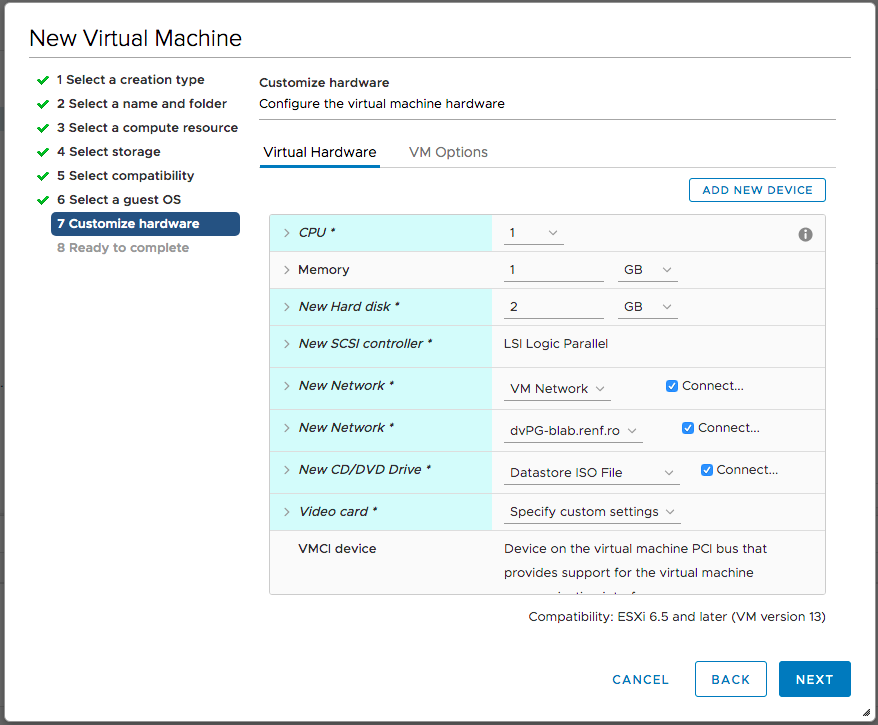
Back on the Customize hardware dialog, I checked the New CD/DVD Drive entry’s box for Connect… and finally clicked Next.
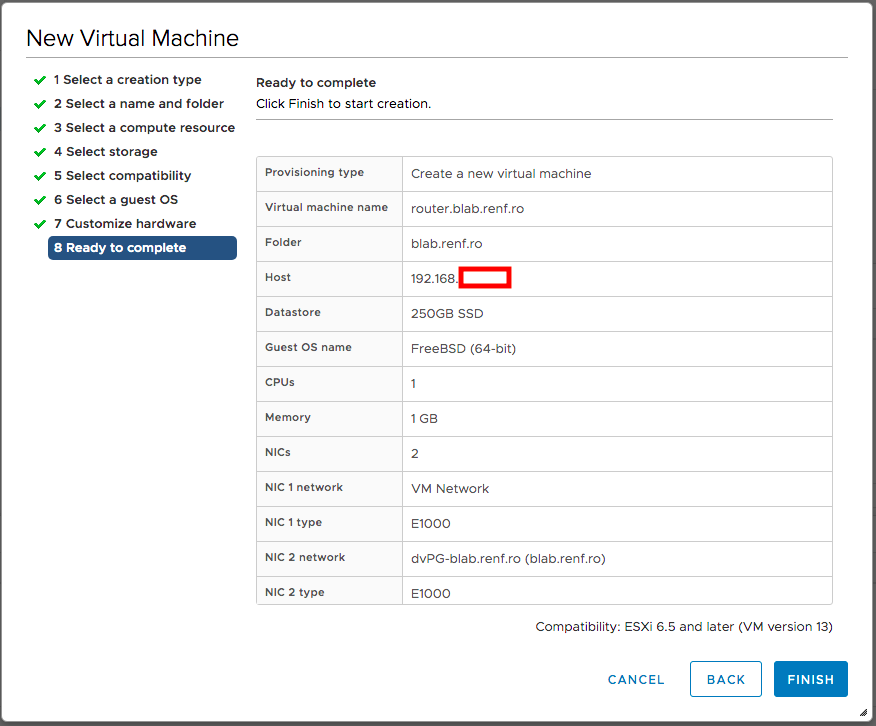
On the Ready to Complete dialog, I clicked Finish to create the firewall VM.
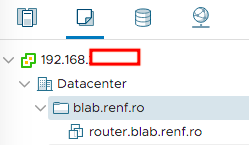
The firewall VM now appeared in the lab’s VM and Templates folder.
Installing pfSense
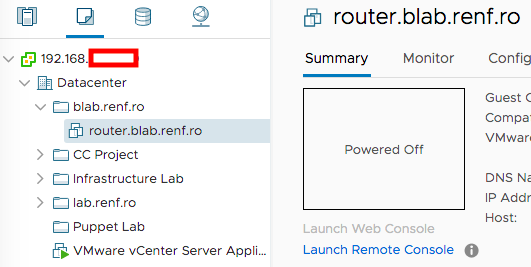
After selecting the pfSense VM in the VMs and Templates tab of vCenter, I selected Launch Remote Console.
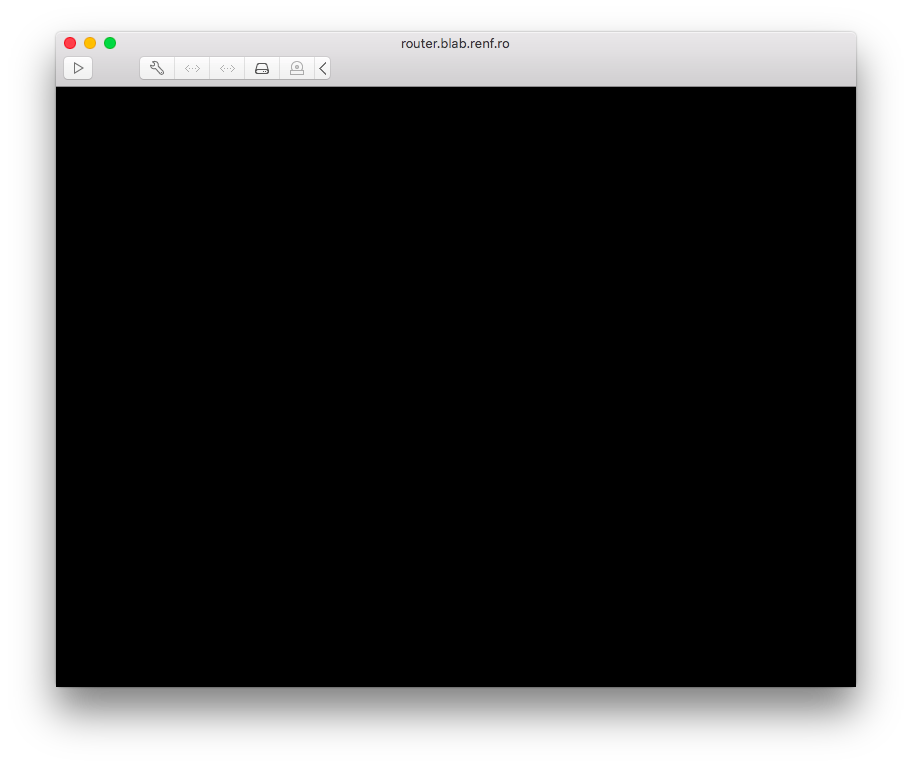
Once VMware Remote Console had started, I clicked the ▶️ button at the top left of the window.
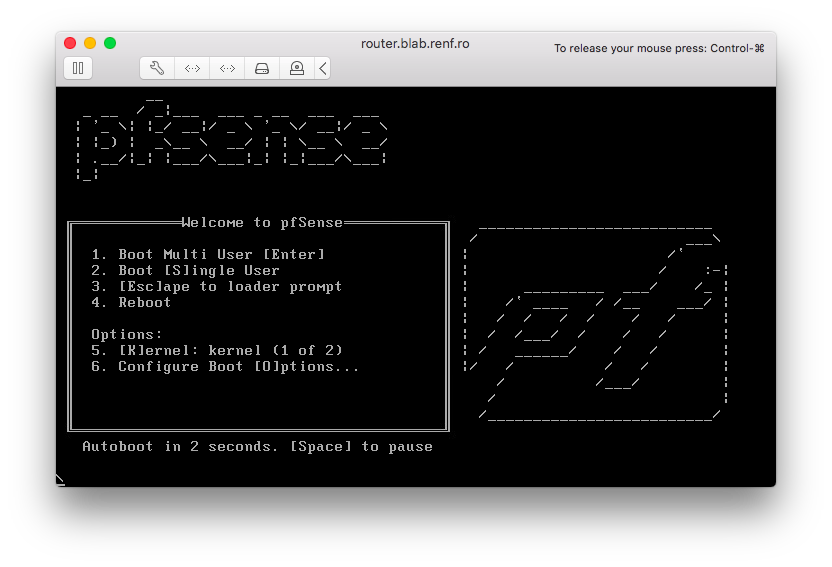
pfSense booted from its CD drive, and by default booted into the installation program.
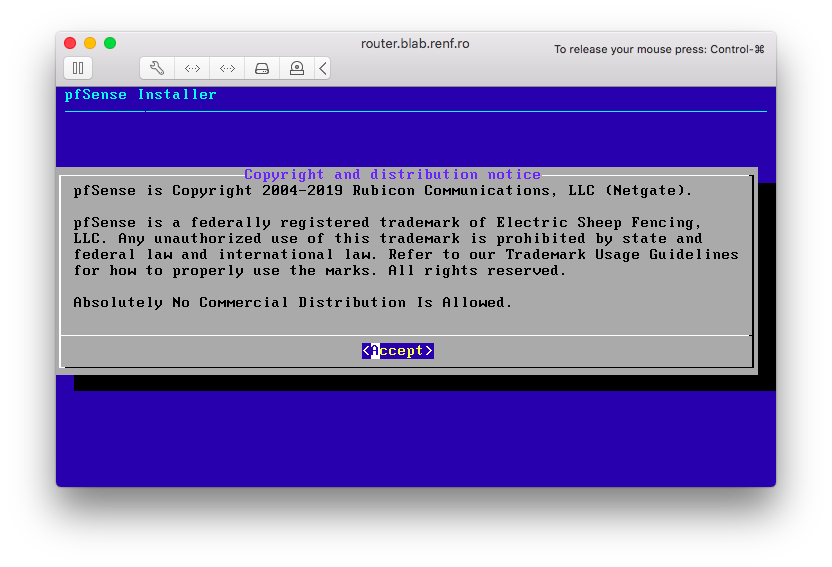
I accepted the license agreement by pressing Enter.
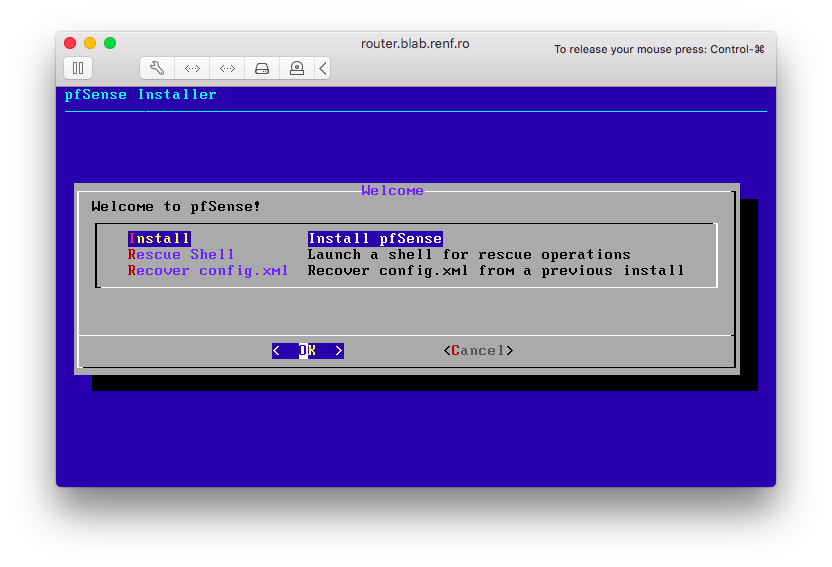
I selected Install from the Welcome dialog, and pressed Enter.
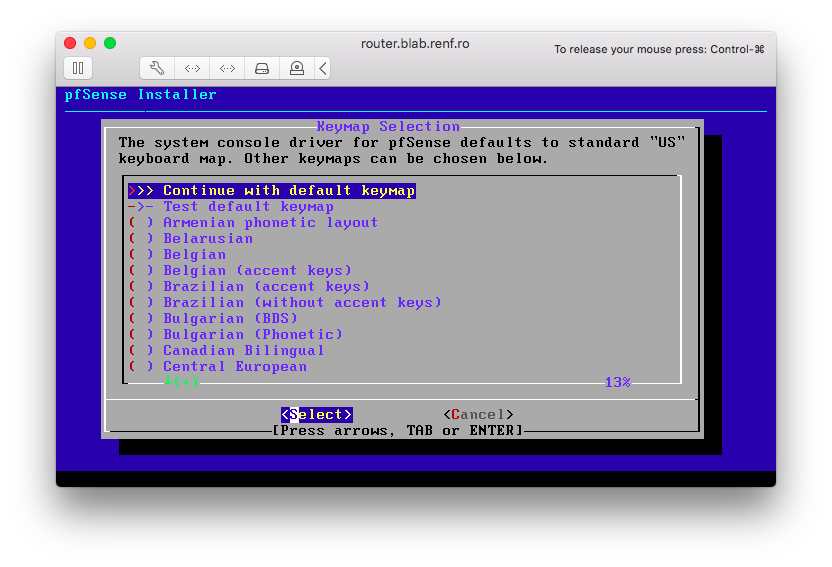
I selected the default keymap, and pressed Enter.
I selected the default partitioning of Auto (UFS) and pressed Enter.

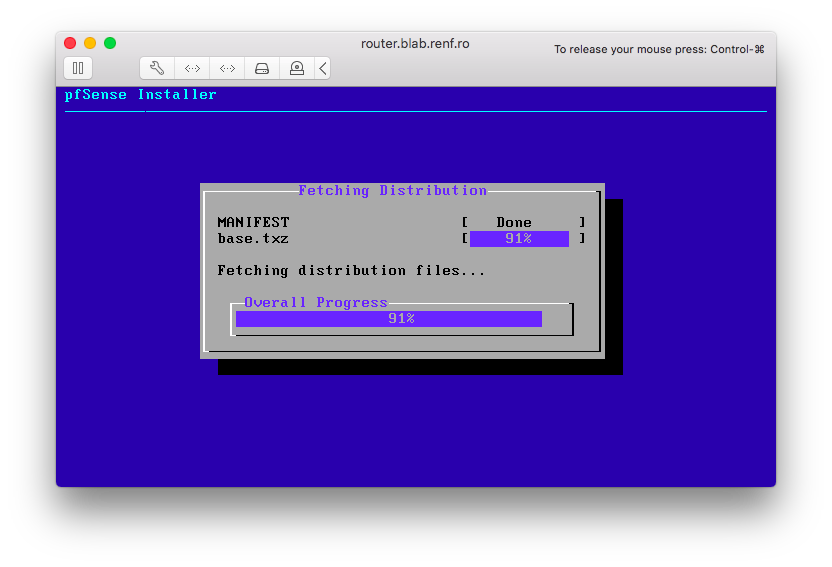
The pfSense installer fetched its remaining installation files from the Internet.
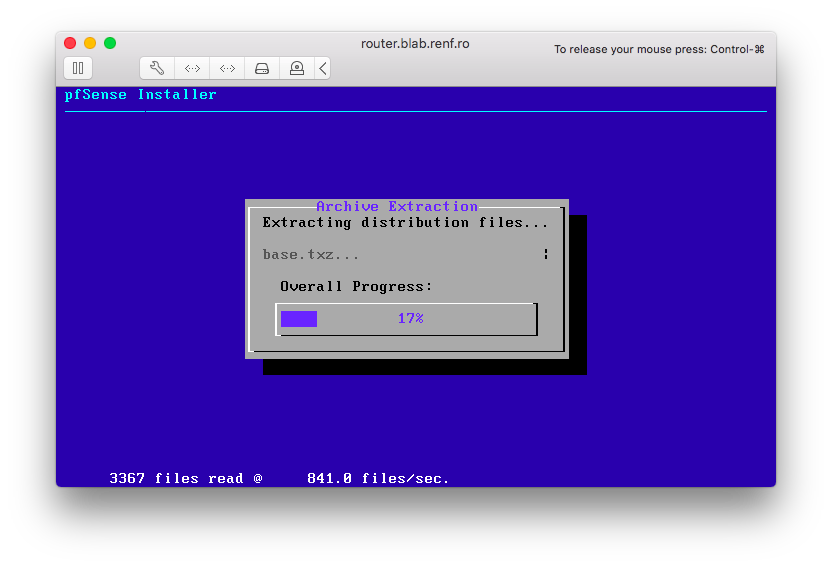
The pfSense installer extracted the installation files to its hard drive.
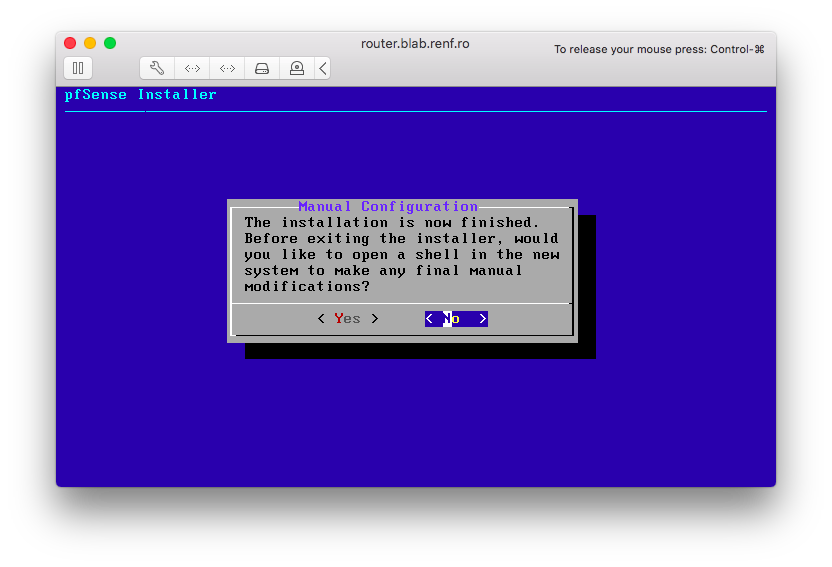
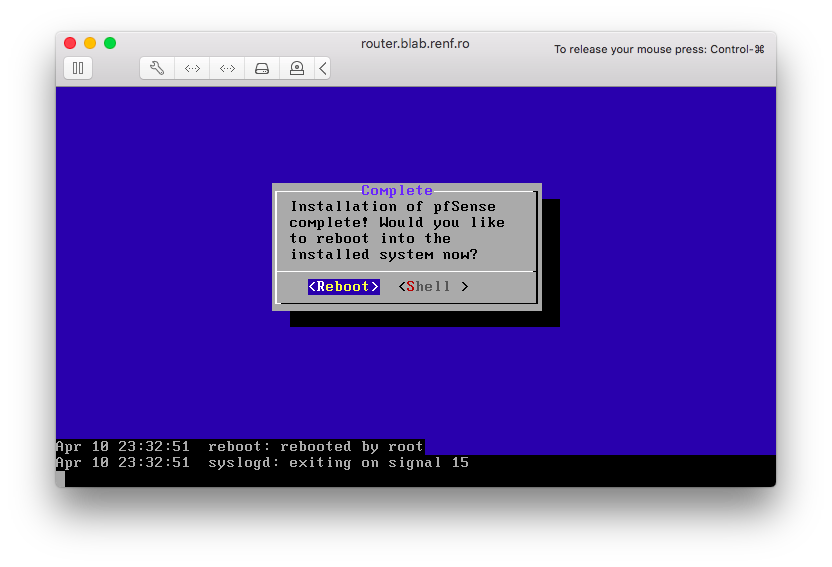
When the installation was complete, I selected No at the Manual Configuration dialog and pressed Enter.
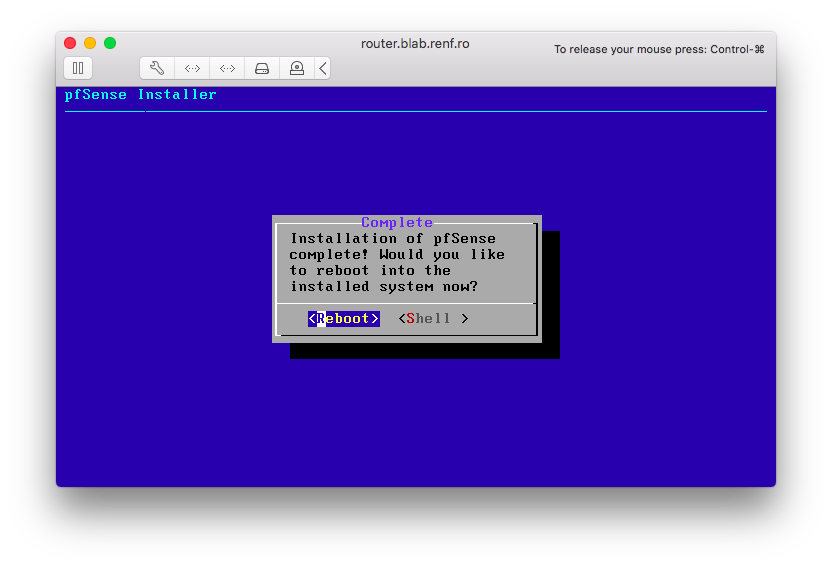
On the Complete dialog, I selected Reboot and pressed Enter.
The pfSense VM began rebooting.
While the VM rebooted, I returned to the Edit Settings menu for the VM.
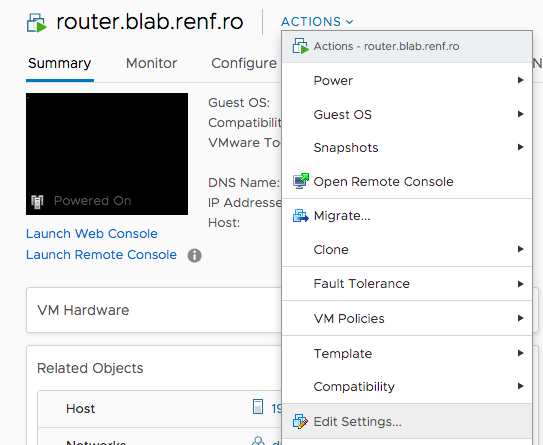
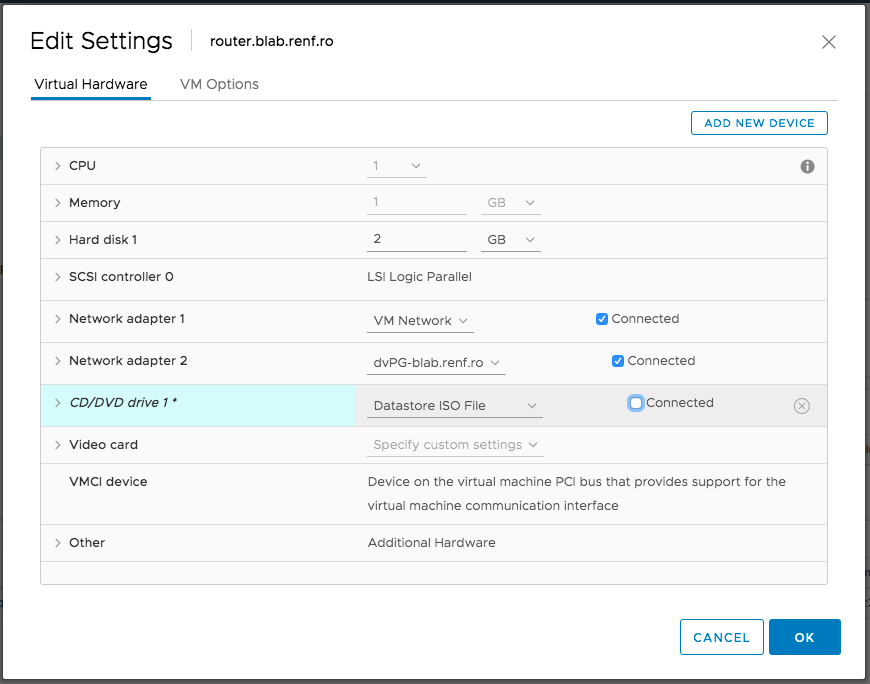
I cleared the Connected checkbox by the CD/DVD drive to disconnect the ISO from the VM and clicked the OK button.
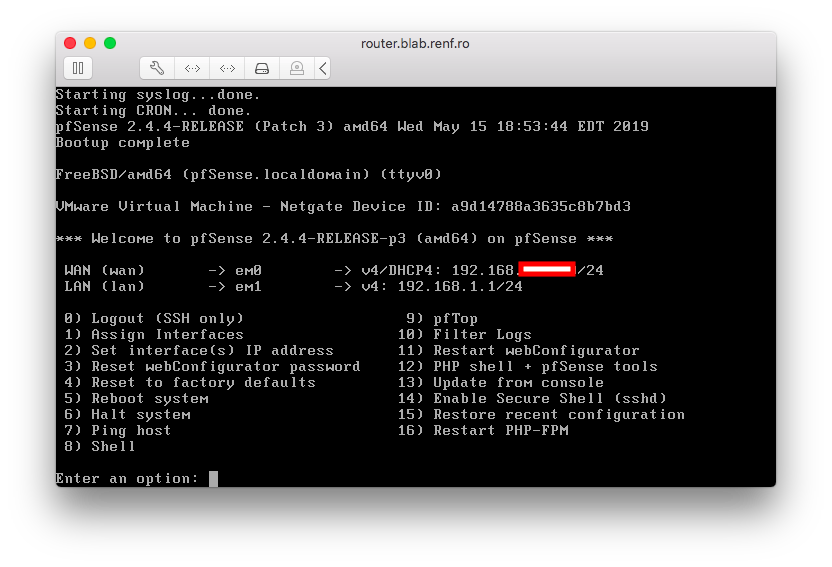
A few minutes later, pfSense had finished booting and was at its default command menu.
Now that the firewall exists, it’s time to configure it and test out IP routing and a simple access rule.